
How to Draw a Toothbrush for Kids
Learn how to draw a Toothbrush for Kids step by step and easy enough for kids, start a sketch with these instructions. Below, you can see a detailed collage with the step-by-step drawing process.


Hi friends! In this tutorial, you will learn how to draw a toothbrush for kids. This drawing tutorial is a simple and straightforward way to draw a toothbrush and toothpaste that even the most inexperienced artist will have no trouble using.
Toothbrush and toothpaste are two main attributes that an adult and a child encounter in the morning. After all, brushing your teeth is not only a guarantee of cleanliness and freshness for each of us, but also allows you to get rid of bacteria in the oral cavity. Therefore, you need to brush your teeth every day. Now let’s move on to drawing the toothbrush.
Time needed: 20 minutes
How to Draw a Toothbrush for Kids
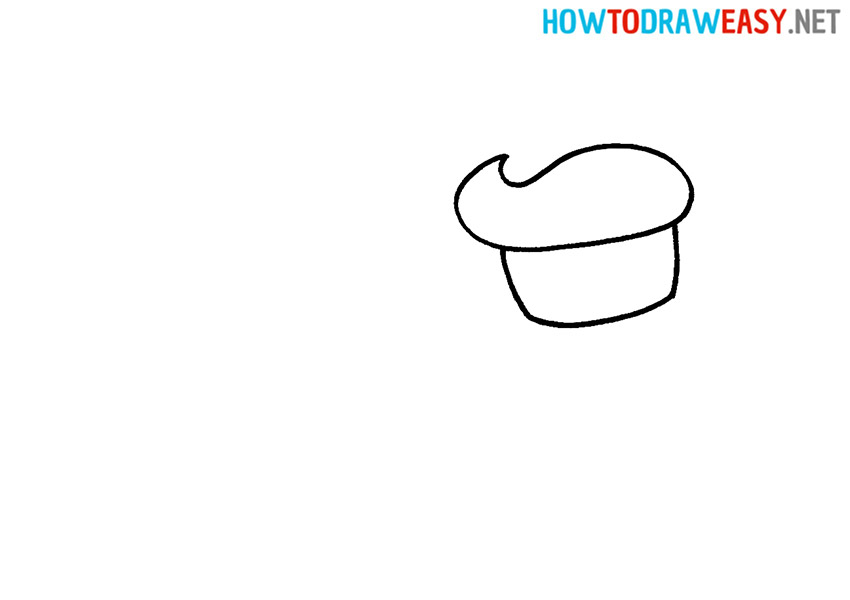
- Draw toothpaste.
Let’s start drawing first with what a toothbrush cannot do without—toothpaste. The paste should be oval, but the left side tapers and rises upward.

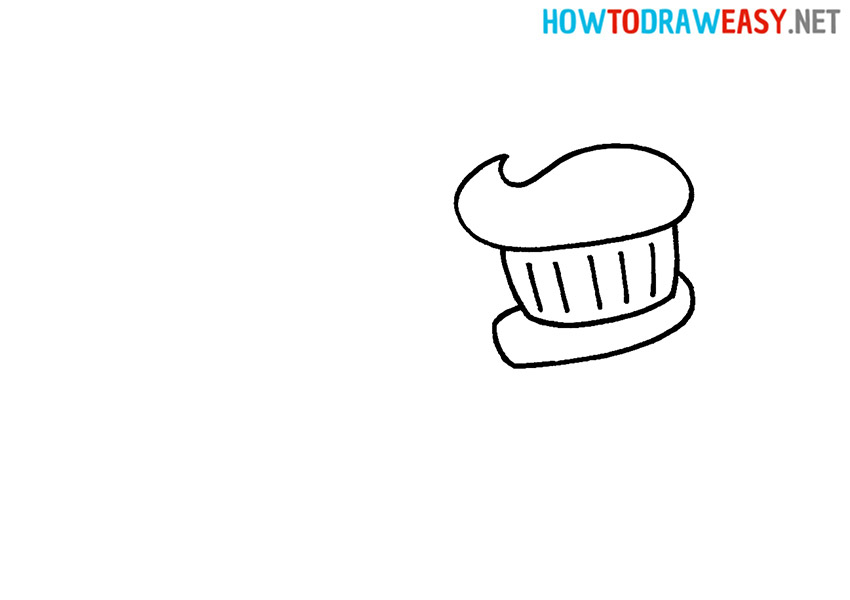
- Brush outline.
Underneath the toothpaste, draw the base of the brush itself, on which the paste rests.
- Details.
Inside the base, add some vertical strokes to give the brush a natural look.

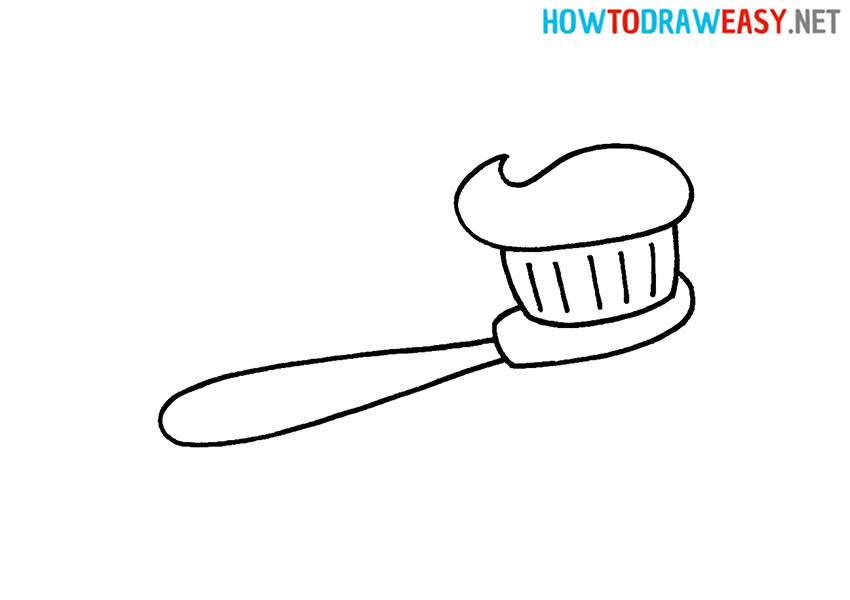
- Draw the base of the toothbrush.
Under the brush itself, draw an oval shape for the base of the brush.
- Draw the handle.
Draw a handle as shown in the example.
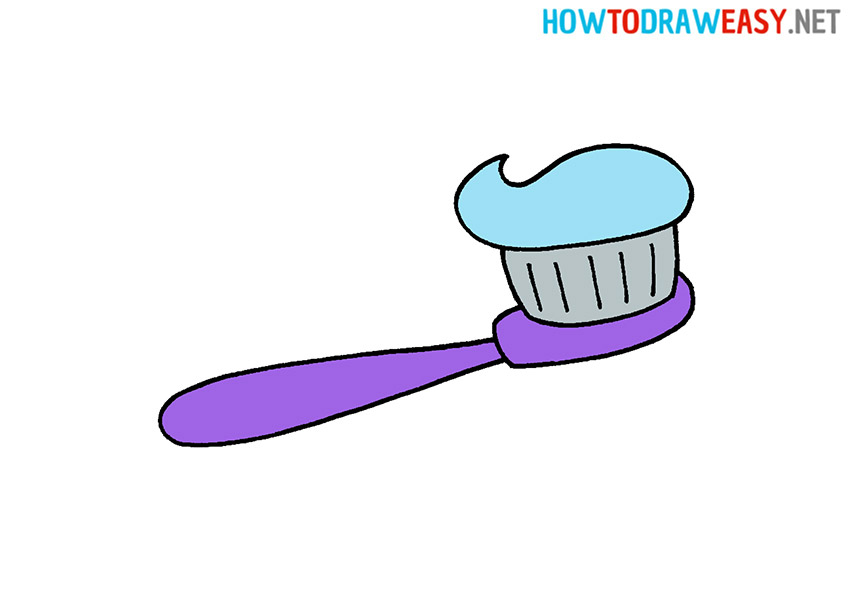
- Color the drawing.
We’ll color the head and handle purple, the brushed gray, and the toothpaste blue. You can use the same colors or come up with your own style.


Congratulations! You’ve drawn a great toothbrush drawing, but don’t stop there. Practice drawing every day to improve your skills. On our site you can find drawing lessons for yourself on various topics.