
How to Draw a Stack of Money for Kids
If you want to draw money, then this is the best place! Here you will learn how to draw a stack of money easily enough even for kids and those who are not experienced enough in drawing.


Hello everyone! In this tutorial, we will show you how to draw a stack of money for kids. Money is a unit of exchange for desired goods and services. Often, people receive their first salary (remuneration for work) in adolescence: for walking dogs, distributing leaflets and newspapers, photographing at festive events.
For the first time, paper money was issued in China. The fact is simply explained: it was the Chinese who invented such a convenient resource—paper. Later, money that was easy to transport and exchange began to be made and distributed in other parts of the world. Drawing a stack of money is fun. It will help you develop your skills in drawing various geometric shapes and straight lines. Let’s start!
Time needed: 30 minutes
How to Draw a Stack of Money for Kids
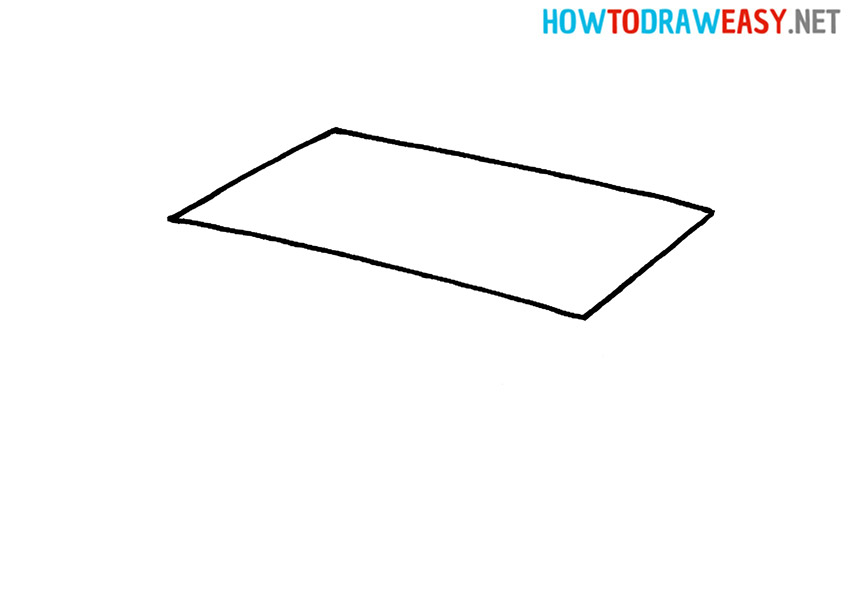
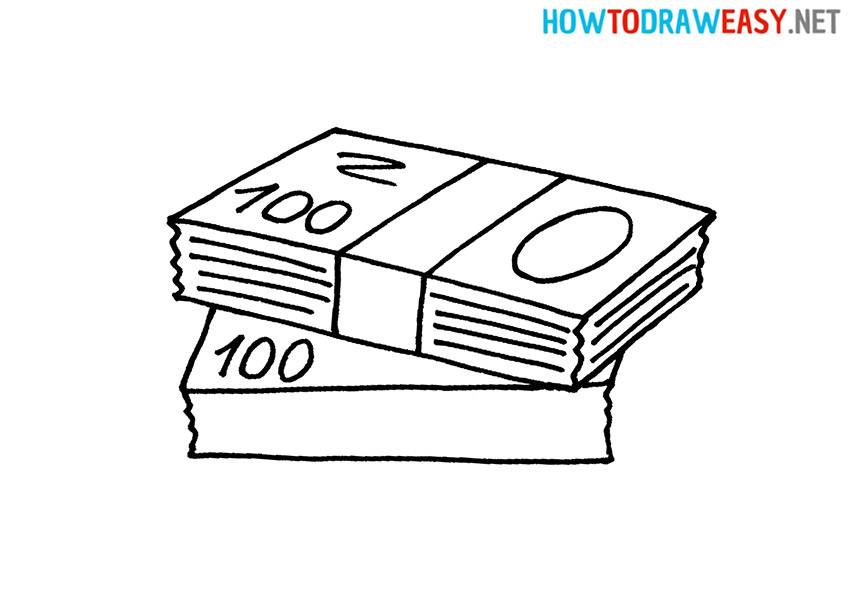
- Draw the front side.
The front side of one bill is a parallelogram. Its sides are not straight, but slightly curved lines.
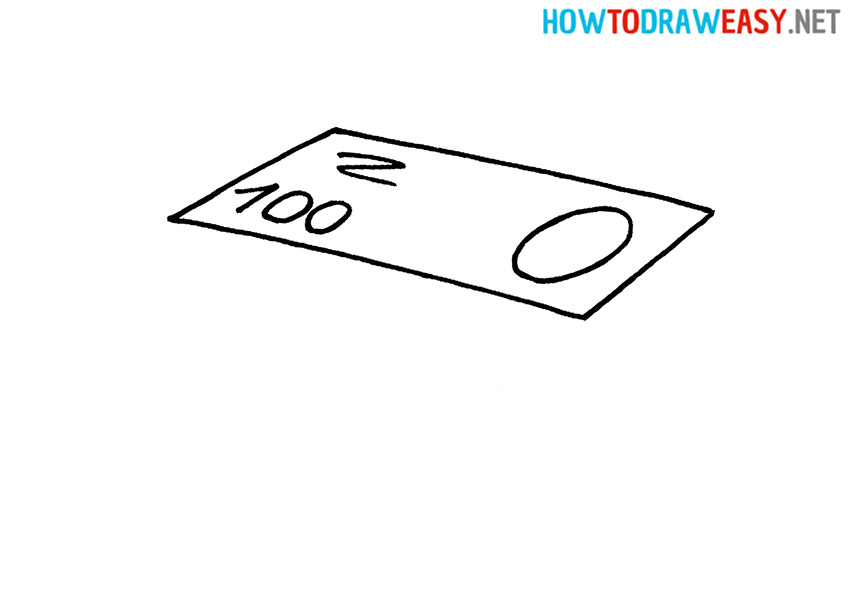
- Add denomination and space for the image.
The denomination of the banknote in the figure is 100. This figure must be placed in the lower-left corner of the front side. Draw a zigzag above the number. It will represent the serial number of the banknote, some phrase, or some symbol. What should also be considered? Draw a large oval on the right side of an important figure, building, or monument.
- Draw the bottom of the stack of money.
Draw two short lines from the front side and connect them. Note that the sideline is slightly wavy, indicating the ends of the bills.
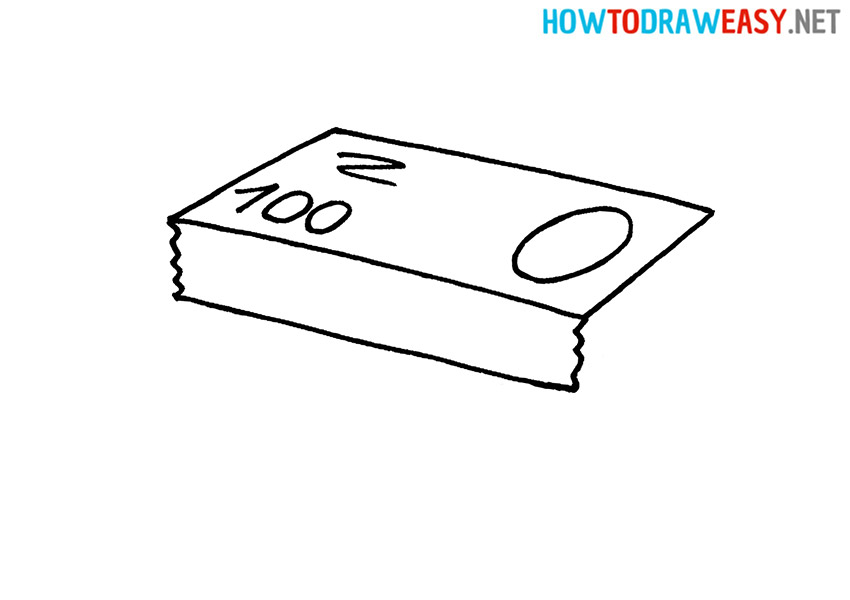
- Draw the side of the wad of money.
Draw another short line at the back and then connect it to the existing (wavy) line. Now you can see the side of folded money.
- Draw some parcel tape.
The parcel tape is called the bandage for the bundle. On the front side, draw two parallel lines. Please note: there must be a distance between them because the tape is wide. Do the same for the bottom of the stack of money.
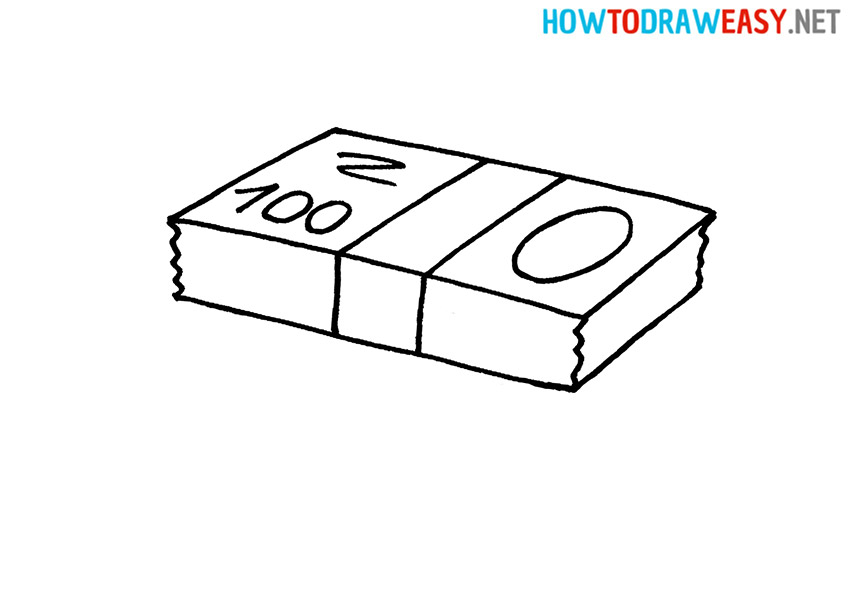
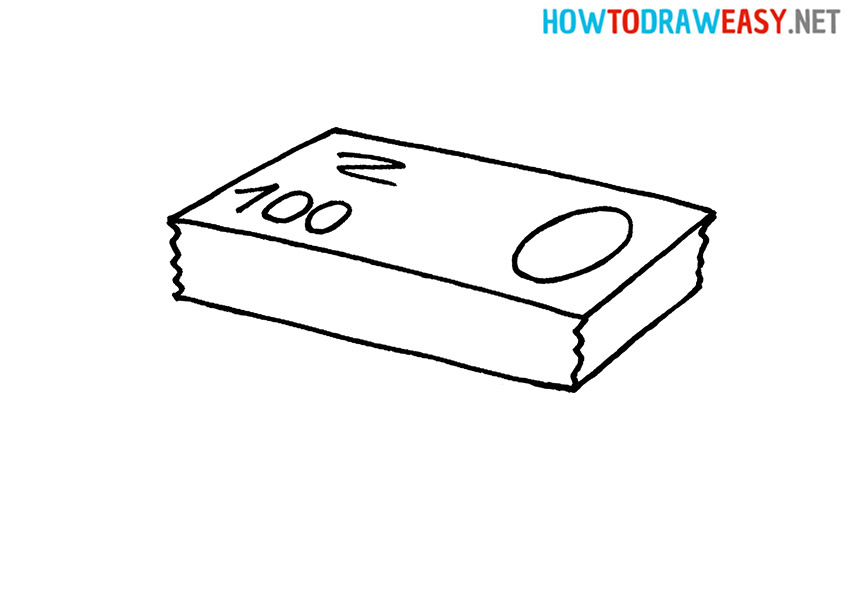
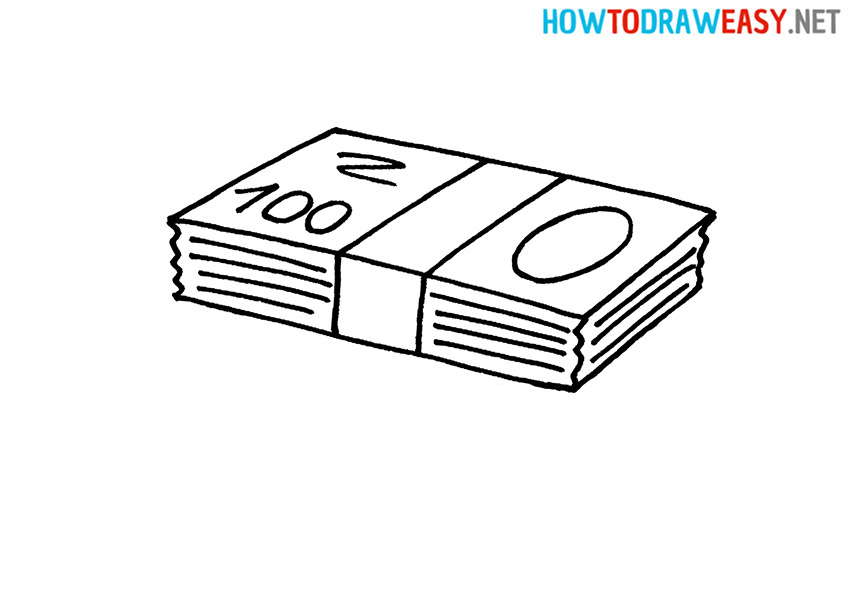
- Details.
Next, you need to detail the pack. To do this, it is enough to draw four lines, different in size and not touching both sides. Repeat the same with the side of the pack.
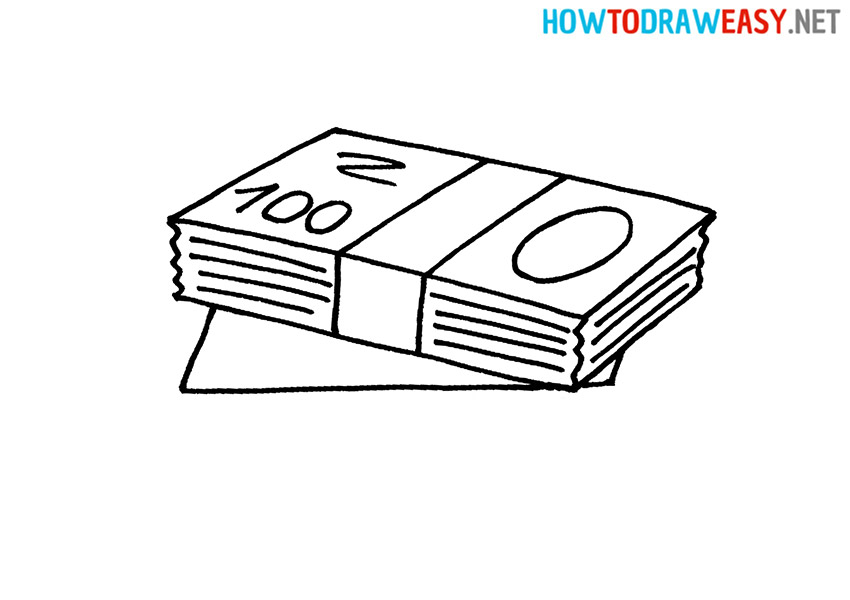
- Start drawing the second wad of money.
The front side of the second bill is under the colored bundle. Please note: the second bill is partially hidden under the first stack.
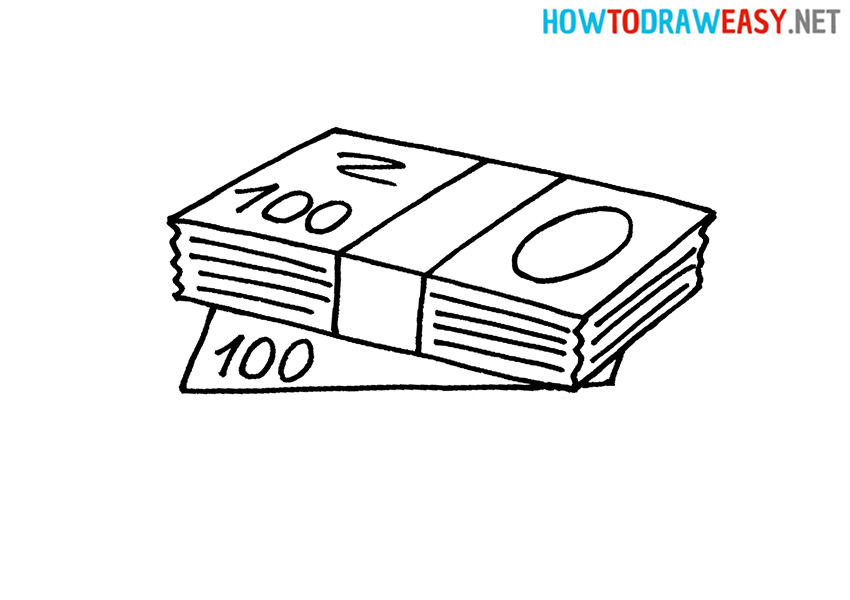
- Add denomination.
The digital value will be identical to the first one—100. It is located, as in the previous case, in the lower-left corner.
- Draw the bottom of the second stack.
It is necessary to repeat the action similar to the third step.
- Add parcel tape.
Similarly, draw parallel lines in the middle of the stack of money.
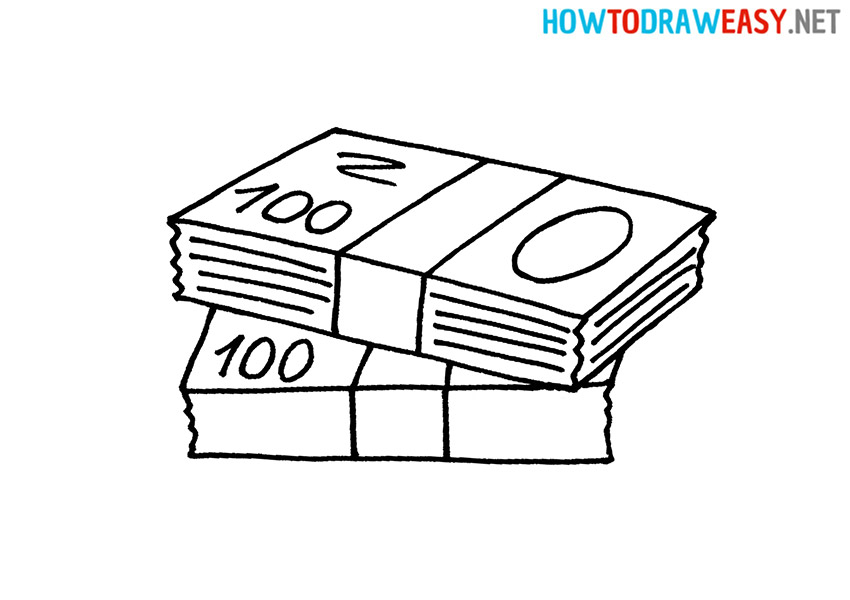
- Draw the side part.
Do not forget about the side part: it is thinner than the first stack. Also, draw several broken lines of different lengths on either side of the ribbon.
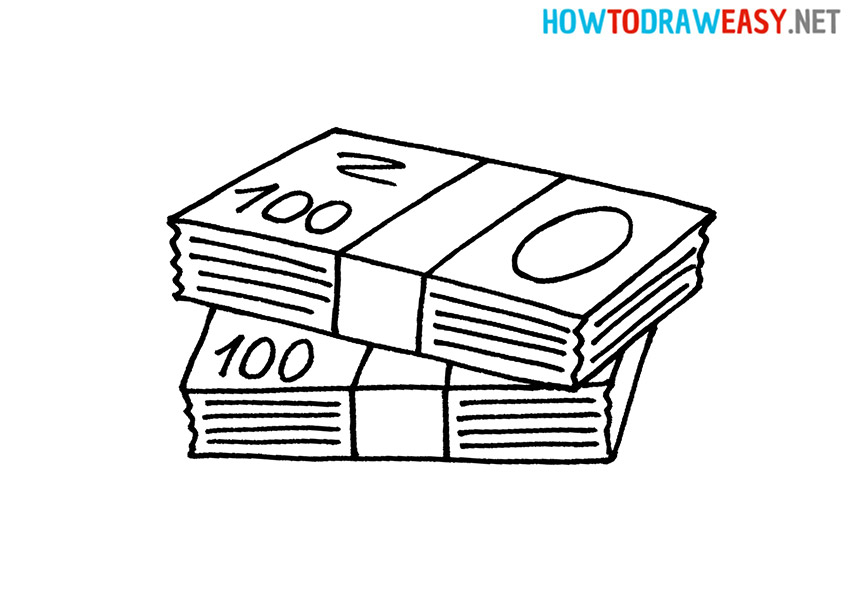
- Color the drawing.
We used various colors for coloring: yellow parcel tape and green bills of different shades to make them look realistic.


Wonderful! Your wad of money drawing is drawn. Write your opinion about this lesson in the comments, and also share your work with your friends. We are waiting for you with friends at other drawing lessons on our website!