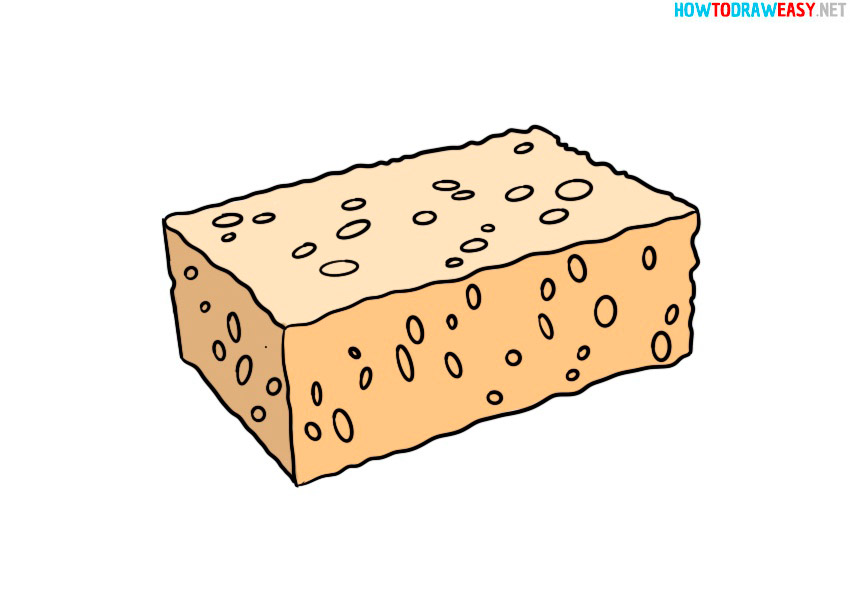
How to Draw a Sponge
Learn in a step-by-step tutorial on how to draw a sponge very quickly and easily. Improve your skills with our drawing lessons.
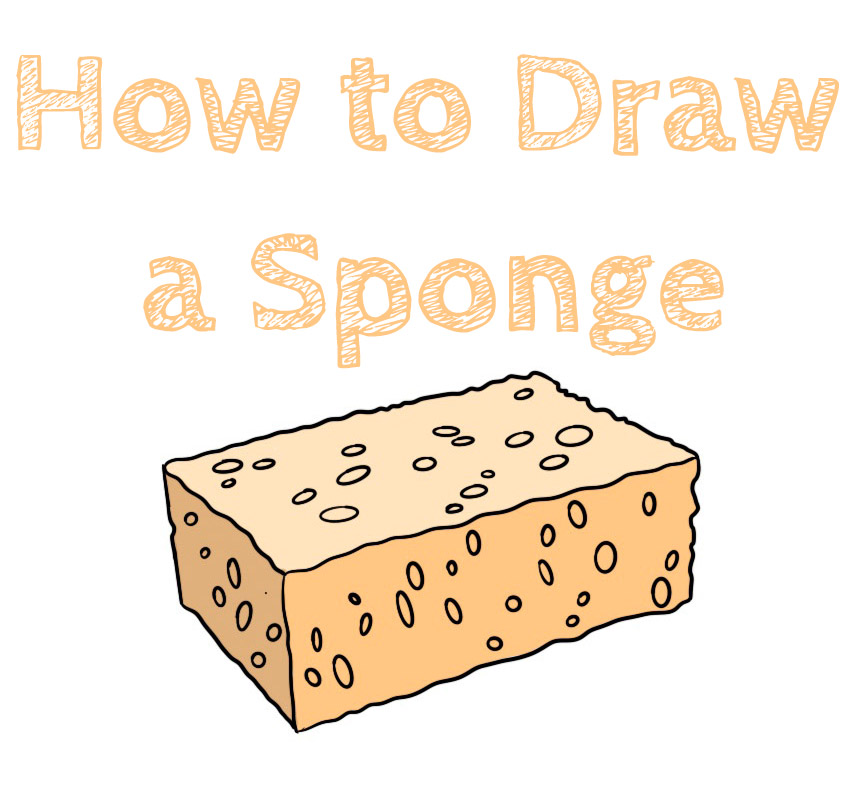
Good afternoon friends! You are on the guide on how to draw a sponge. Sponges are a constant attribute and tool in people’s kitchens; they can be used to wash dishes to shine. Also, sponges are used in bathrooms, car wash, and much more.
It doesn’t take a lot of time to draw a sponge, it can be done very easily for beginners and children. We drew a sponge in a classic way, which is found even in cartoons in this form.
Drawing supplies for artwork and coloring:
- Pencil;
- Black marker;
- Colored marker, crayon, or felt-tip pens;
- Drawing paper (or devices).
Time needed: 15 minutes
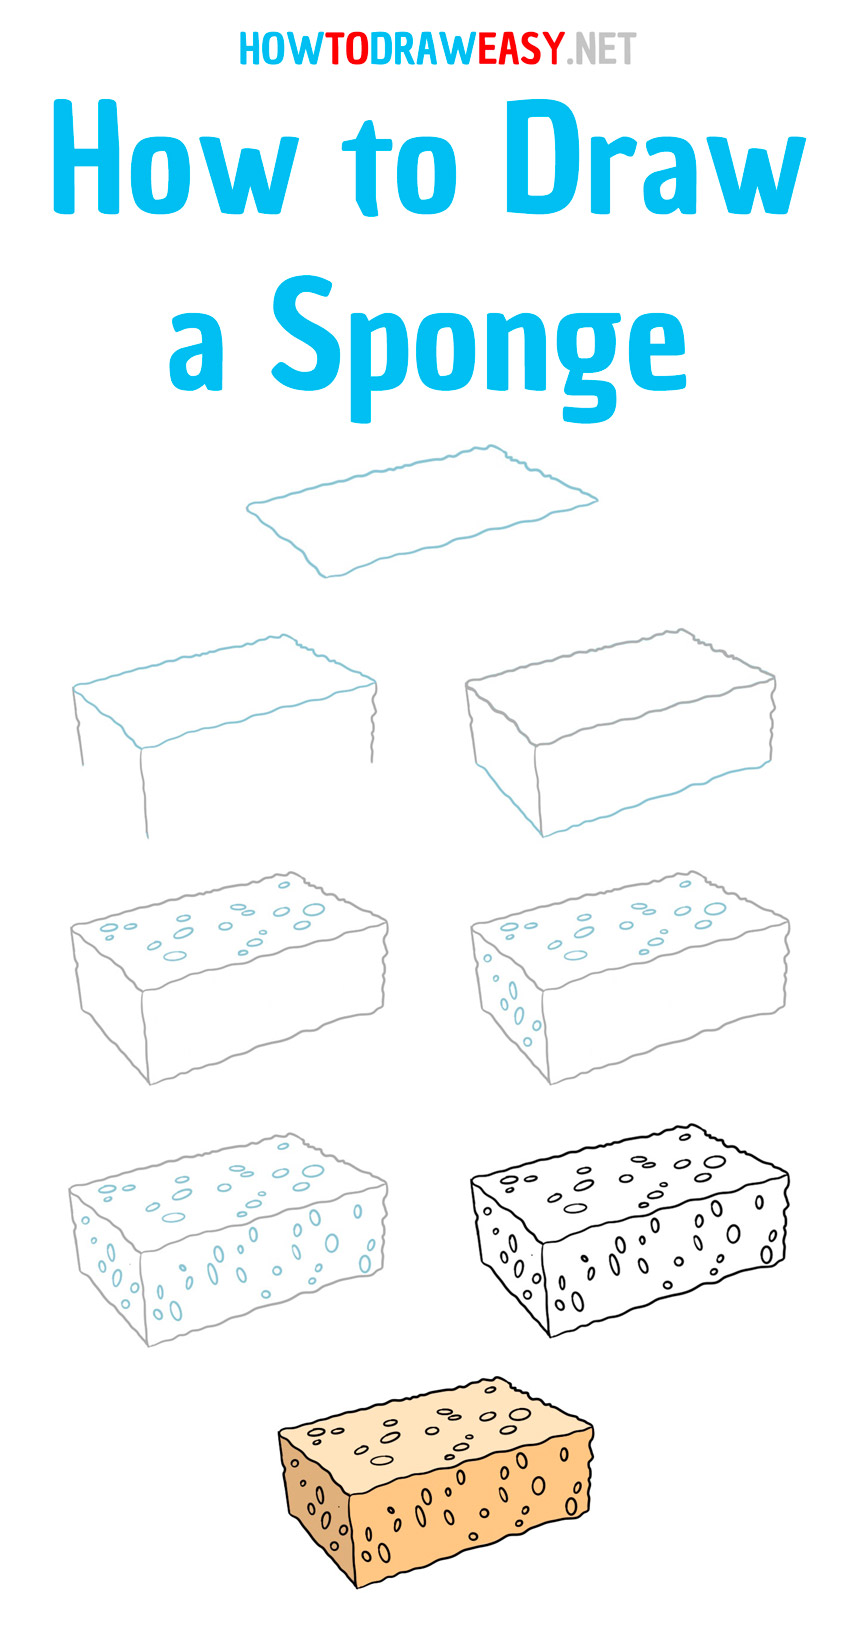
How to Draw a Sponge
- Top of the sponge.
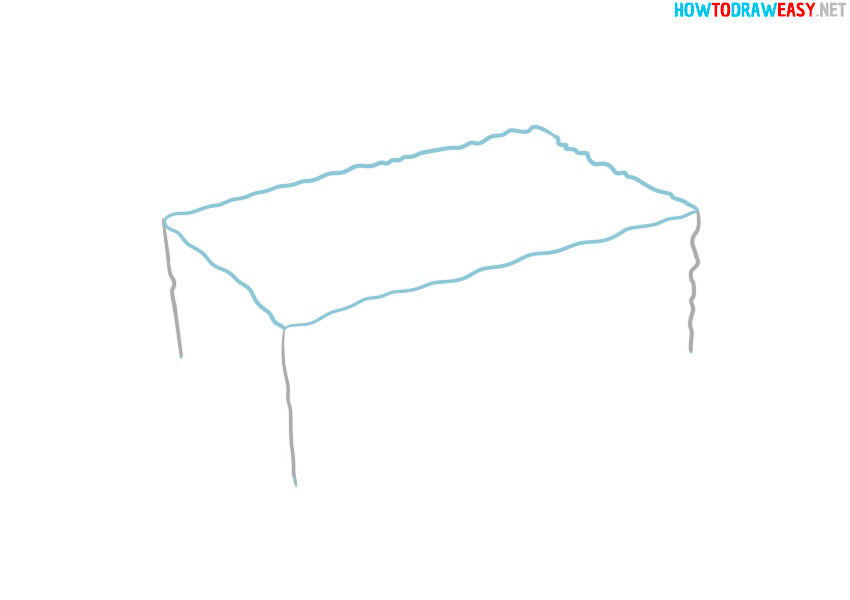
The first step is to depict the top of the sponge in a rectangular shape. But note that visually the sponge is in a volumetric form, you do not need to draw an even rectangle. Draw as shown in the example.

- Draw the lines for the sides.
Now, you need to depict vertical lines from the corners of the rectangle that you drew earlier.
- Draw the bottom of the sponge.
Depict the top and side edges of the sponge? Now draw a line for the bottom.
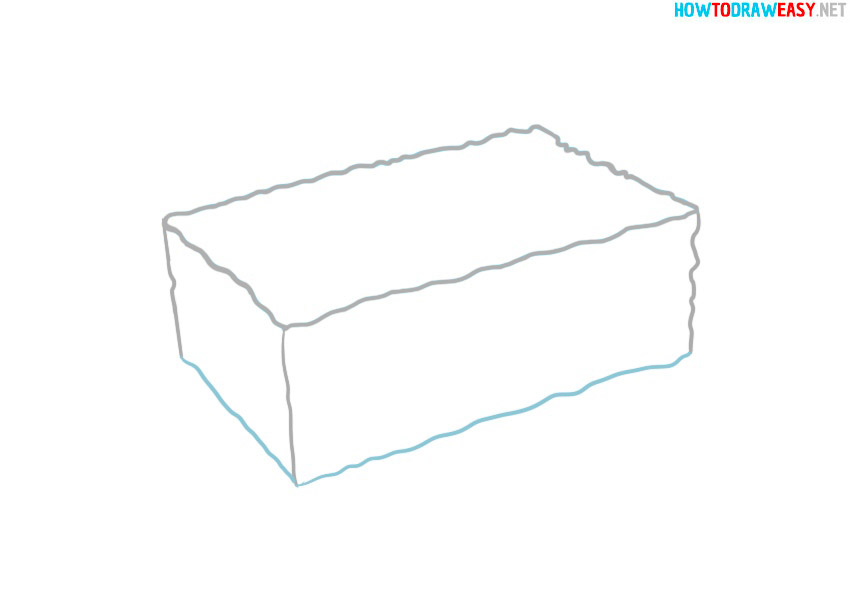
- Depict the texture.
In this step, you need to paint the texture of the sponge on top. These are numerous holes on the surface of the sponge.
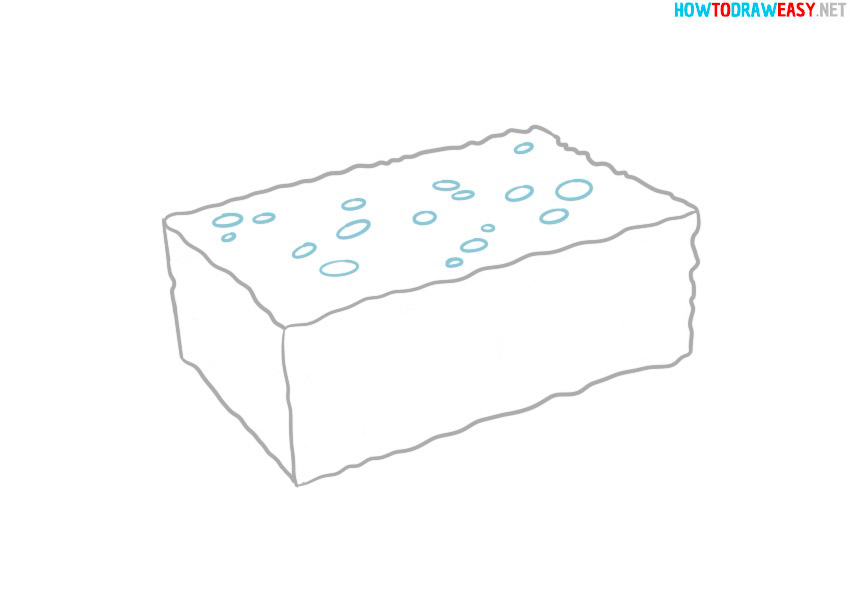
- Depict the side of the sponge.
Draw holes in the sponge on the side.
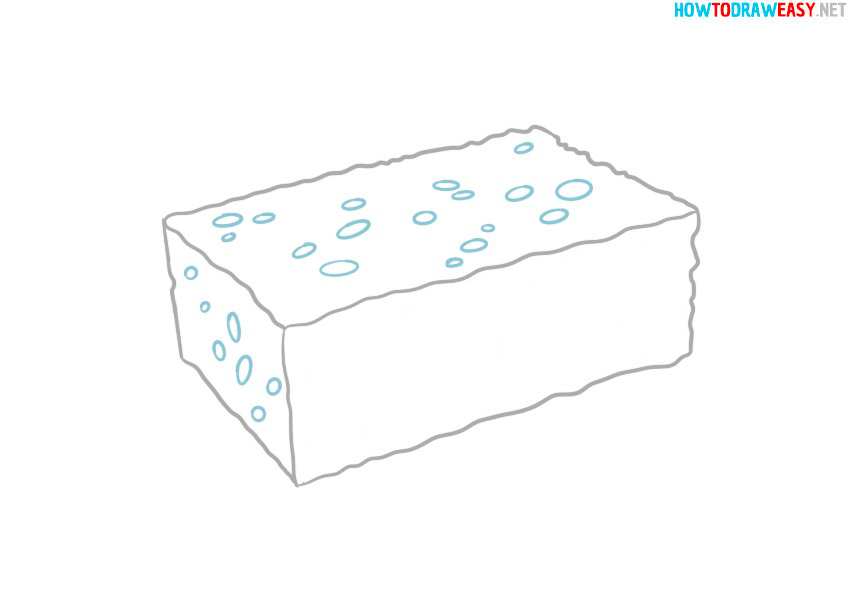
- Front of the sponge.
Finish painting the texture of the sponge by drawing the holes that are in the front of the drawing.
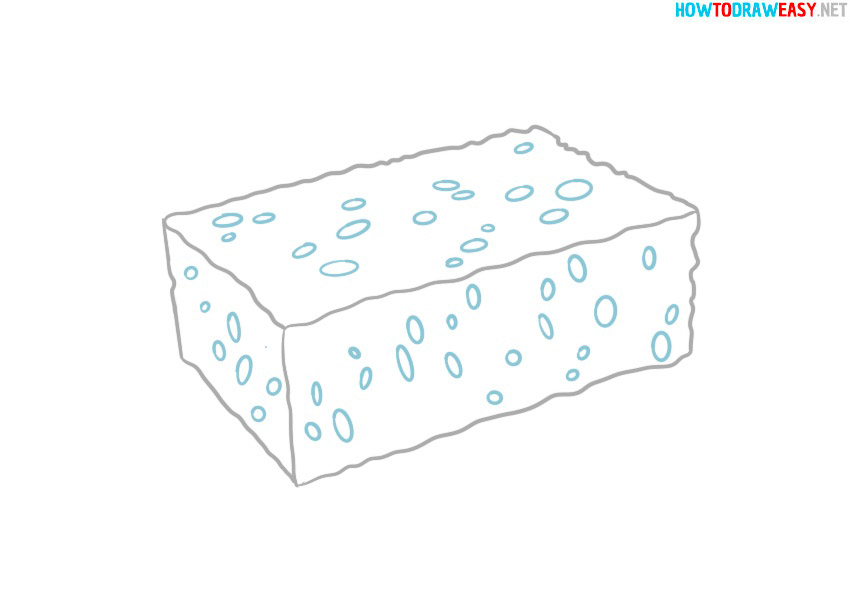
- Finish your pencil sketch.
At this stage, correct all the shortcomings of the drawing, erase the extra pencil lines, if any.
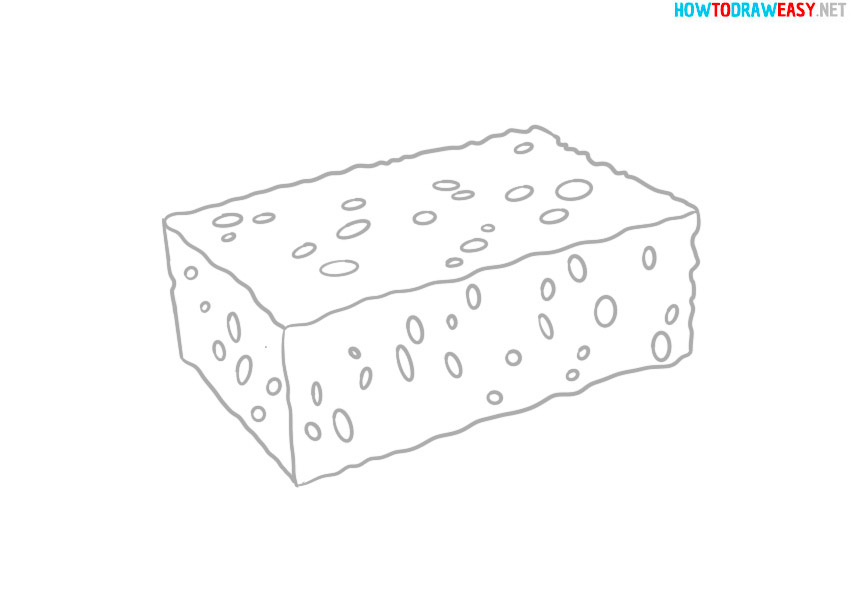
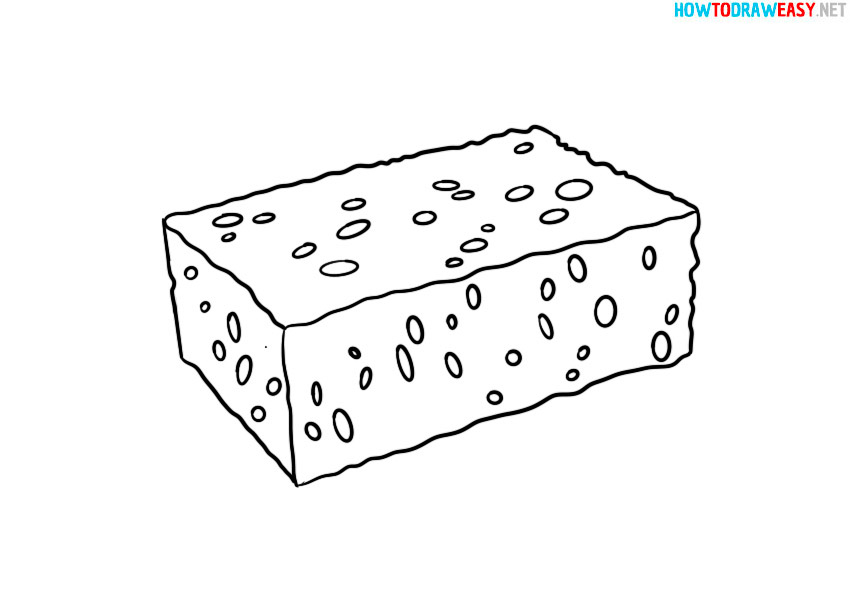
- Trace the pencil sketch.
Completed the pencil part of the drawing? Now use a marker or fountain pen and ink to trace the drawing along the lines.
- Part of coloring.
Color the sketch with the color you like best.
