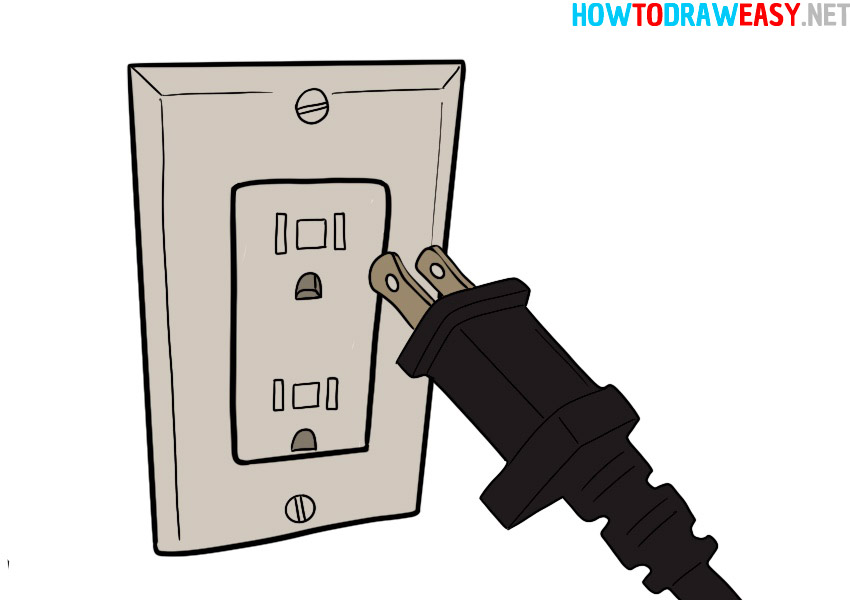
How to Draw a Socket and Plug
Learn how to draw a socket and plug in this step by step drawing tutorial. You can draw this even if you are a beginner who holds a pencil for the first time.


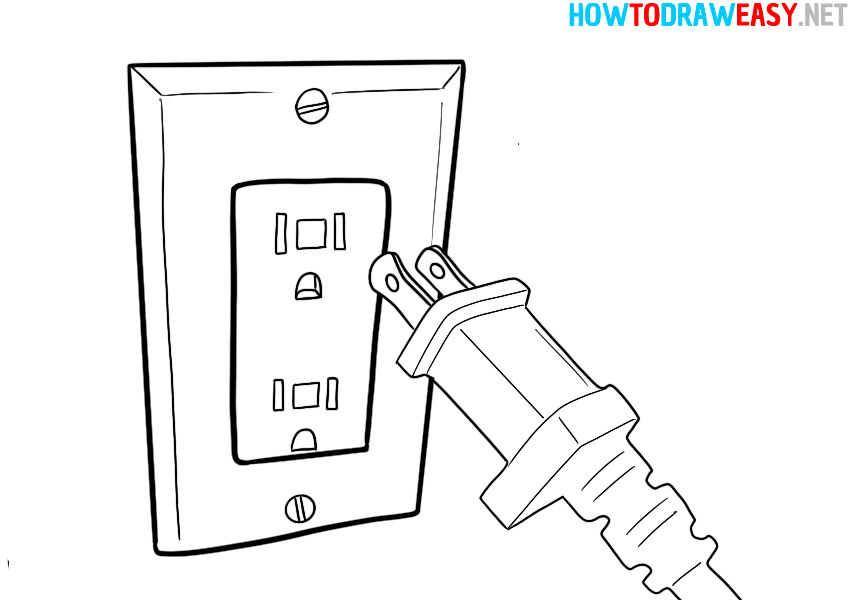
We present to our readers and new visitors a guide on how to draw a socket and plug. We have drawn a typical socket used in the United States, Canada, and other countries in North or Central America. in Europe, for example, other electrical sockets and plugs are used. Please note that not all steps are shown in the general step-by-step picture. You can see all full steps by scrolling down.
There are sockets and plugs in all houses; this is an integral part of modern people’s life. We use gadgets, TVs, kitchen appliances and so on every day, that’s why we constantly come across sockets and plugs. And many of us, either in childhood or later, would like to try to draw these household items.
We may be one of the last generations to use these electrical devices as more and more developments lead to wireless technology.
Drawing & Painting supplies:
- Pencil;
- Black marker or ink;
- Colored markers, crayon, or felt-tip pens, colored pencils;
- Drawing paper (or devices, art apps).
Time needed: 25 minutes
How to Draw a Socket and Plug
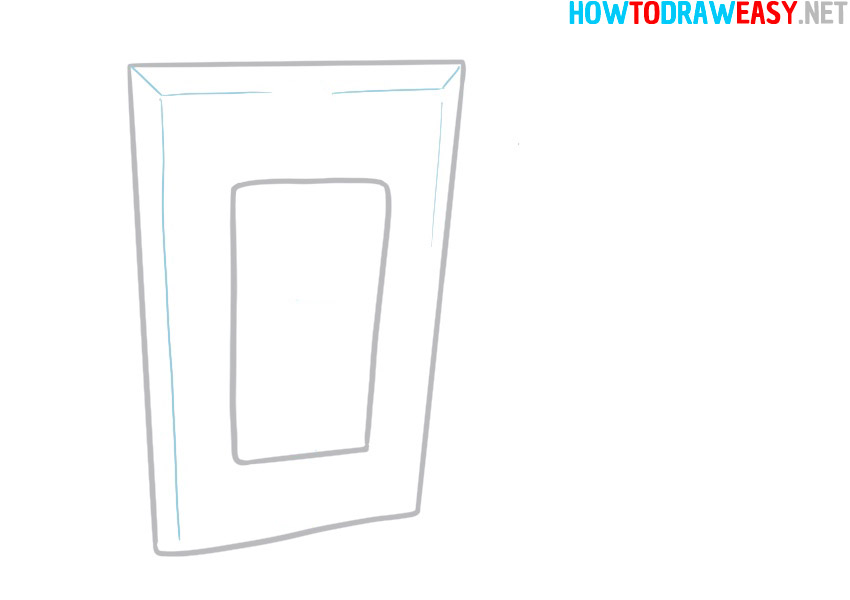
- Draw the outline of the socket.
First, you need to draw the design of the drawing, namely, a rectangular shape.

- Draw the inside.
Inside the first rectangle you sketched, you need to draw the second rectangle. These are the inner lines of the drawing.

- Draw lines.
You need to draw lines that will add a visual dimension to the drawing. Look at the example from the picture and repeat it on your paper.
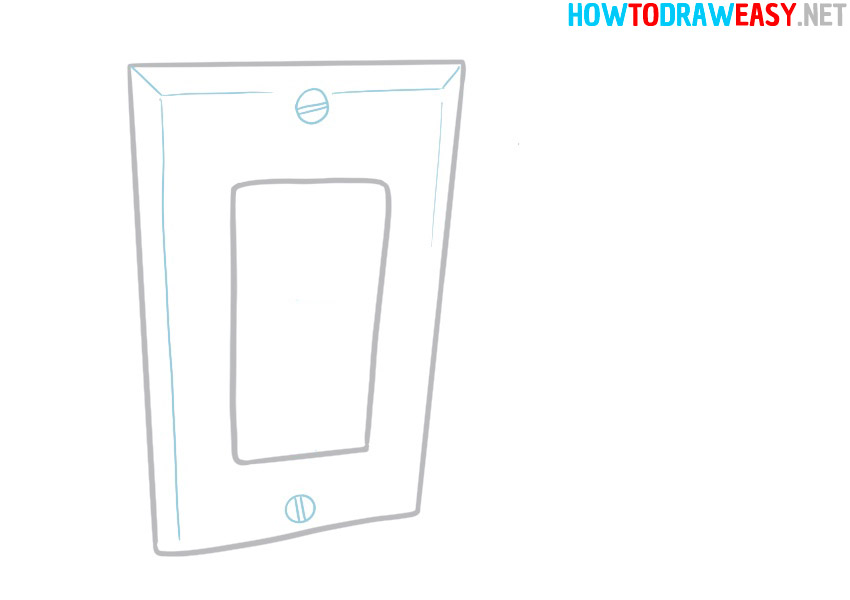
- Draw the bolts.
Wall rosettes are reinforced with various bolts. For a more detailed drawing, draw the bolts with which the socket is installed on the wall.
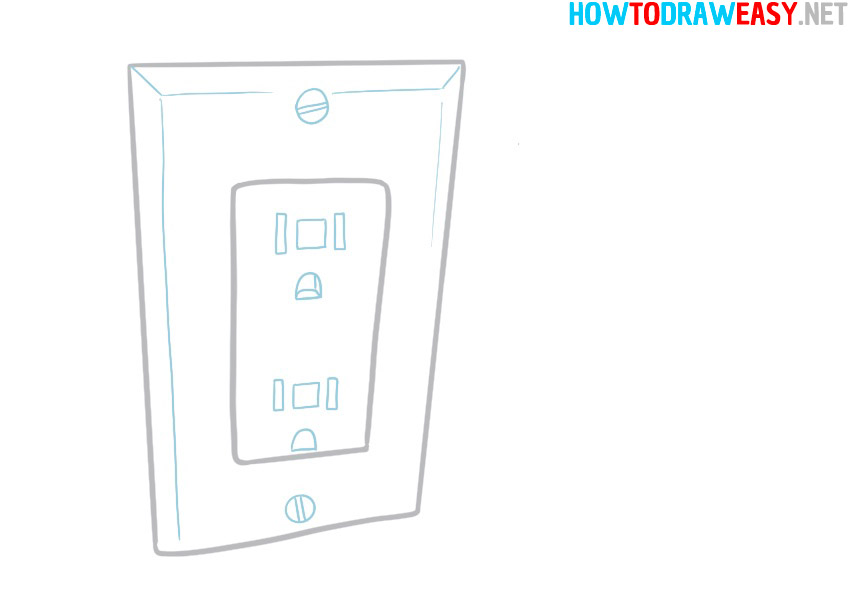
- Draw the holes.
Now we need to draw the main part of the socket. These are the holes into which the plugs are inserted.
- Draw a wire.
Draw a wire and a head from the wire where the plug is.
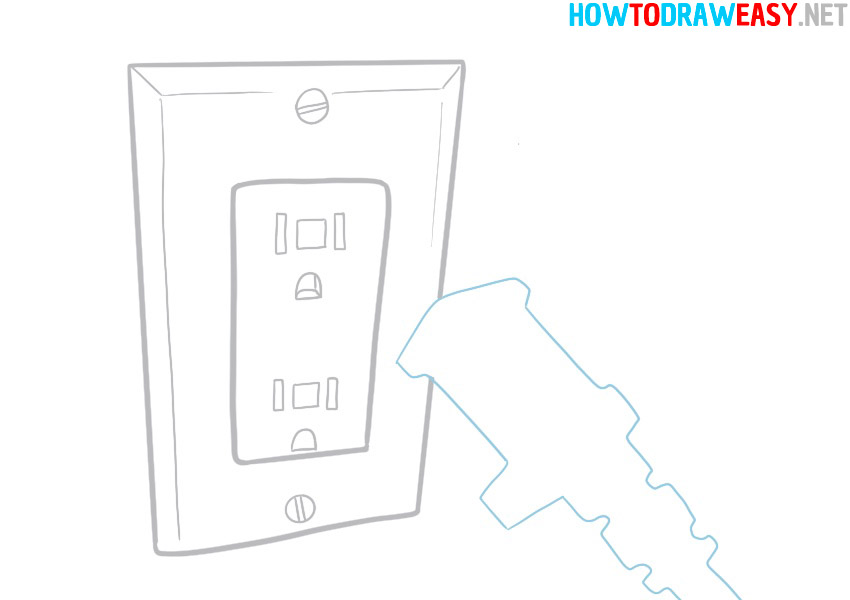
- Draw the details.
Draw the lines that will add volume to the wire.
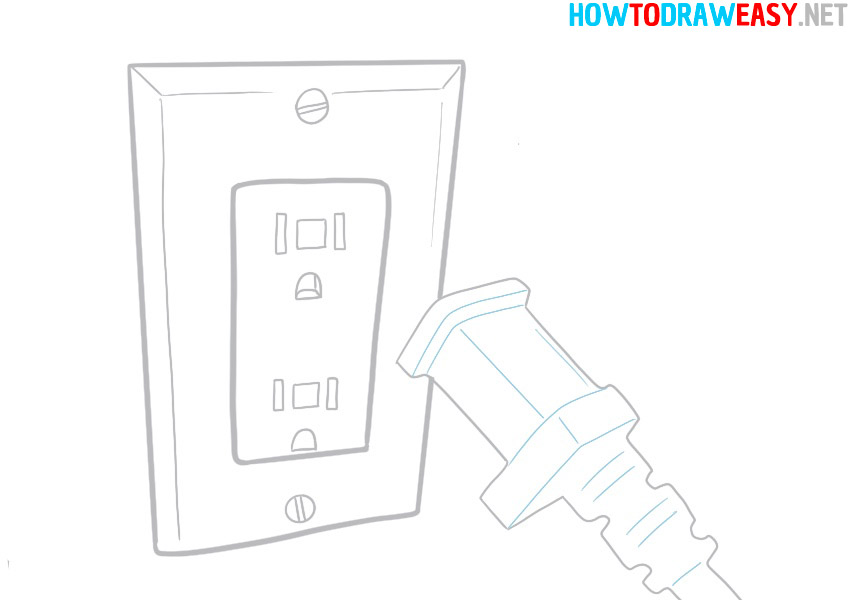
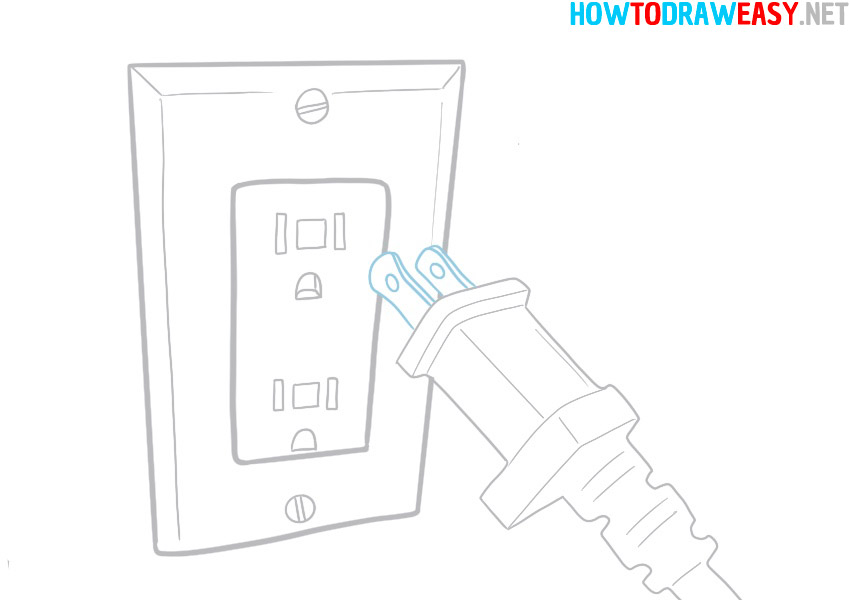
- Metal parts of the plug.
Now depict a metal plug that fits into the outlet.
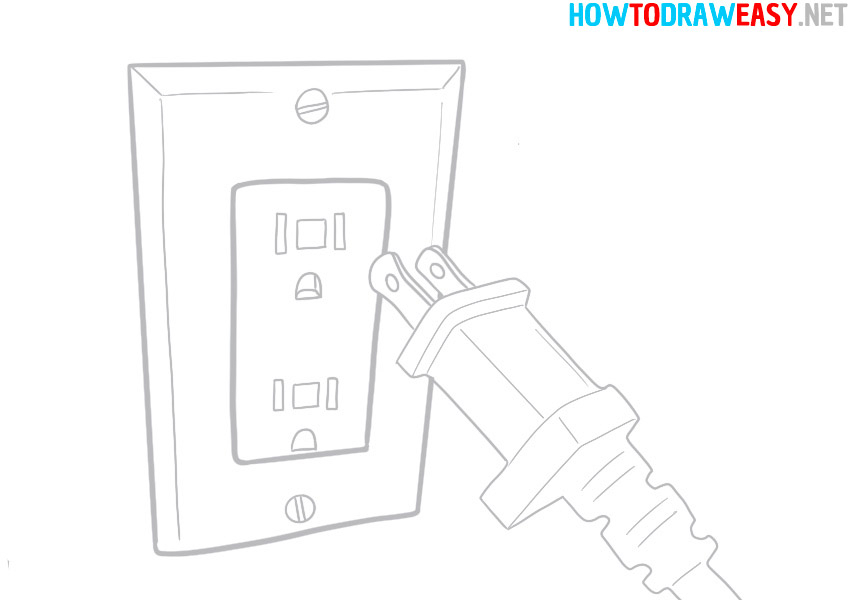
- Finish your pencil drawing.
Compare the resulting sketch with what we show in this step. This is the final part of the pencil drawing, which you should have finished the same as in this step.
- Trace the sketch.
Take a black marker or fountain pen and trace around the pencil sketch you drew. This is done so that the lines are more clearly visible when coloring and the drawing will be more detailed in the end.
- Color your drawing.
Take your favorite coloring tools and color in the socket and plug pattern.