
How to Draw a Snowman for Kids
Here you will learn how to draw a snowman very easily, even for kids and those who hold pencils in their hands for the first time.


Welcome everyone to the new lesson on how to draw a snowman for kids. The addiction to winter fun, such as making a snowman, was partially eradicated by the fact that many of the materials available could be used in the process. The snow turned out to be convenient to use: a large amount of it allowed you to create freely, it could be given the desired shape. How to draw a snowman? Both a beginner and an experienced amateur can cope with this task—just follow the step-by-step instructions.
The largest snowman in the world, listed in the Guinness Book of Records, went blind in Austria. The height of the snow-white smiling giant was 38.4 m. Drawing a snowman will cheer you up and help develop drawing skills, primarily of rounded shapes, symmetrical details, and various curved lines. Let’s start!
Time needed: 20 minutes
How to Draw a Snowman for Kids
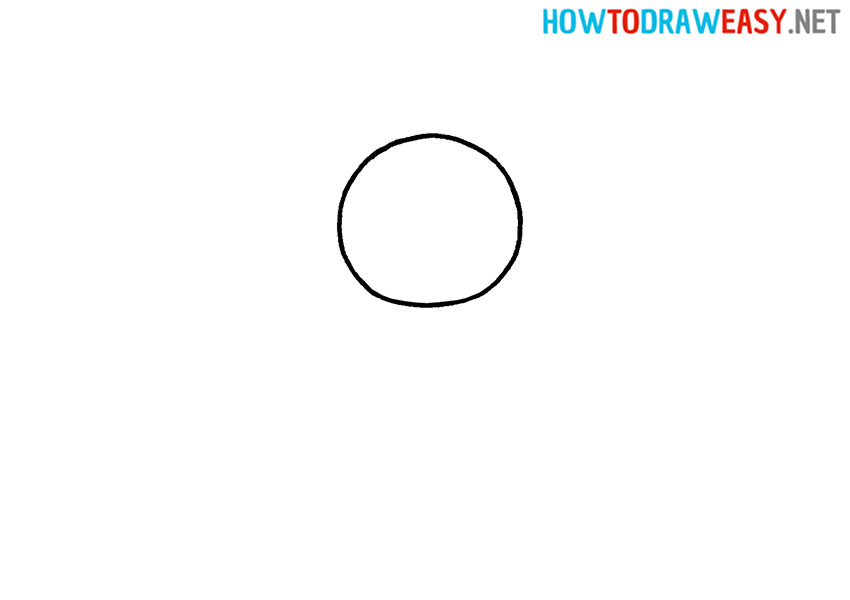
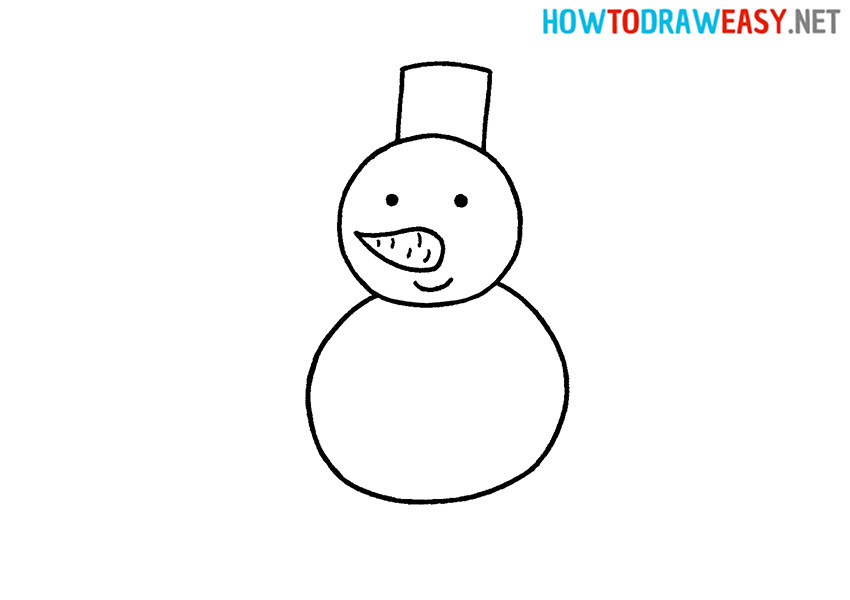
- Draw the head.
Start with a picture of the head of a snowman. It is a medium-sized circle.
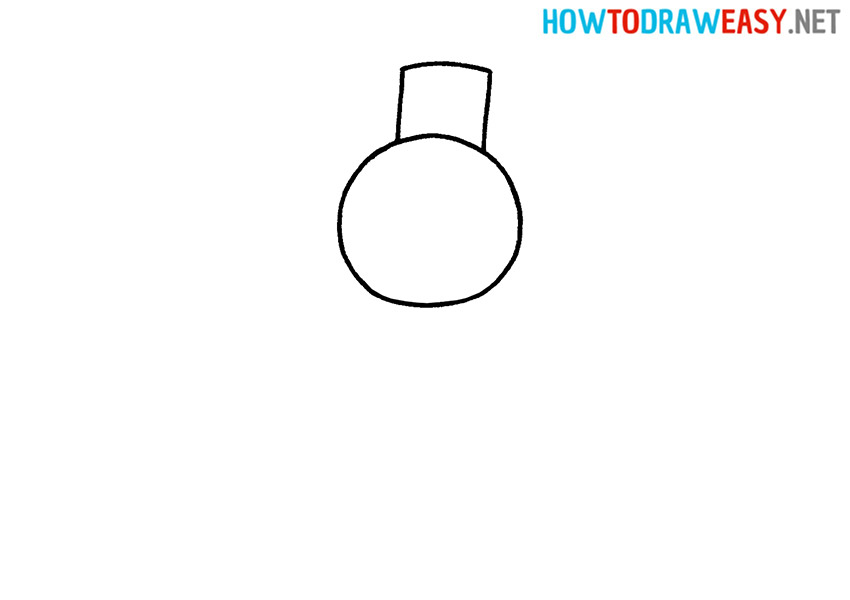
- Add the bucket.
The bucket on the snowman’s head is a rectangle. Please note that its top side is slightly raised (the bottom of the bucket).
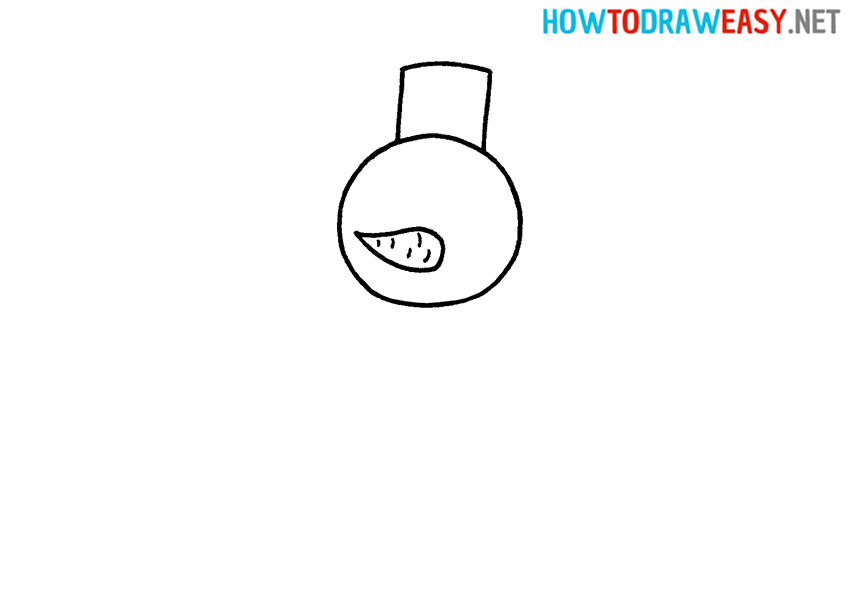
- Draw the nose.
Carrots are located in place of the nose. It is in a horizontal position. Apply several lines (indentations) to the root vegetable.
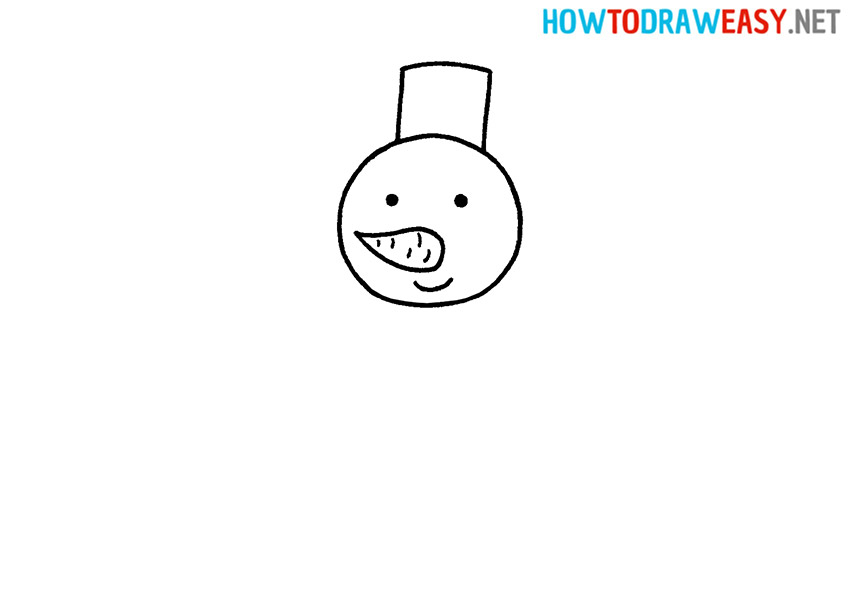
- Draw the eyes and mouth.
The snowman’s eyes in the figure are two black, bold dots. Draw an arc under the carrots—this is how the mouth will look.
- Draw the body.
The snowman’s body is another snowball. Draw a larger circle than the first one.
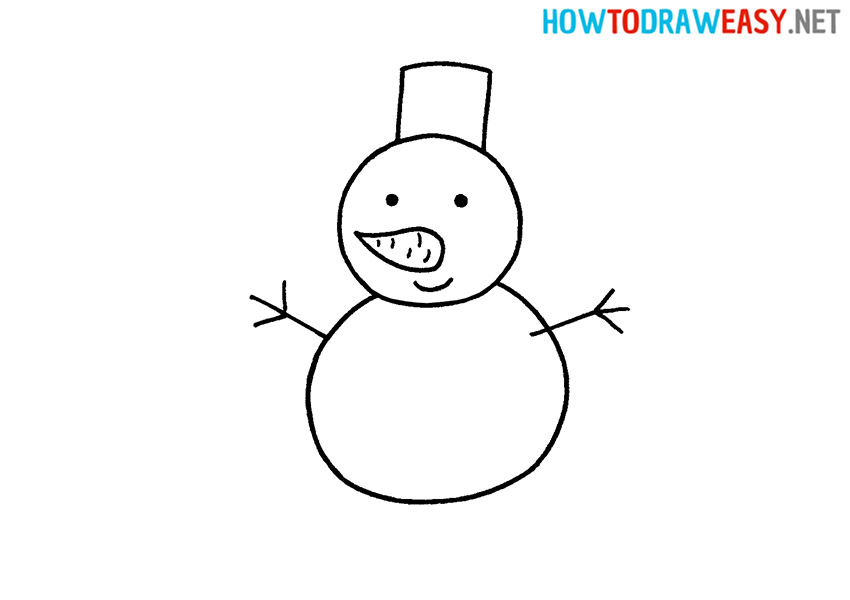
- Draw the arms.
The branches will represent the hands of a snow figurine. Draw two identical straight lines on both sides of the character, and on these lines draw three short fingers each—branches.
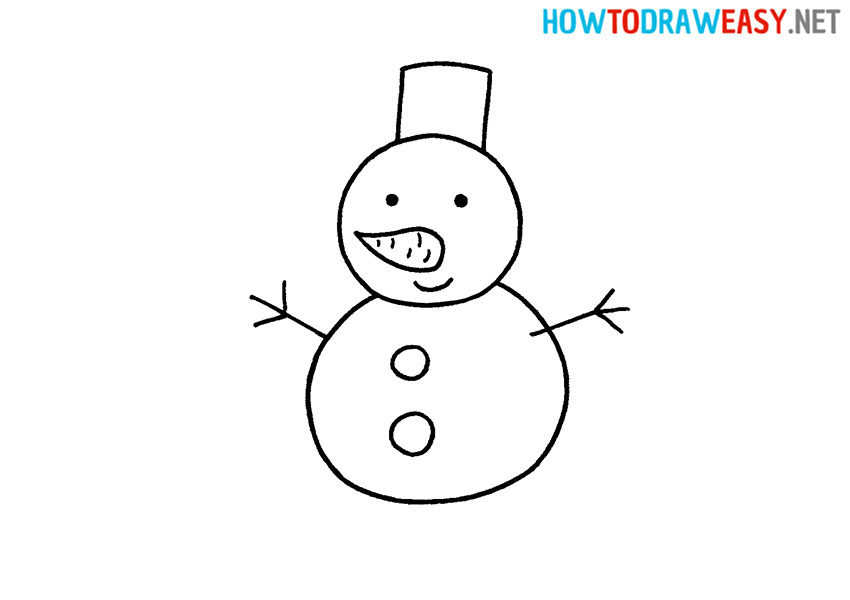
- Draw the buttons.
Buttons are two circles of different diameters located on the snowman’s body at a short distance from each other. Place the smaller button above and the larger button below.
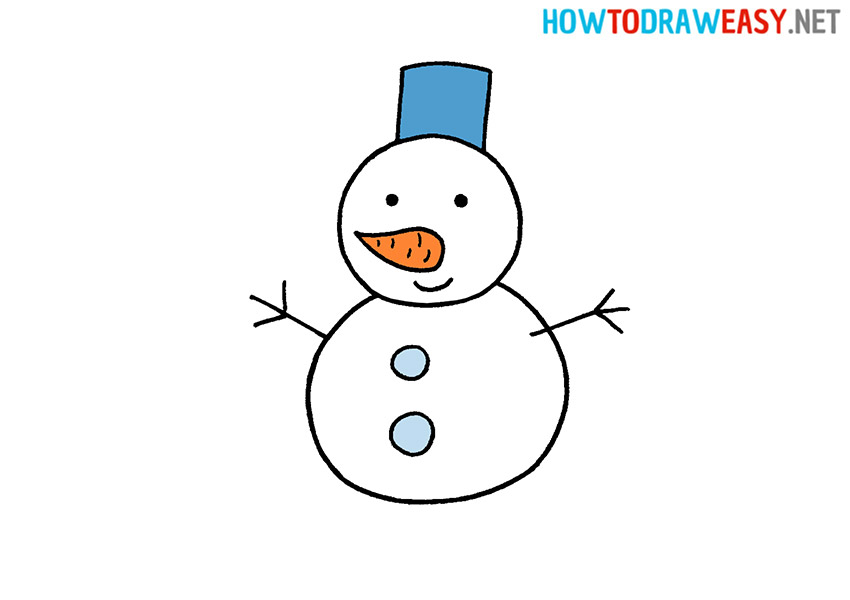
- Color the drawing.
Using the example, add colors to your snowman drawing.


Your drawing is ready! We are waiting for your opinion regarding the drawing lesson in the comments. Also try to draw other art projects with us.