
How to Draw a Snowflake
Learn how to draw a snowflake step by step and easy enough for beginners, start a sketch with this tutorial. Create a wonderful winter art project using this drawing tutorial!


Hi all! In this step-by-step instruction, you will learn how to draw a snowflake. We think you have many times turned your eyes to the sky, from where snowflakes descended, smoothly landing on the sleeve of a jacket or on your face. Or you live in a warm region and have never seen the little ice crystals that we used to call snowflakes. One way or another, this instruction can be really entertaining and useful for you if you want to sketch a snowflake.
Looking at snowflakes up close, you can see that each snowflake is very different and has its own individual look. However, if we turn to newer information, we can find out that in some cases the external outlines of snowflakes can be quite identical to each other. And yet the structure of each ice crystal, consisting of atoms, will still be unique. Drawing snowflakes is a simple and enjoyable process, which we suggest you start now. Let’s start!
Time needed: 15 minutes
How to Draw a Snowflake
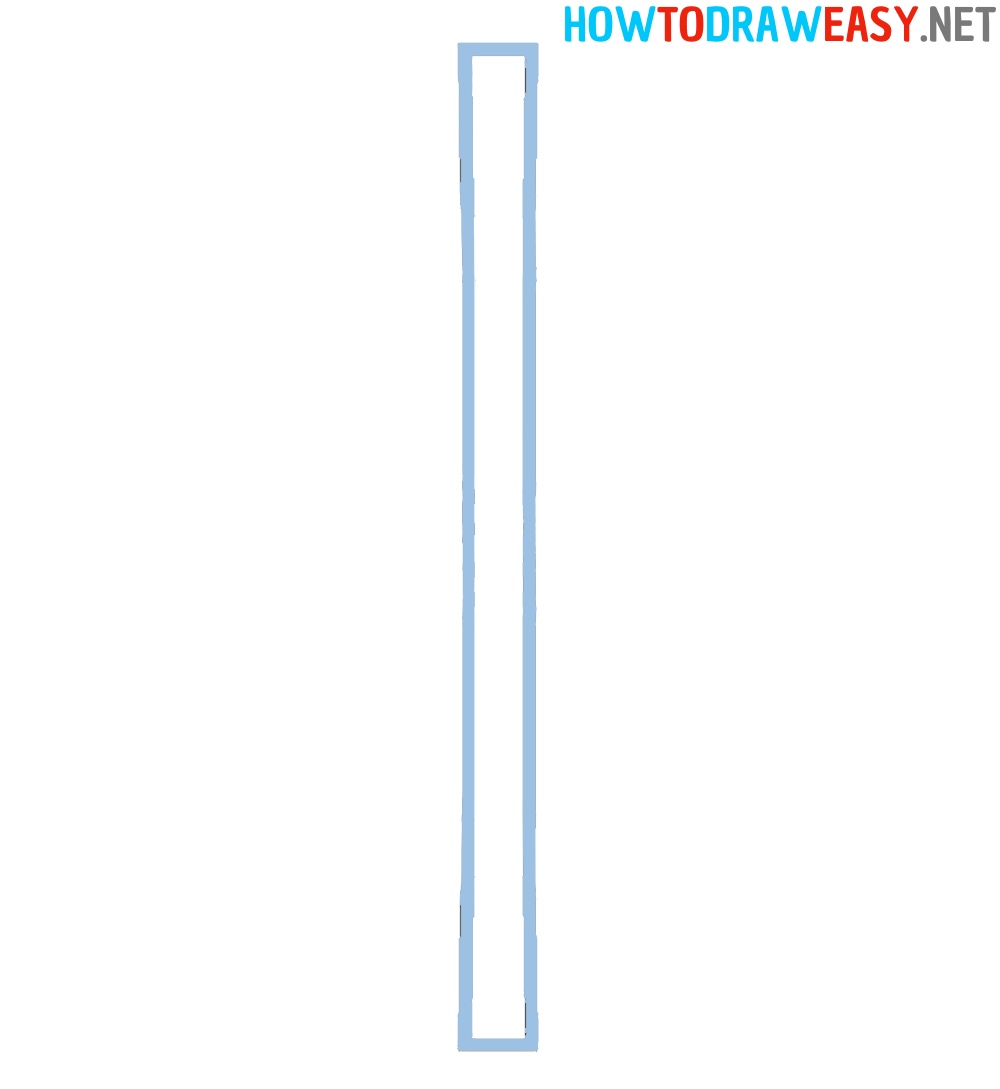
- First detail.
We will sketch a snowflake from straight lines, and we need to start with a vertical rectangular shape.
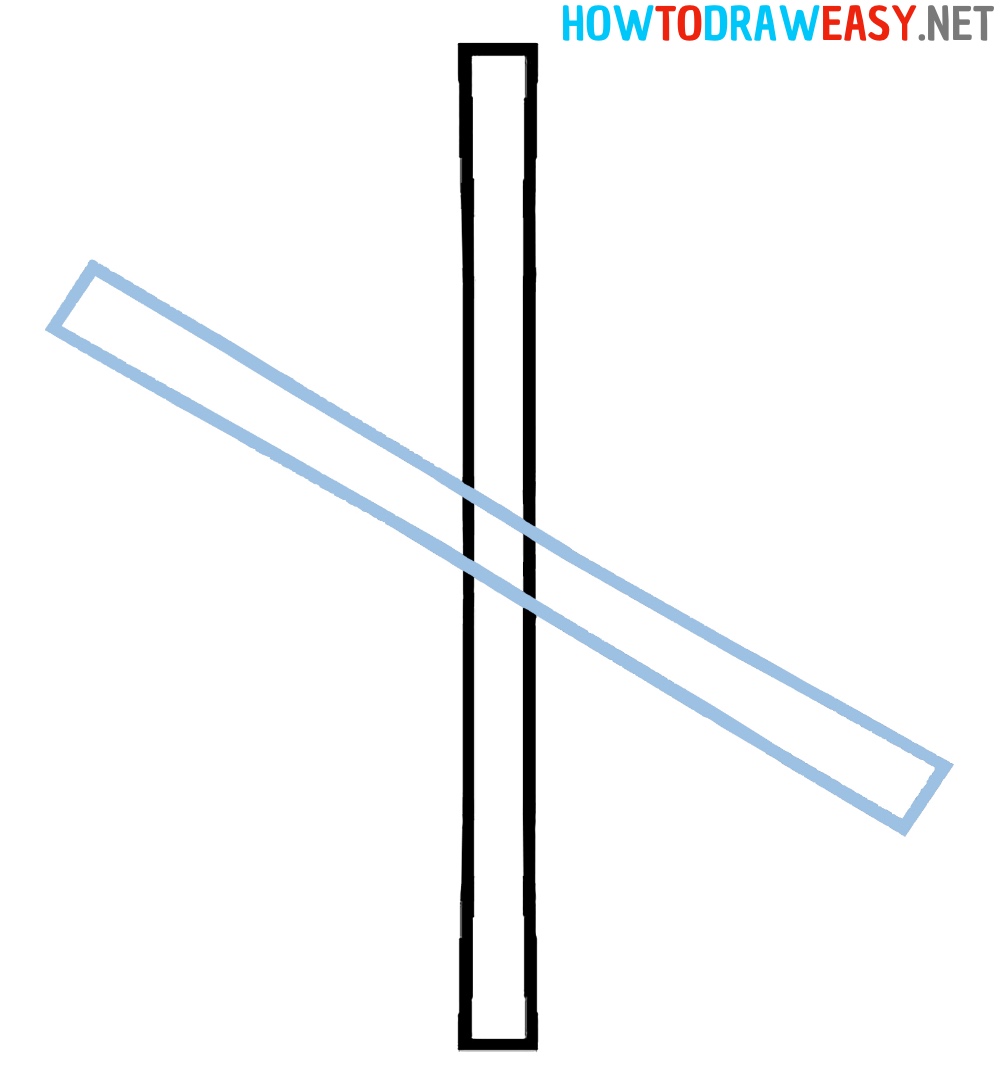
- Add a diagonal.
Through the middle of the drawn part of the flake of snow, draw a diagonal shape. A diagonal is a line connecting two corners. In this step, you should end up with a slanted X.
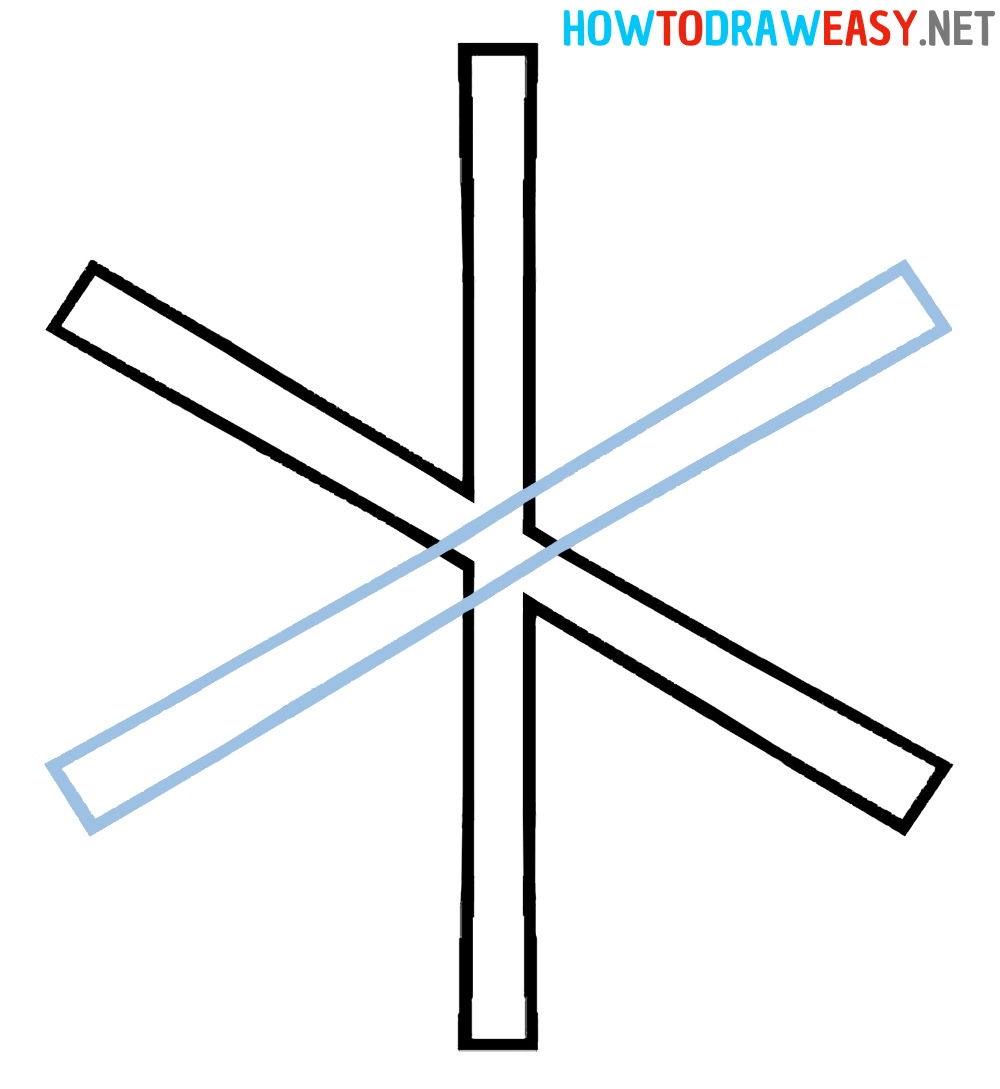
- Second diagonal.
Now you need to add another diagonal part that intersects in the middle of the previous drawn parts of the snowflake. By the end of this step, you will have the most basic flake of snow shape. By the end of this step, you should have a shape like an asterisk symbol. Don’t forget to use the eraser to erase the extra intersecting lines in the center.
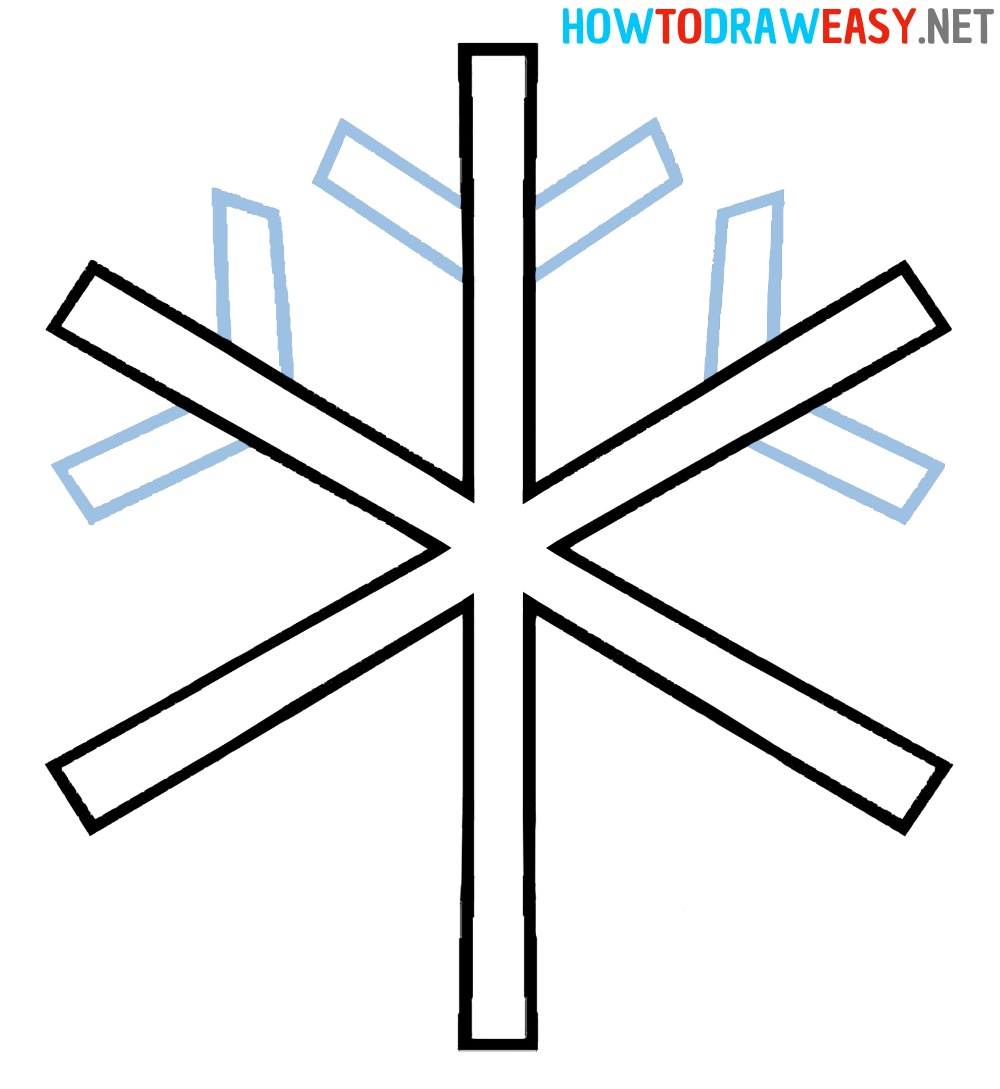
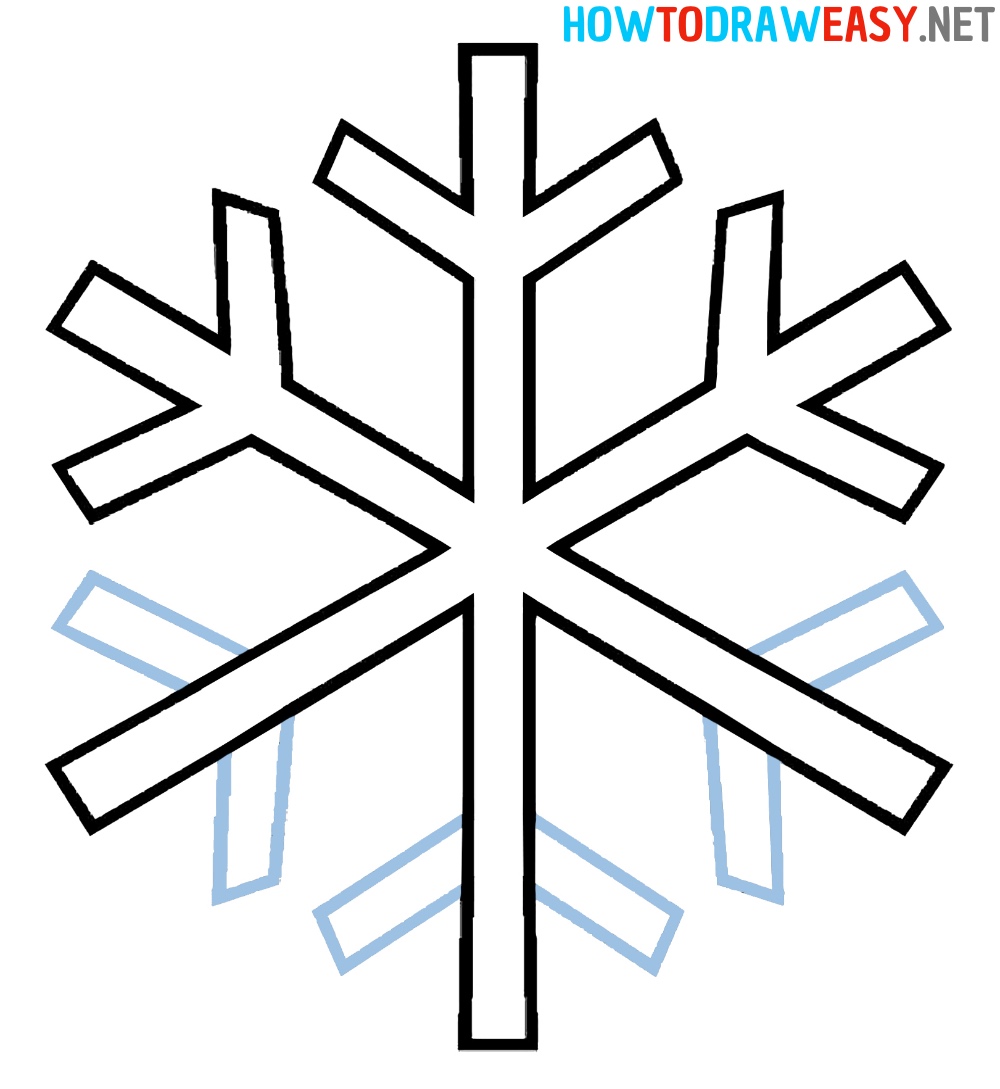
- Top details.
In this step, we move on to detailing the snowflake by adding “branches” at the tips of the top of the flake of snow.
- The bottom “arms”.
Repeat the same process as in the previous step, but at the bottom of the snowflake.
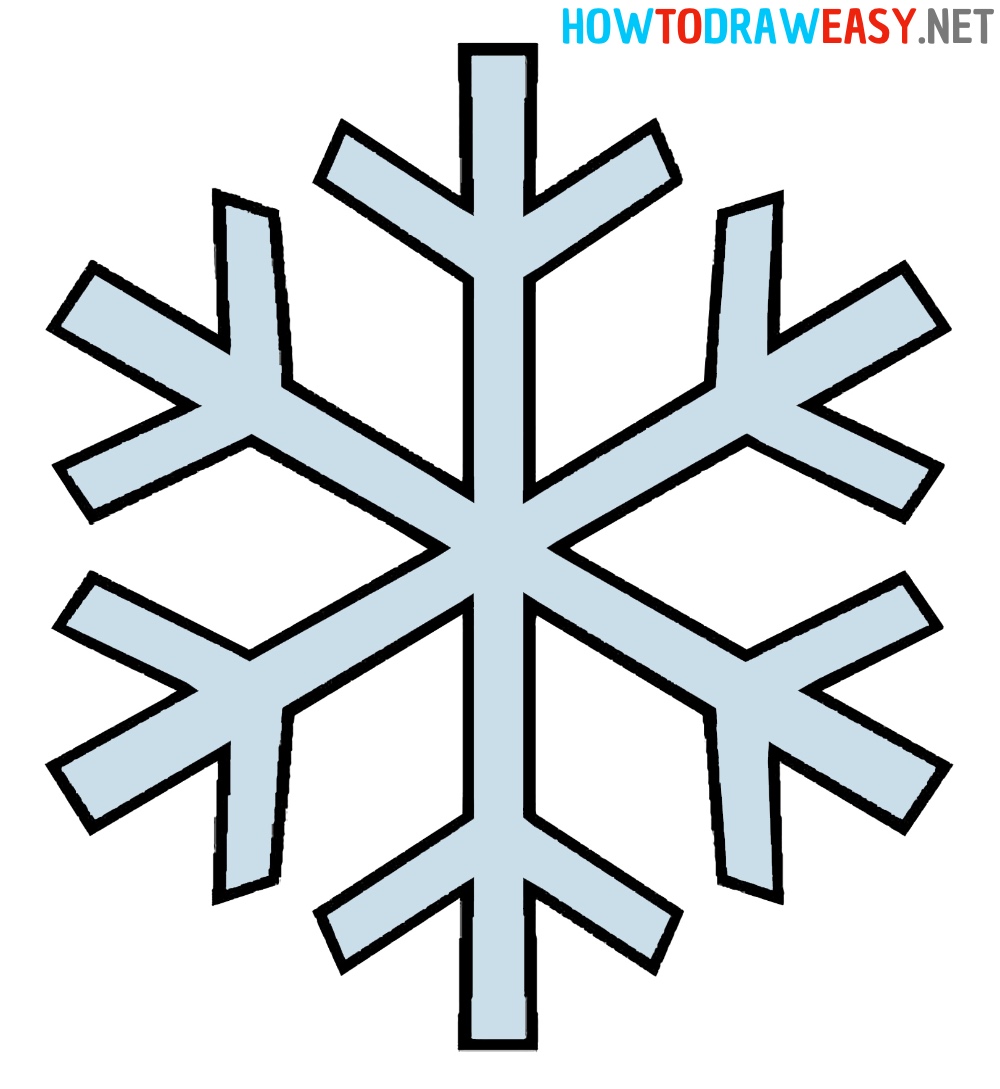
- Color your flake of snow artwork.
Now you need to trace and color your artwork with a marker or fountain pen. We hope that this instruction has become useful for you and that you were able to draw a flake of snow the way you intended.


Easy to learn
Easy to learn