How to Draw a Sky
Do you want to know how to draw the sky? In this step by step drawing lesson, you can learn it easily.
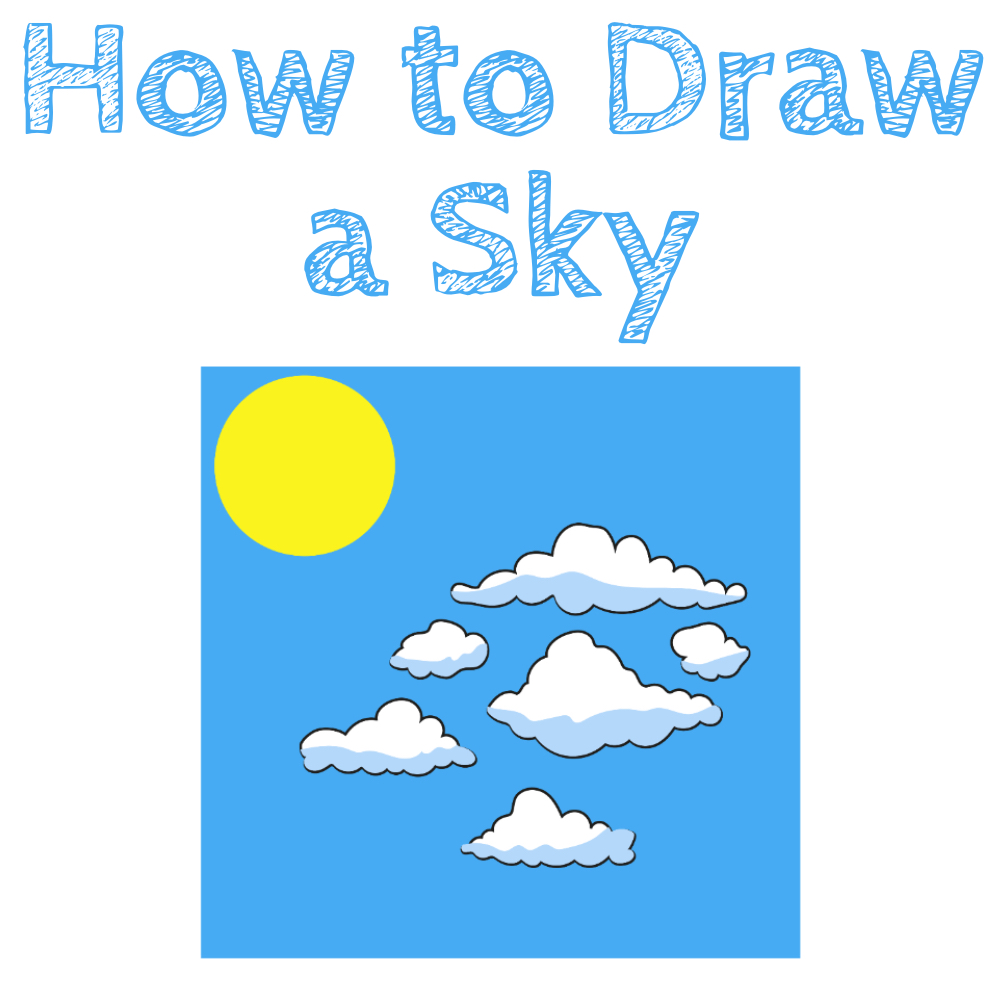
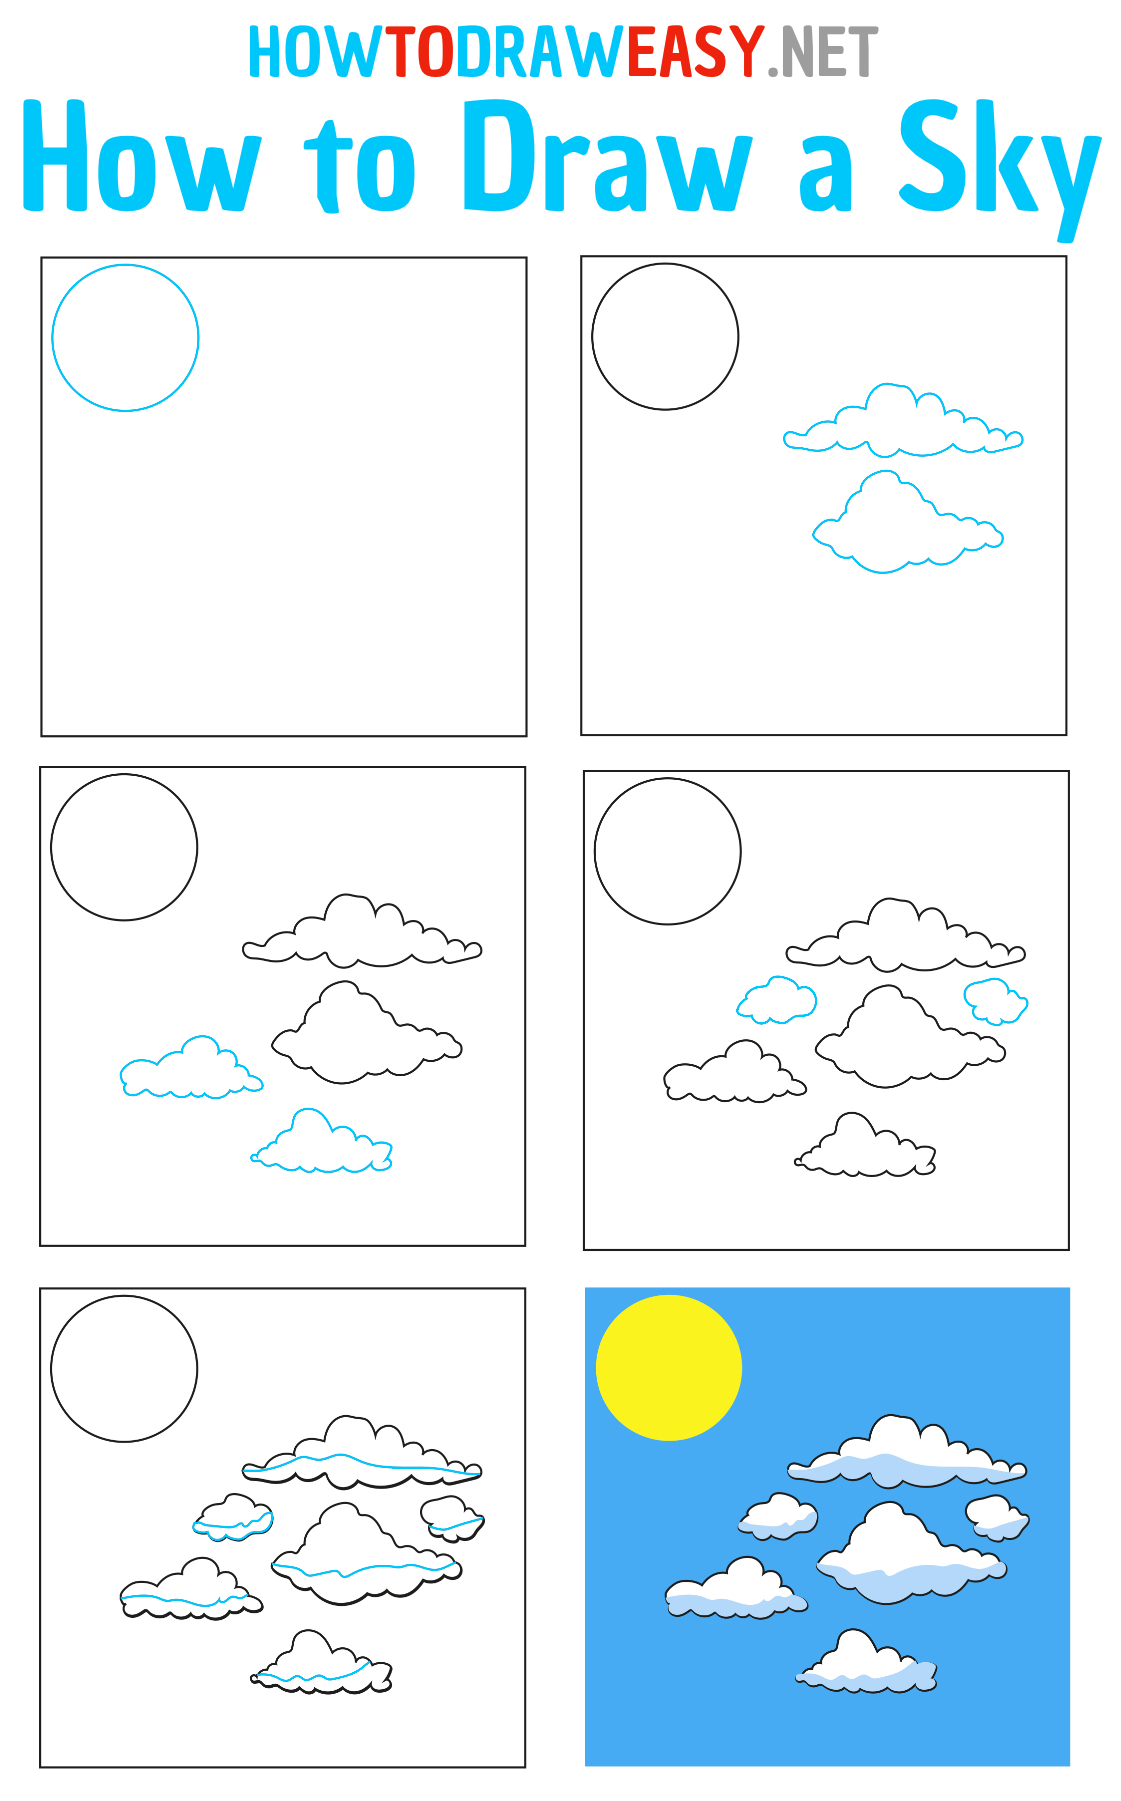
The sky is an endless, powerful blue canopy that stretches above us. It is an immutable part of our surroundings and a never-ending source of inspiration for artists, poets, and dreamers. In this easy step-by-step drawing lesson, you will learn how to draw the sky. Join your friends and draw together, then compare your drawings. The process promises to be fun and interesting.
The main component of the sky is clouds. Clouds are aerial formations consisting of water vapor, droplets, or ice crystals carried by the wind to great heights. They create captivating shapes ranging from fluffy cotton-like patches to majestic storm clouds. Each cloud is unique, like a work of art, bringing a sense of unimaginable beauty.
The sky can also be adorned by bright sun, illuminating and piercing through the clouds, creating vibrant sun rays and unforgettable sunsets. The sun and its rays breathe life into the sky, adding additional shades and reflections.
In addition to clouds and the sun, the nighttime sky can also be adorned by stars, the moon, and various atmospheric phenomena such as rainbows or lightning. These elements bring extra magic and mystique to the celestial palette.
When drawing the sky, it is important to notice and convey all these details and nuances in order to immerse oneself in its boundless beauty and create an artwork that reflects its wonders. The diversity of colors, shapes, and textures allows us to express moods, emotions, and memories associated with the sky. So let’s dive into the world of drawing together and create a magnificent piece of sky art step by step.
Time needed: 20 minutes
How to Draw a Sky Step by Step
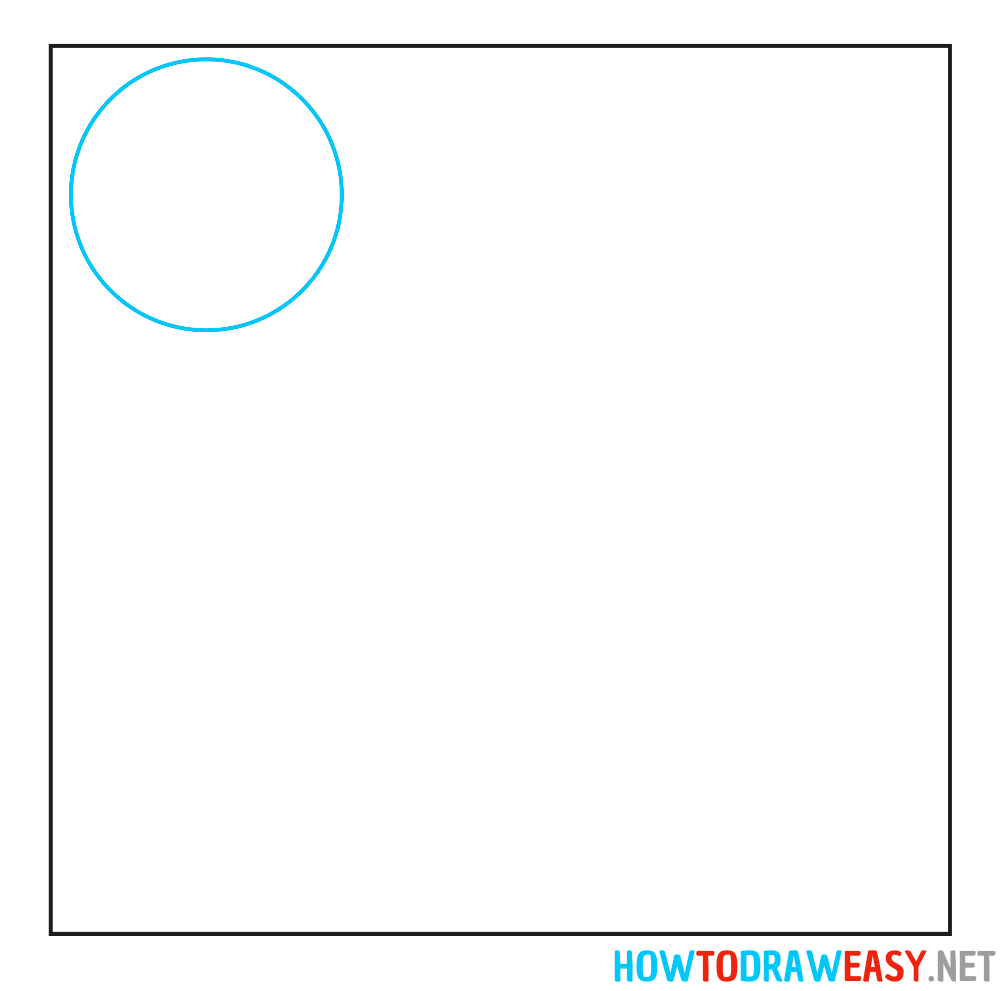
- Draw the sun.
Start by drawing the sun. You can draw the round-shaped sun using a very thin pencil line.
- Draw the clouds.
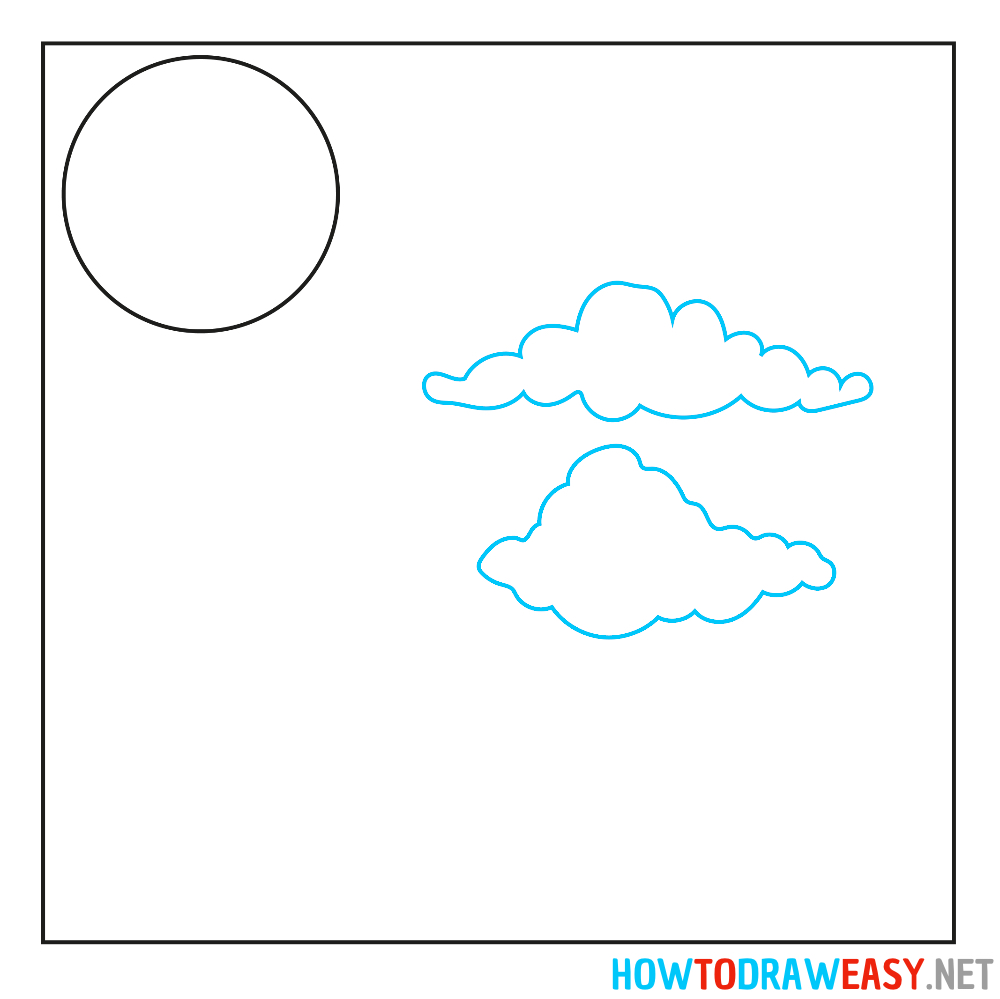
Now, you need to draw the first two clouds to the right of the sun.
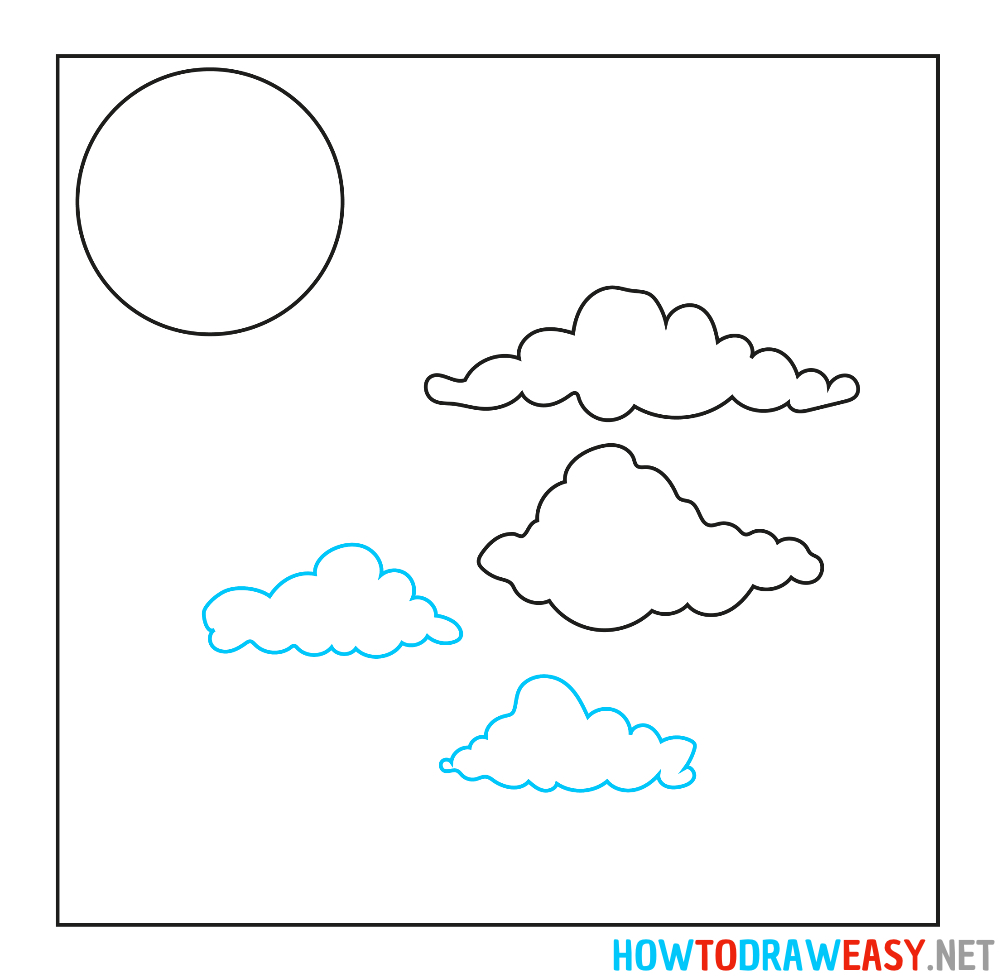
- Add more.
Continue filling your sky with clouds and add two more clouds slightly below the previously drawn large clouds.
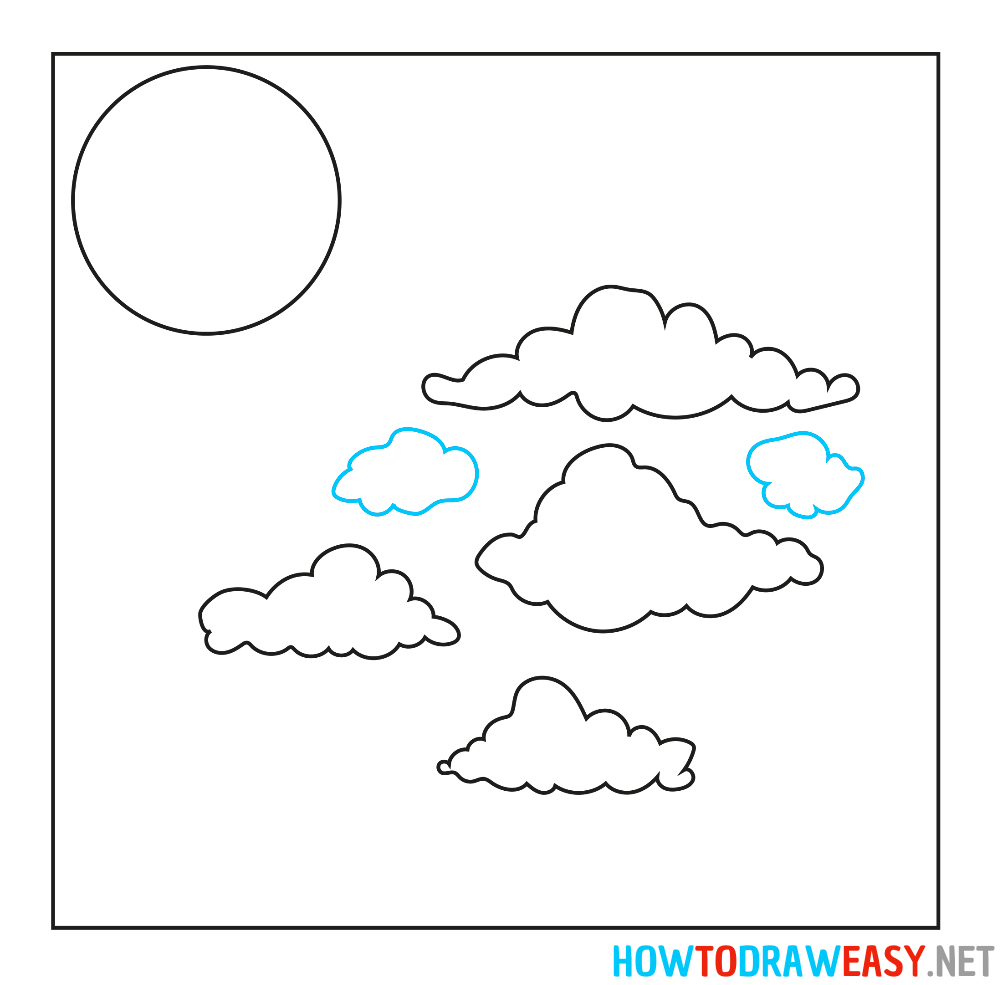
- Add small clouds.
To make your drawing more detailed, draw two small clouds between the previously drawn large clouds.
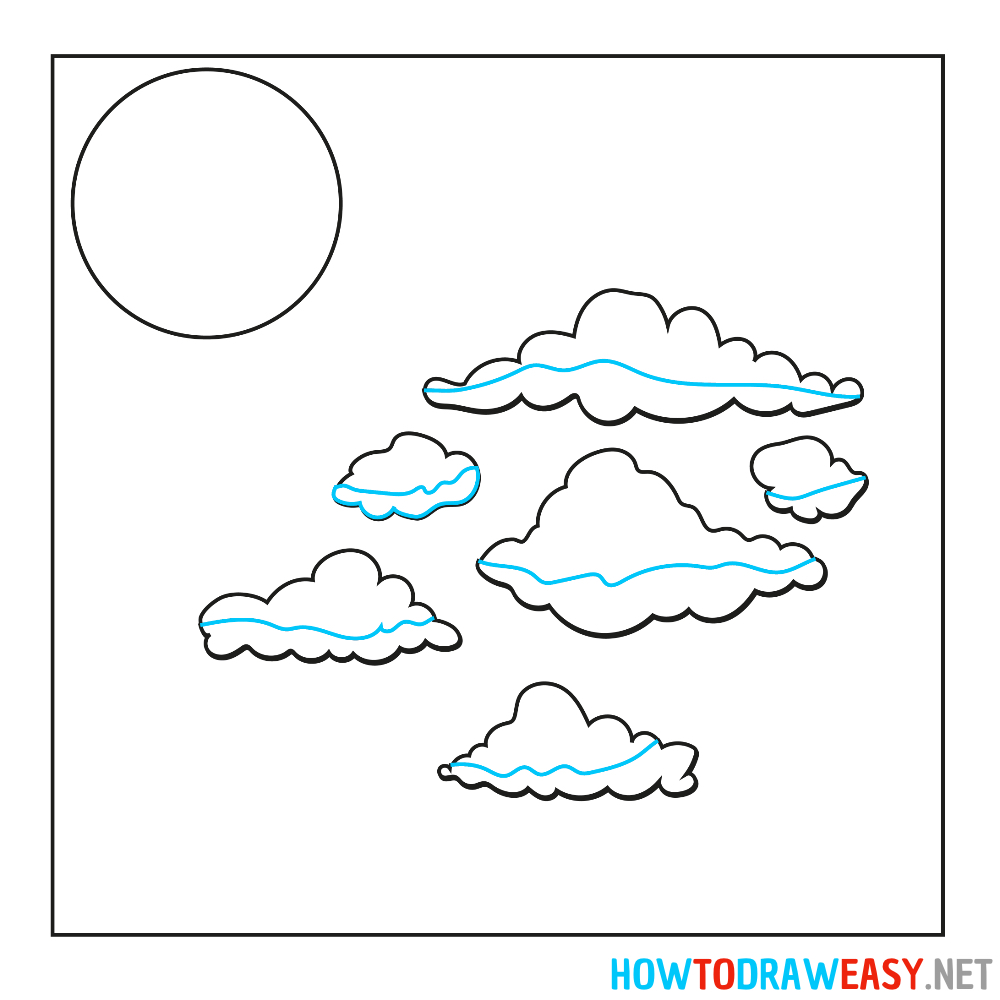
- Add shadows.
To draw shadows, simply add additional lines that visually divide the clouds into two parts. Refer to the example for this.
- Color the drawing.
Use blue color to color the sky, then color the sun using a bright yellow color. For the clouds, use a light gray color, but only color the lower shaded parts of the clouds.

We are delighted that you joined this drawing lesson and drew clouds together with us. Clouds are not only a natural phenomenon but also a tool for expressing our emotions and imagination on canvas. They are unpredictable and unique, as if possessing a life of their own.
By gazing into the sky, we can transport ourselves into a world of fantasy and create our own stories, dreaming of uncharted adventures and free flights. Each cloud drawing reflects our unique perspectives and memories, transforming a sheet of paper into art.
Your cloud drawings will serve as a testament to your awe and inspiration from this marvelous natural phenomenon. Keep looking up to the sky, connecting with nature, and continue exploring new facets of your creativity.
Thank you for joining our lesson and sharing your talents and creative ideas. May your art always take you to the beautiful world of the sky and clouds!
