
How to Draw a Shirt for Kids
Accessible and easy—this is about this drawing lesson in which you will learn how to draw a shirt! Draw and develop in drawing with us.


Hello and welcome to our tutorial on how to draw a shirt for kids! We are glad to see everyone in our lesson, during which you will definitely be able to learn something new. You don’t have to be highly artistic to color a shirt. This tutorial will show you how to easily draw a shirt.
We make all our instructions as simple as possible so that everyone has the opportunity to learn how to draw beautifully. This wardrobe item is suitable for both women and men. The classic shirt makes the look more stylish and memorable. And what is important is that shirts can be combined with different things and different styles. Let’s start drawing!
Time needed: 20 minutes
How to Draw a Shirt for Kids
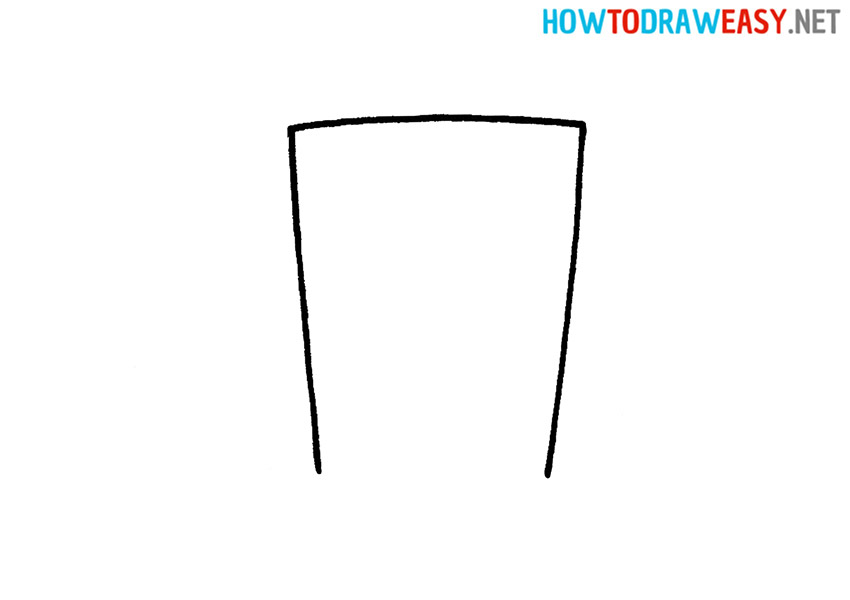
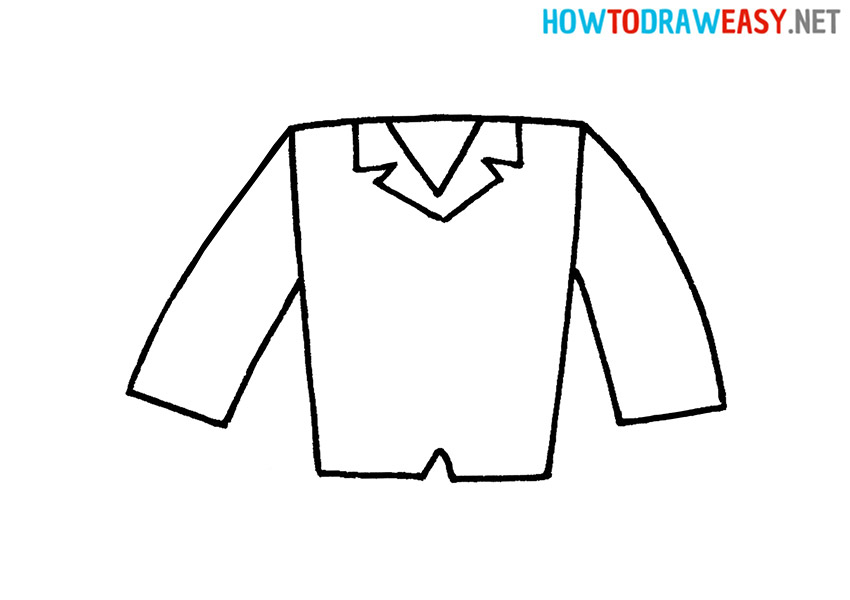
- Draw the base of the shirt.
Draw two vertical lines at a slight angle and connect at the top with a horizontal line.
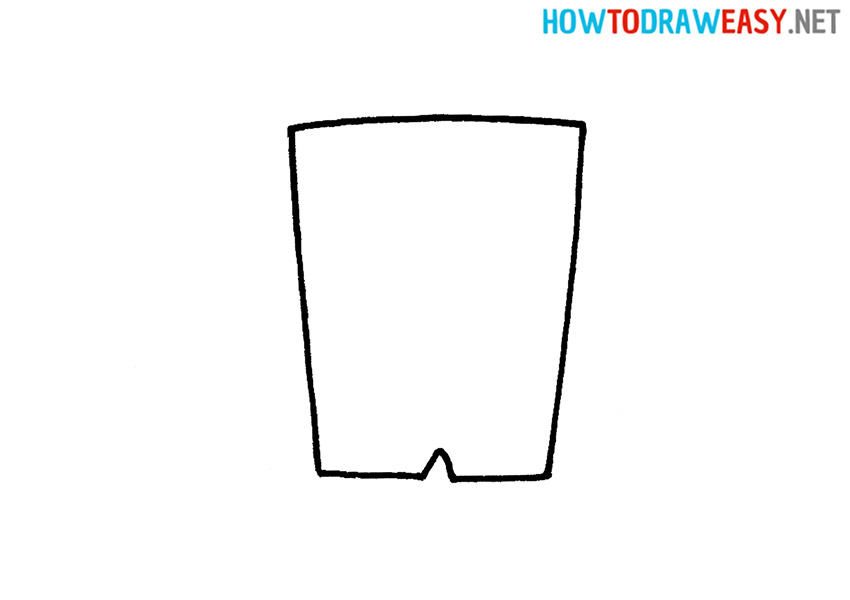
- Add the bottom.
The bottom of the shirt looks like a horizontal line, but there is a corner in the middle.
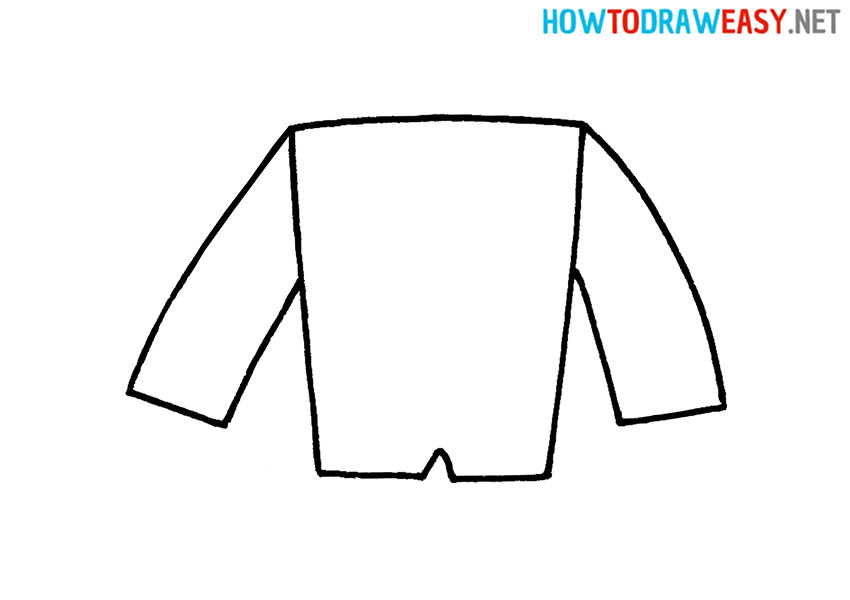
- Draw the sleeves.
Draw large, long rectangles on the sides.
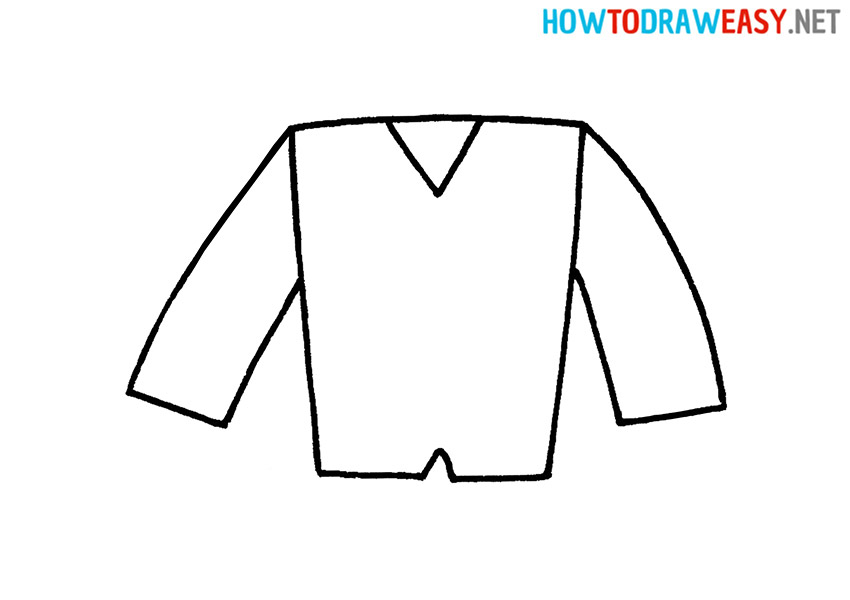
- Start drawing the collar cut.
Draw a large, inverted triangle on top of the shirt in the middle.
- Finish drawing the collar.
Next, you need to draw a collar, as shown in the instructions.
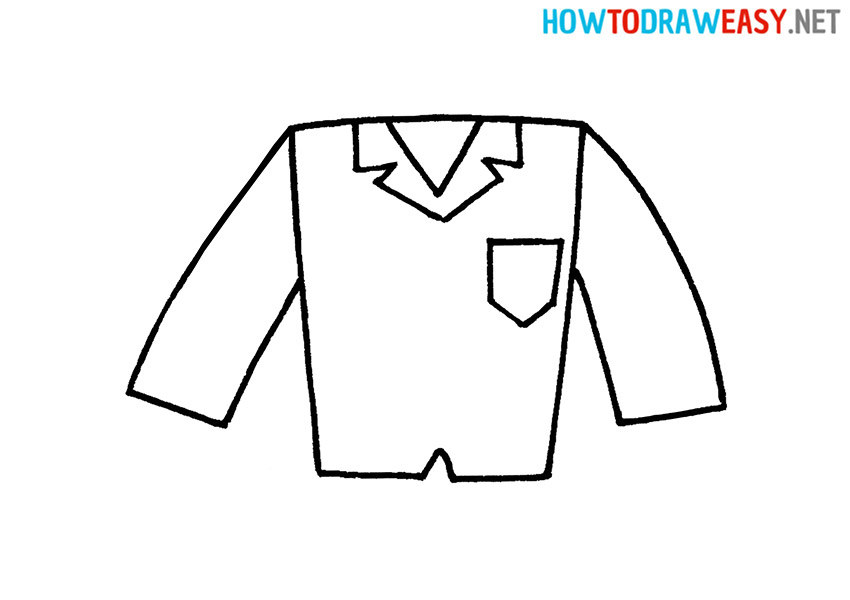
- Depict the pocket.
Draw the large pocket on the right side of the shirt in the corner. The top of the pocket is square, the bottom is triangular.
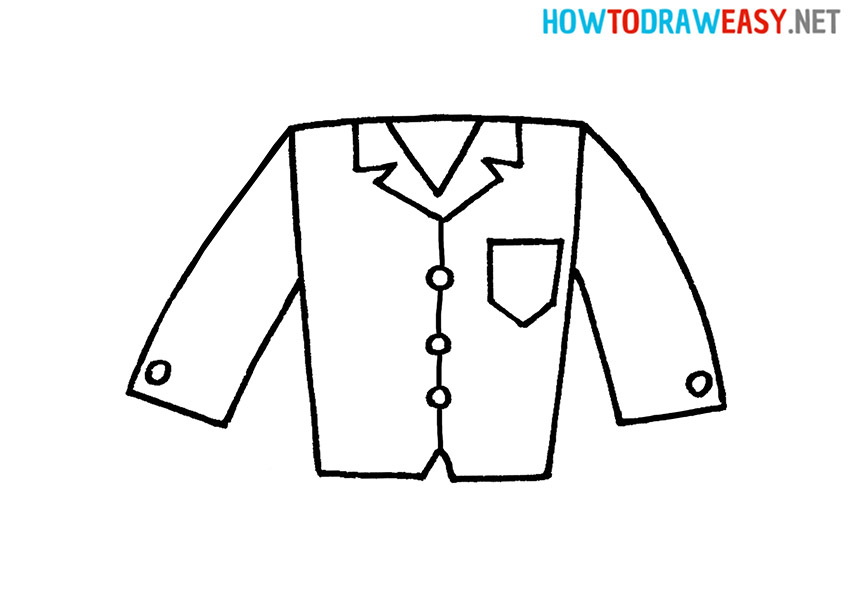
- Add details.
Draw round buttons in the middle and on the sleeves of the shirt. Also add a vertical line in the middle.
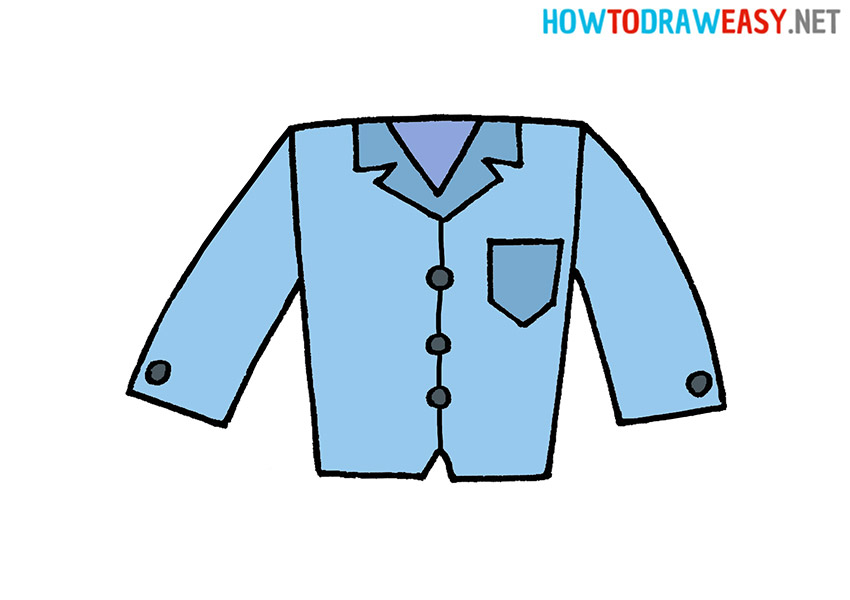
- Color the drawing.
As you can see, we shaded our shirt using a shade of blue. You can repeat the same color for your drawing, or use other colors.


Drawing is a long and difficult process, but we’re trying to show you that it’s easy to draw, too. Start your artistic path with us and reach great heights in this art. Have you ever tried drawing buildings? If not, then we recommend that you test your skills in drawing a house.