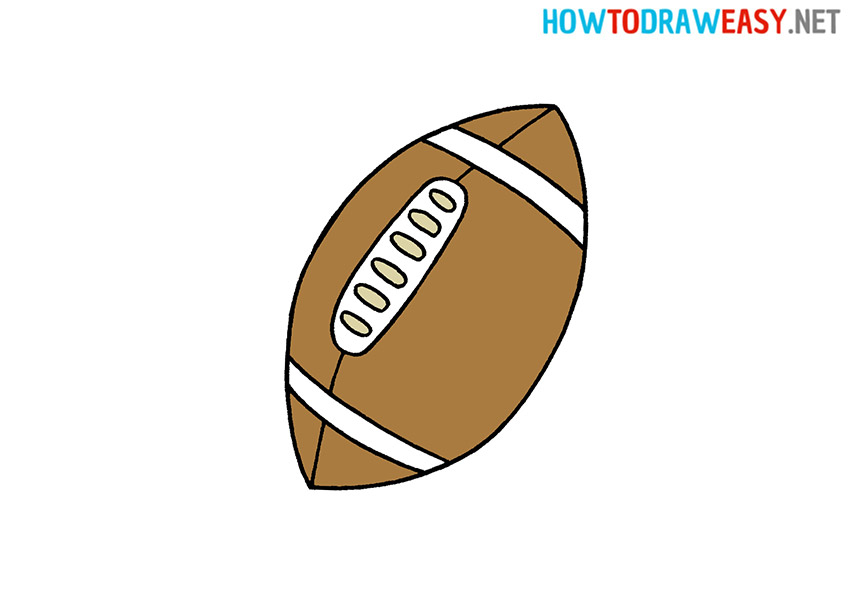
How to Draw a Rugby Ball for Kids
Learn how to draw a rugby ball for kids step by step with this elementary football drawing tutorial for schoolers and preschoolers.
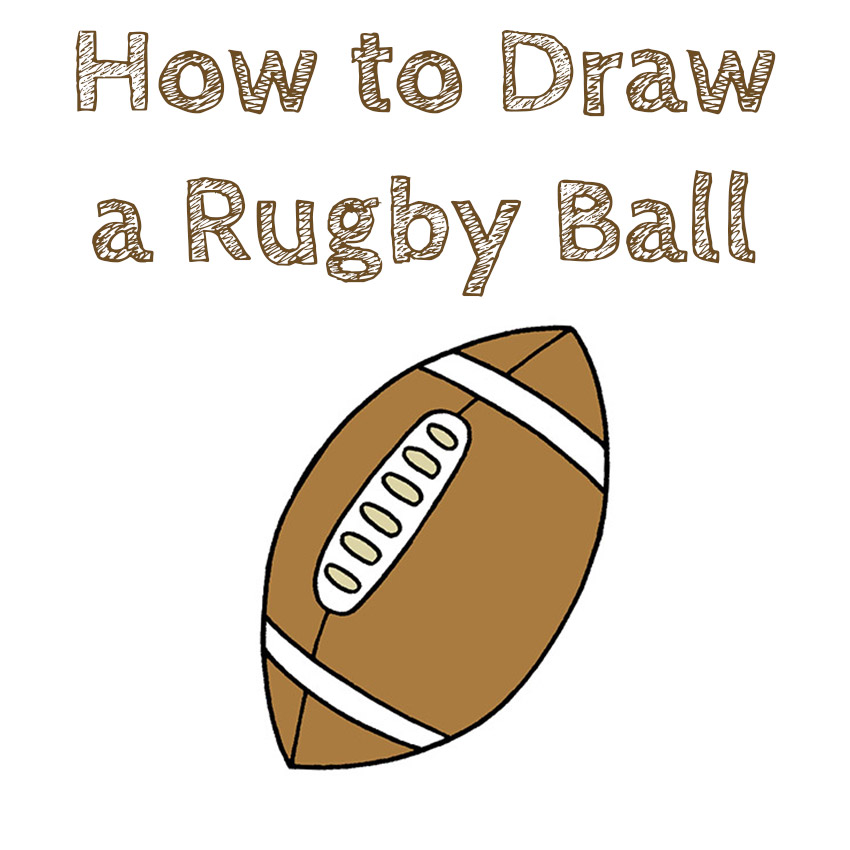
In this step-by-step drawing tutorial, you will learn how to draw a rugby ball for kids. Rugby is a very traumatic sport, invented in England in 1823. After that, a lot of time passed and rugby spread throughout the world, and some details of rugby were transferred to American football. But now, even though this sport was invented in England, it is customary to call it American football, since its popularization began there. The essence of the game is to bring an oval-shaped ball to the opposite side of the sports ground while using power techniques. The game lasts 80 minutes, 2 halves of 40 minutes each. In this case, each team must have 15 players. The size of the playing area is 100×70 meters, not taking into account the 10-22 meters of the scoring area, while being in it with the ball, a point will be counted for bringing the ball to the opposite side.
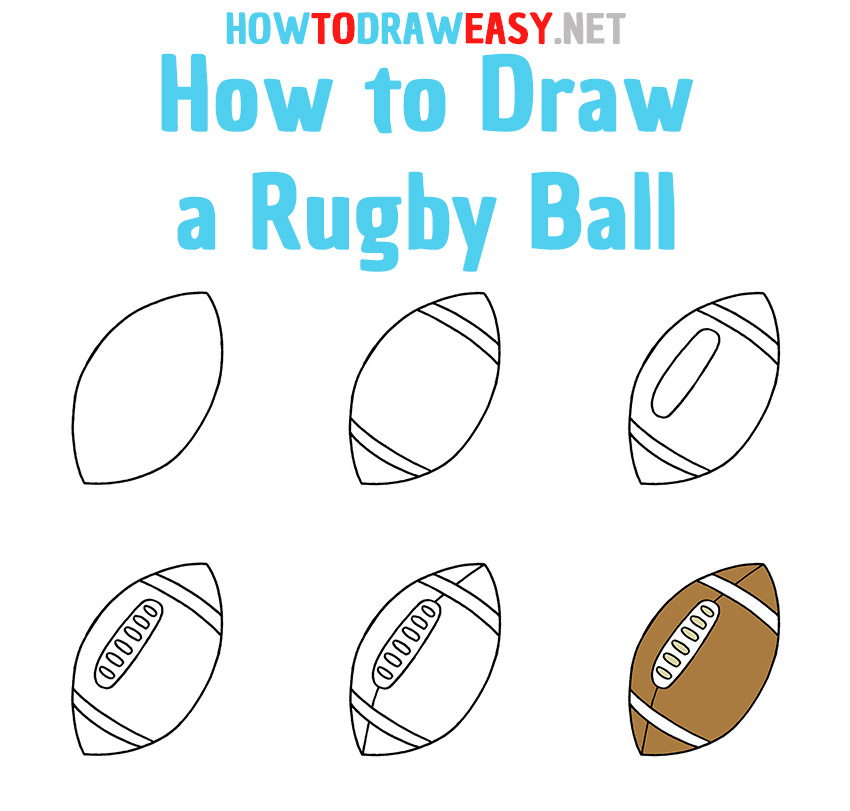
Below there will be step-by-step instructions with detailed breakdowns of the steps. Enjoy the drawing process!
Time needed: 20 minutes
How to Draw a Rugby Ball
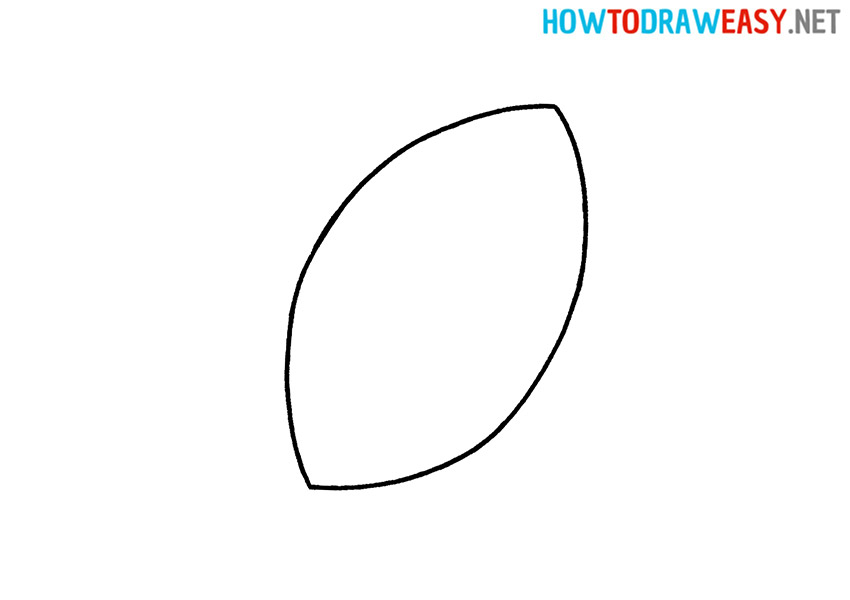
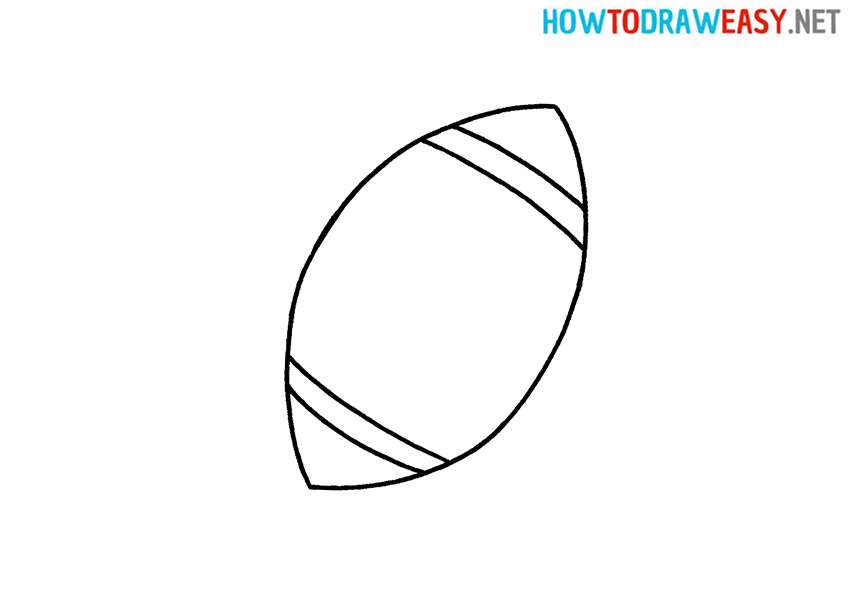
- Draw a big shape.
Start by drawing the basic shape of the rugby ball. Draw a pointed oval that looks like a leaf.
- Add stripes.
Add curved lines as shown.
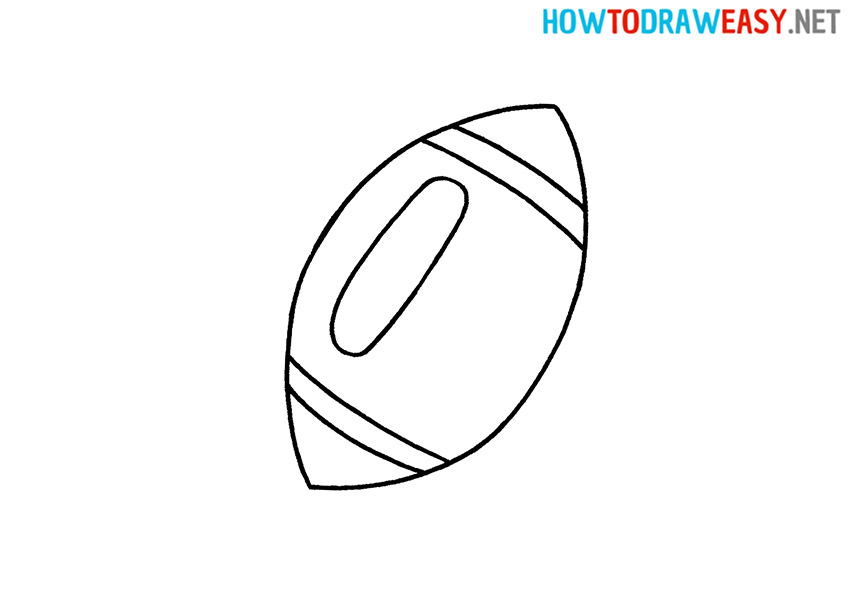
- Draw the center.
Draw an elongated oval shape in the middle of the ball. This is the basis of the stitching characteristic of footballs.
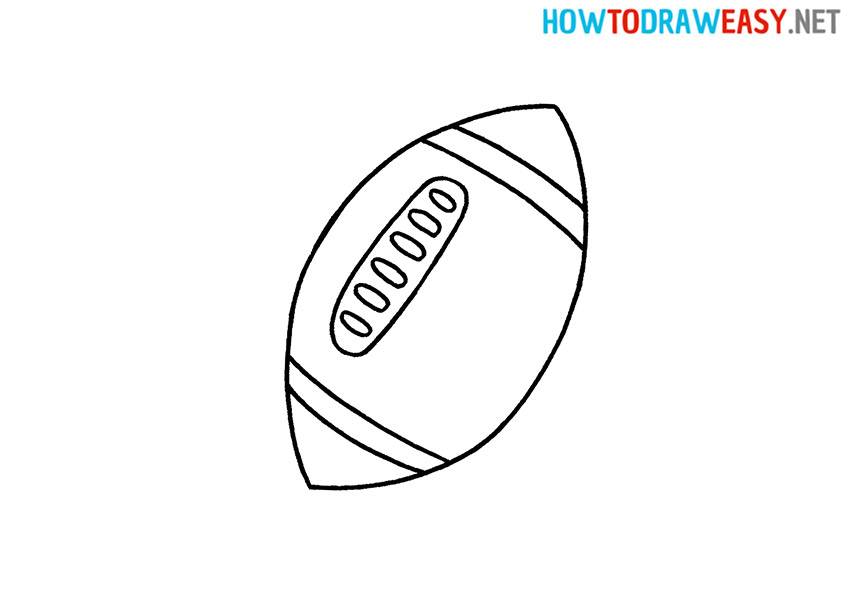
- Draw the stitch.
Now draw six small oval shapes that represent the stitching on the ball.
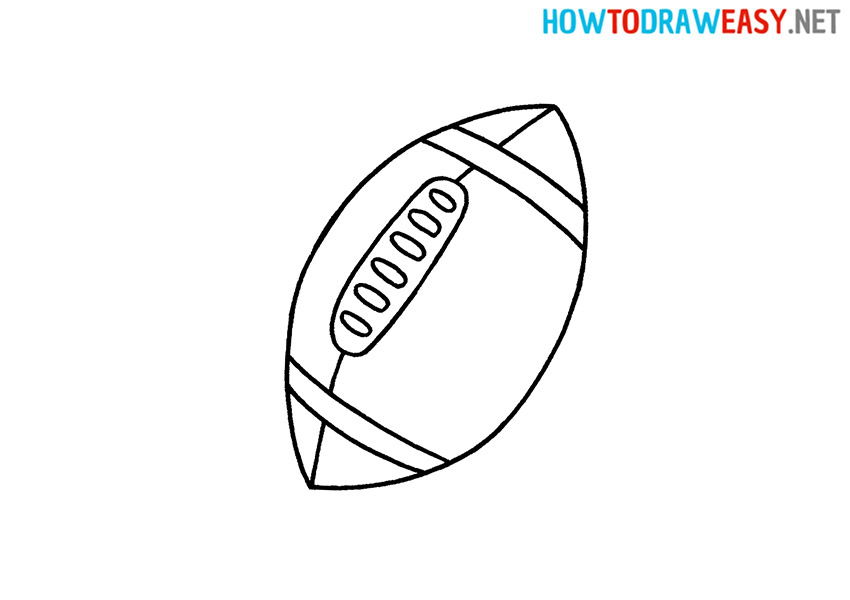
- Add detail.
Detail the shape of the ball by adding a curved line along the entire length of the football.
- Color the football.
The sketching process is over, now you can trace the contours of the sketch with ink. Then use your favorite coloring tools to color your artwork. Paint the ball a classic brown and the details beige or leave white.
