
How to Draw a Raspberry for Kids
Below you will learn how to draw a raspberry for kids in a very simple way. Draw and practice with us!


In this elementary drawing guide, you will learn how to draw a raspberry for kids. Raspberries are an artisanal plant that grows sweet, deep red berries. Raspberries are often consumed in their pure form, as well as various sweets are prepared from it and jam, which is used in cooking.
Raspberries are a very useful berry. The benefits of raspberries affect the nervous system, help with colds, have a beneficial effect on the heart system, improve the functioning of the digestive system, stimulating the muscles of the intestines, thanks to fiber. These facts may be useful to you if you have not loved raspberries so much before. Do you like this kind of berries? Write in the comments which berries you like.
It will not be difficult to draw this berry at all, because this drawing was created light and divided into steps so that children of school and kindergarten age could draw this berry. Follow our instructions in order to get a more accurate and beautiful drawing. We hope you enjoy this step-by-step tutorial and can sketch it out. Enjoy drawing!
Drawing tools:
— Pencil
— Marker
— Crayons
Time needed: 25 minutes
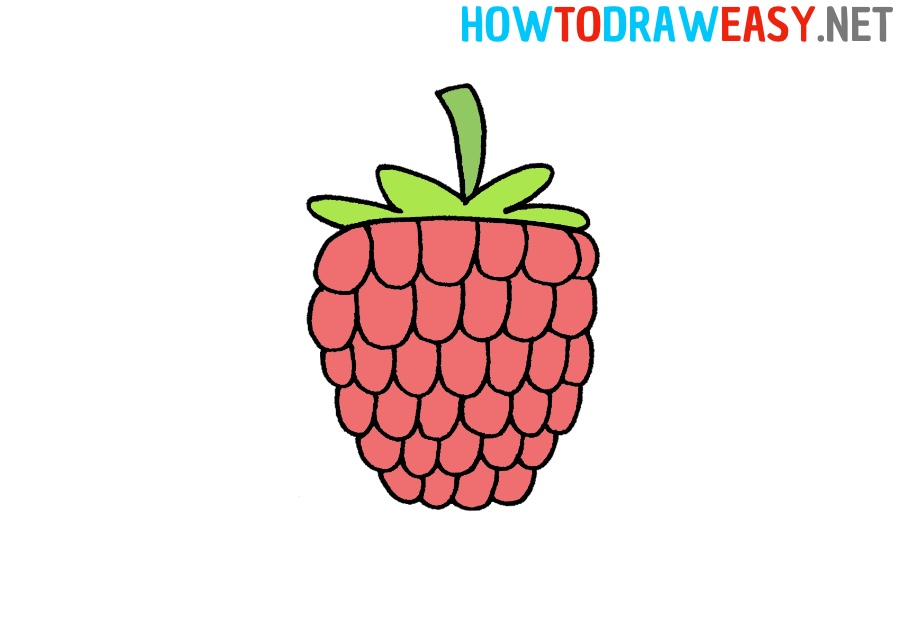
How to Draw a Raspberry
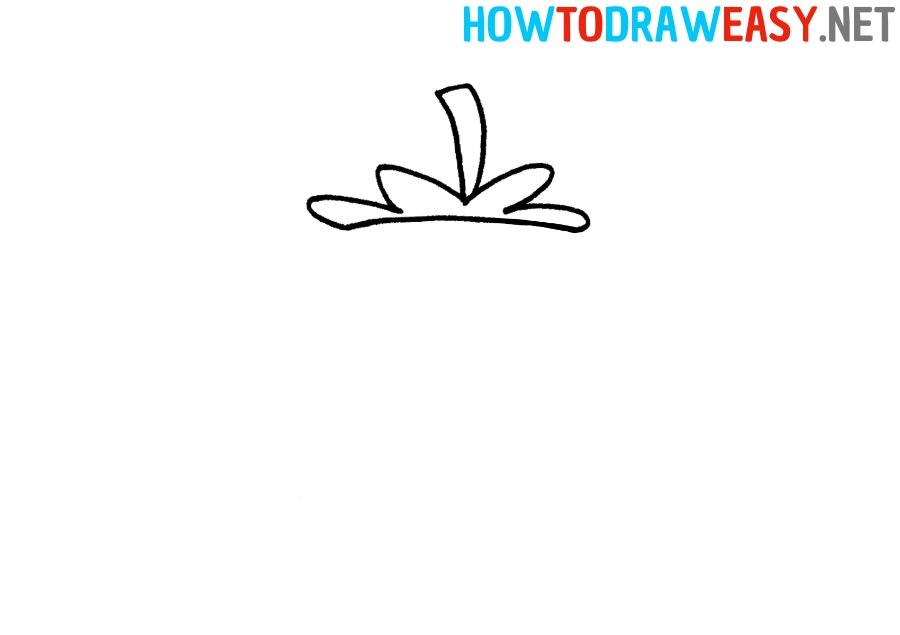
- Draw the sepal.
Begin by drawing a sepal, part of which is usually the berry hanging from the bush. First, draw a slightly curved line, and above it, add the sepal leaves.

- Add the peduncle.
From the middle of the sepal, draw a peduncle using two parallel lines.
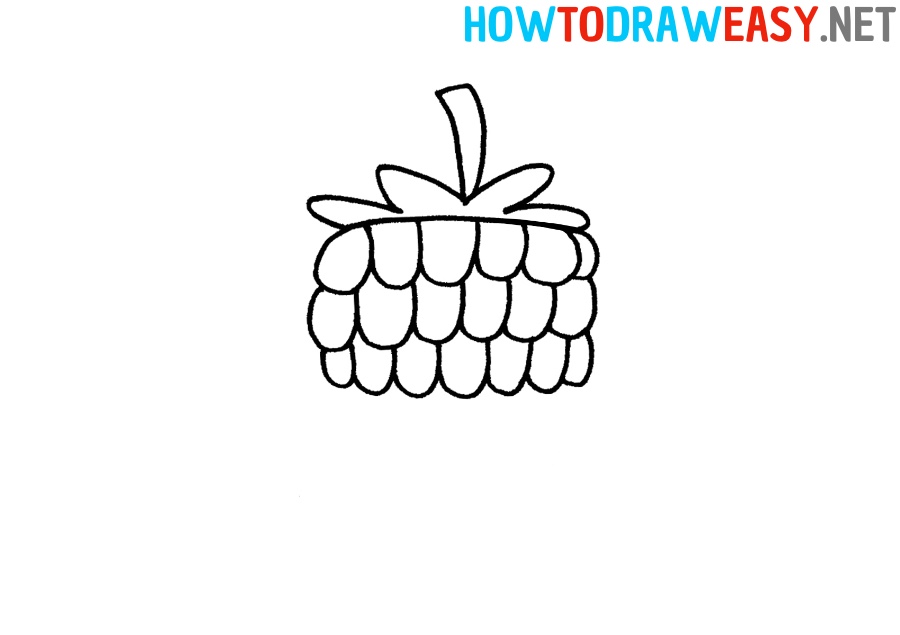
- Start drawing the berry.
Under the twig, start drawing small circles that fit tightly together. Start by sketching out only the top row of raspberry drupes.

- Next row of drupes.
Draw two more rows of small drupe circles that fit snugly together.
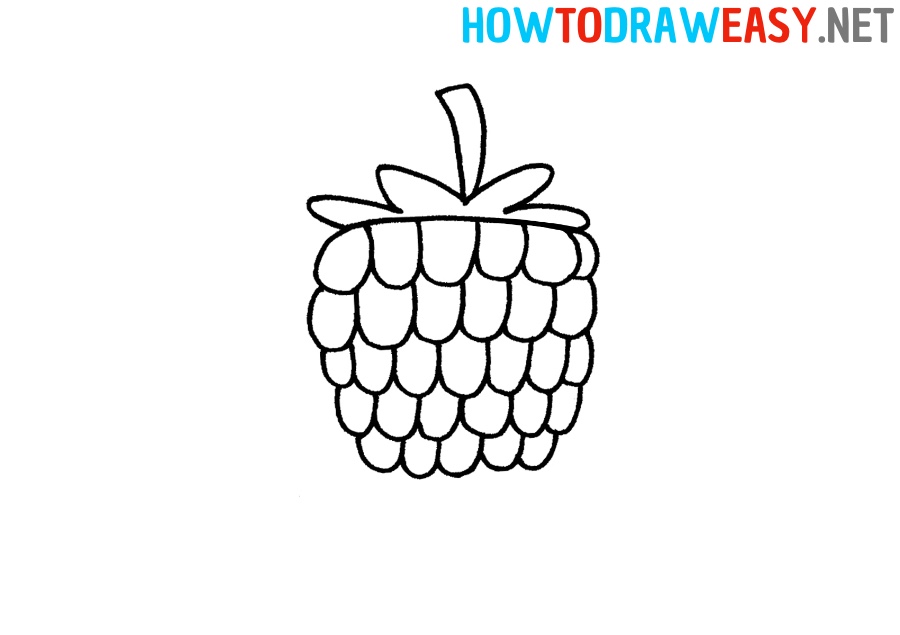
- The third part of the berry.
Now, in the same order, add the next part of raspberry drupes.
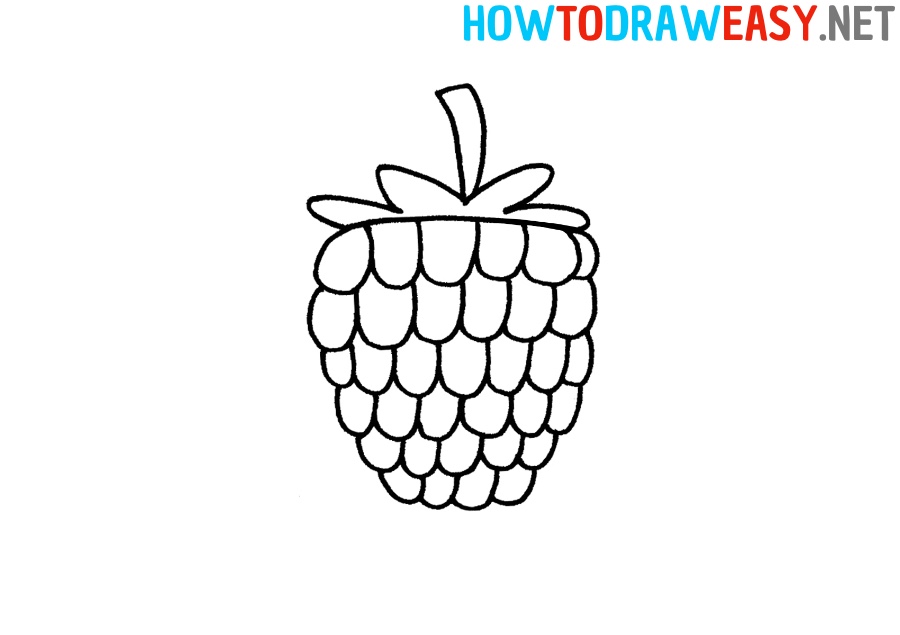
- Bottom part.
Now add the very bottom part of the raspberry drupes that form the pointed part of the berry.
- Color the berry.
Color the upper part green, and the berry itself pink or red. Trace all the contours in black.


Excellent! We hope that we helped you create a cool artwork of raspberry that you can share with your friends. And you can also share this simple instruction with your friends on social networks, and we advise you to sketch this berry with friends together! Thank you for being with us, and we will be glad to see you again.
WoW