
How to Draw a Race Car for Kids
In this step-by-step drawing tutorial for kids, you will see how to draw a race car. Let’s draw and practice together!


Hello, young racer! We have prepared a simple lesson on how to draw a race car for kids step by step. This racing car is one of the fastest cars in the world and races in Formula 1. Surely, each of us would like to be in the driver’s seat of such a sports car, but it is difficult to drive it, and it takes a long time to learn. Therefore, for a start, you can draw a racing car, because this does not require a long study. It’s much easier than driving.
Here we will present you the easiest and easiest way to draw a fast car, using which even the most inexperienced artist will not face difficulties. This lesson, like the car itself, is similar to the Lamborghini drawing tutorial. When drawing a race car, we find out which parts of the car we need to depict and where they are located. This instruction is also very important for learning how to draw symmetrical shapes and geometric lines.
Time needed: 20 minutes
How to Draw a Race Car for Kids
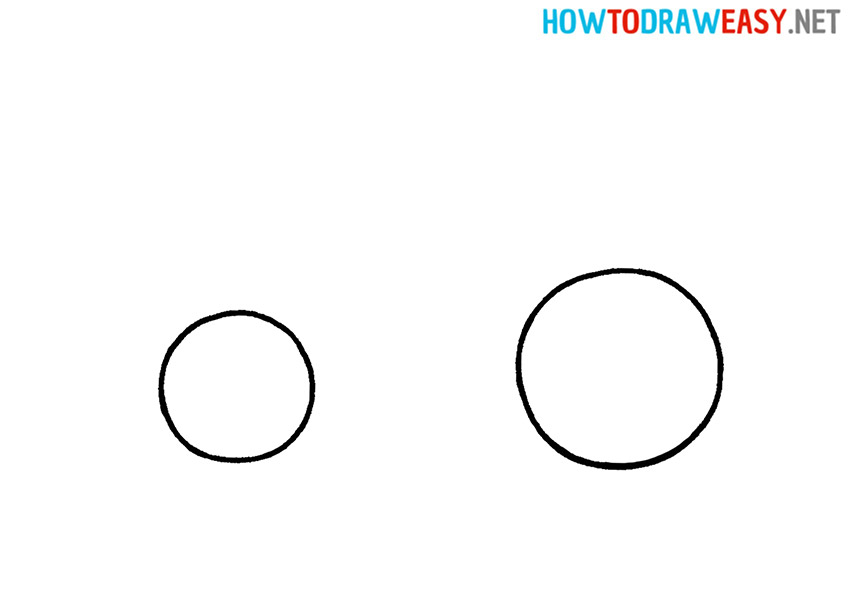
- Draw the outline of the wheels.
First, on a piece of paper, draw two circles of different sizes (the front wheel is smaller than the rear one) at a certain distance from each other, these are our wheels.
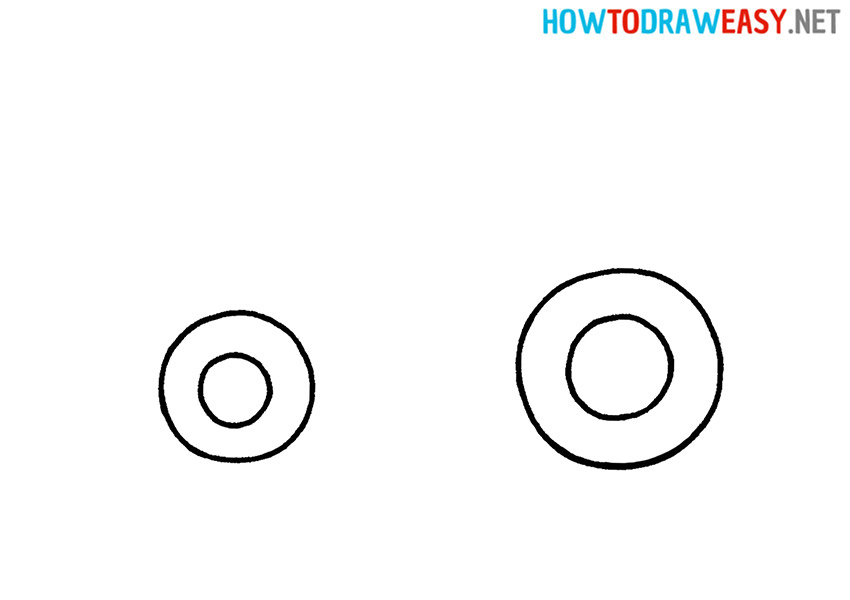
- Draw the tires.
In the middle of each circle, you need to draw the same circle, only of a smaller size.
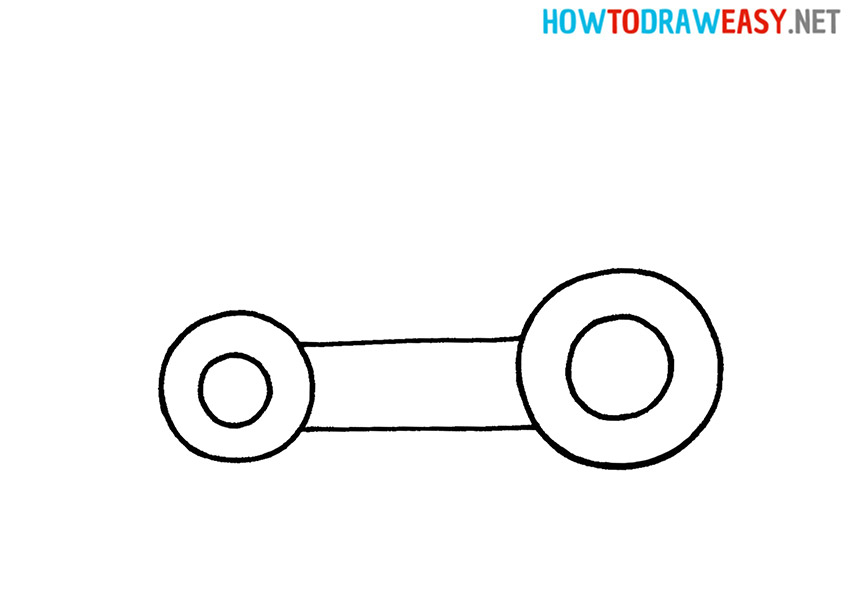
- Draw the base for the car’s cockpit.
Draw two horizontal lines between the wheels, at a certain distance from each other. Please note that the lines should not go beyond the top and bottom edges of the wheels.
- Draw the front of the cockpit.
You can draw the front of the cockpit with three lines.
The first line is straight: it is drawn on the left side of the wheel, parallel to the bottom line that you drew for the base of the cockpit.
Second line: curved, it runs over the wheel, forming a sharp bumper.
Third line: closing, it closes the curved line and the top line from the base of the car.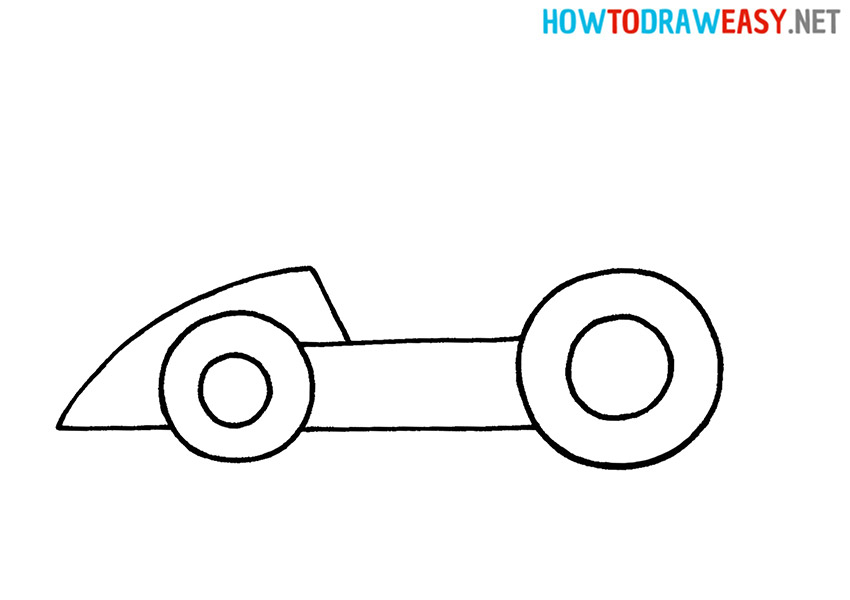
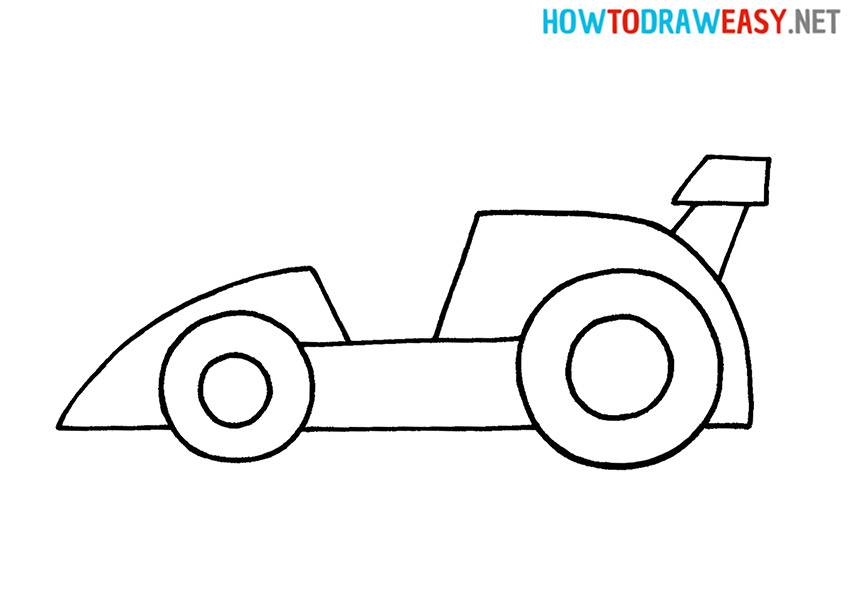
- Draw the rear of the cab and the spoiler wing.
The rear of the cab is almost a mirror image of the front of the cab. But it is worth noting that it is larger and, unlike the front, is closer to the rear wheel. The curved line at the rear of the cab is also different, creating a not as sharp bumper as at the front. Just above the rear of the cockpit, draw a trapezoid, this is the spoiler wing. The next step is to connect the spoiler to the rear of the race car body.
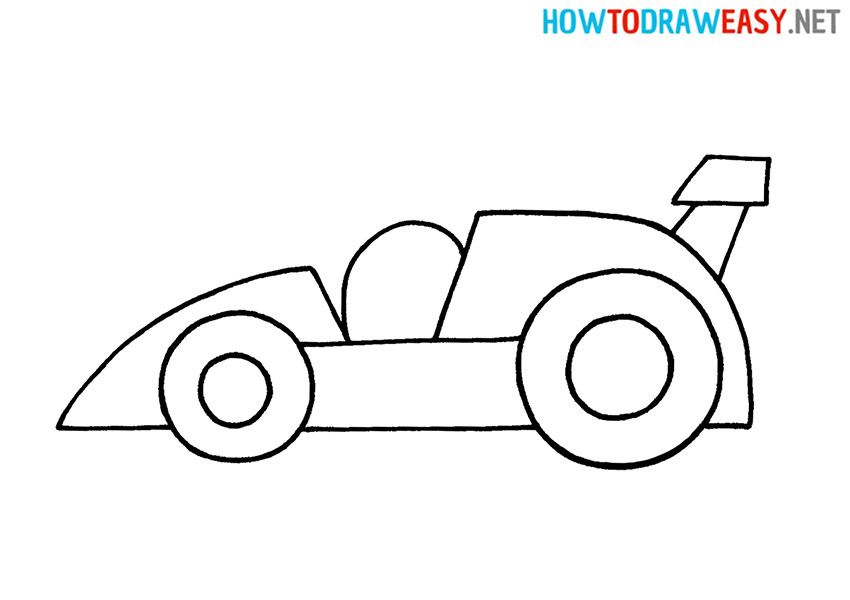
- Draw the racer.
Between the front of the cockpit and the rear, we draw the driver-racer in the form of an oval, the lower part of which overlaps the base of the cockpit.
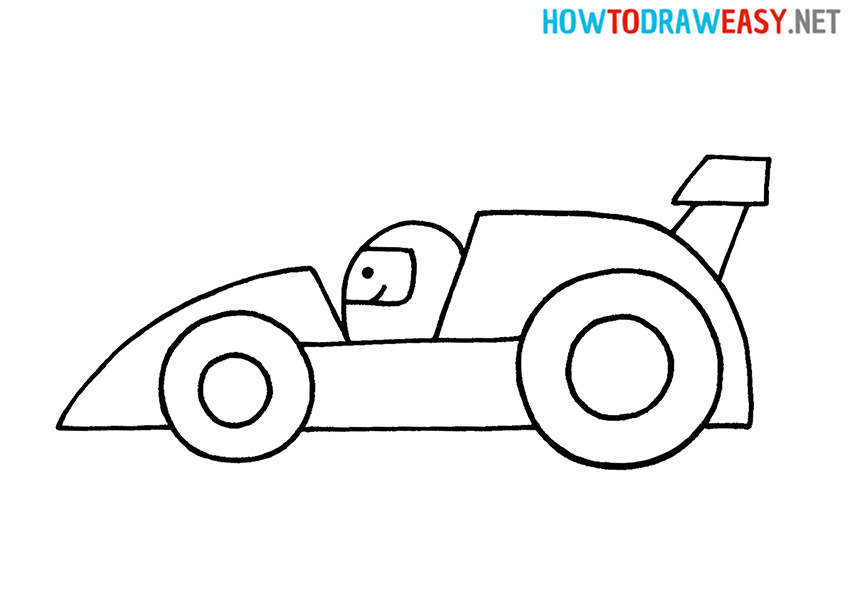
- Draw the helmet, eye, and mouth for the driver.
At the top of the oval (driver), draw a glass for the helmet. Draw the eye and a curved line inside the glass to create a mouth.
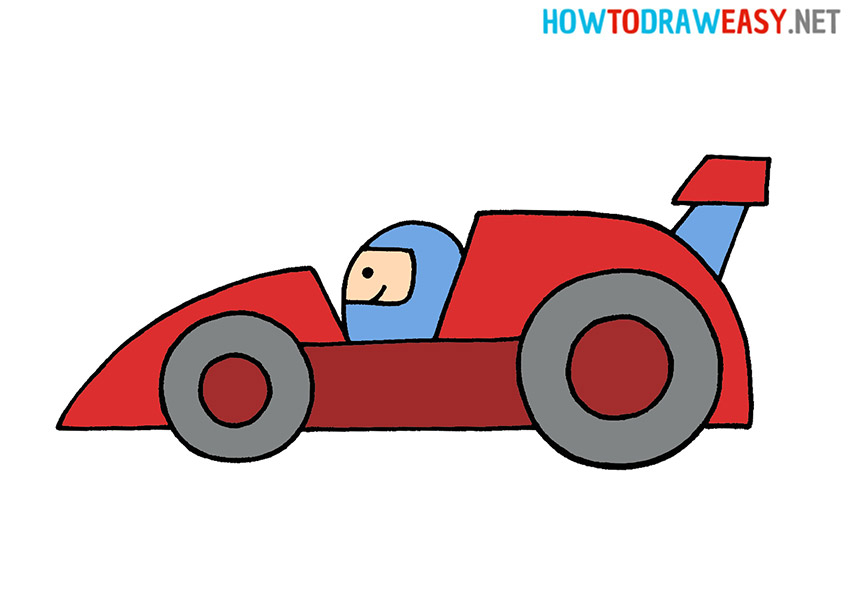
- Color in the drawing of the race car.
We painted the front and rear of the car, as well as the spoiler wing in red. The base of the cab was painted burgundy, as were the tires. Our wheels are dark gray. The racer and wing holder are blue and the rider’s face is beige. You can repeat everything as in our example, or use different colors.


Done! We hope you liked our lesson on how to draw a race car step by step, because we try to make simple and understandable lessons for beginners in order to get positive feedback. If it is true, then you can share it with your friends on social networks so that they can rate it too. Check out our other instructions for kids as well and draw other things. We wish you every success!