
How to Draw a Plane
In this step by step drawing lesson, you will learn how to draw a plane step by step! This easy lesson is perfect even for beginners.


Welcome to the Airplane Drawing Lesson! In this lesson, we will explore the basic principles and techniques of drawing airplanes so you can create your own unique airplane drawing. For a long time, airplanes have been a symbol of progress and a grand technological project. In this lesson, we will dive into the world of aviation and learn how to convey this energy and dynamism on paper. Learn how to draw a plane step by step with us!
Together, we will learn to create realistic and creative airplane drawings that are captivating and inspiring. If you already have experience in drawing, you can use your skills to achieve more complex results. If you’re a beginner, don’t worry, we’ll start with the basics and gradually take you to a new level of expertise.
Acquire knowledge about airplanes, learn the principles of drawing, and develop your creative style. By the end of the lesson, you will be able to tell your own airplane story using your new skills and achieving amazing results. Feel free to ask questions and suggestions, and be prepared for this journey!
Time needed: 25 minutes
How to Draw a Plane Step by Step
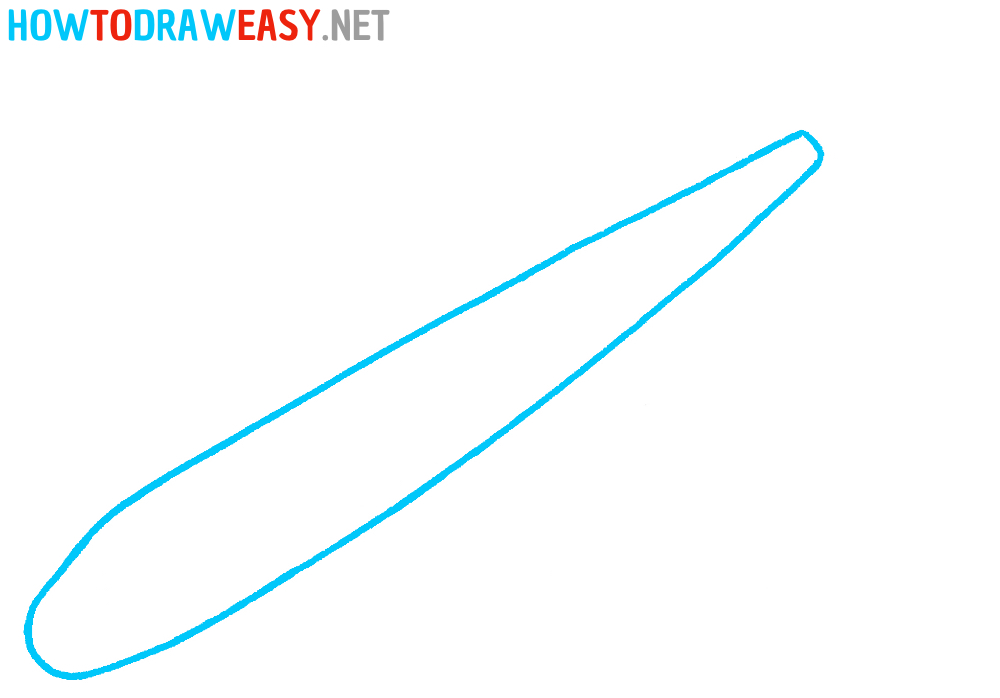
- Outline the fuselage.
Start by drawing an elongated fuselage of your airplane. Use curved lines that ultimately create the overall look of your aircraft.
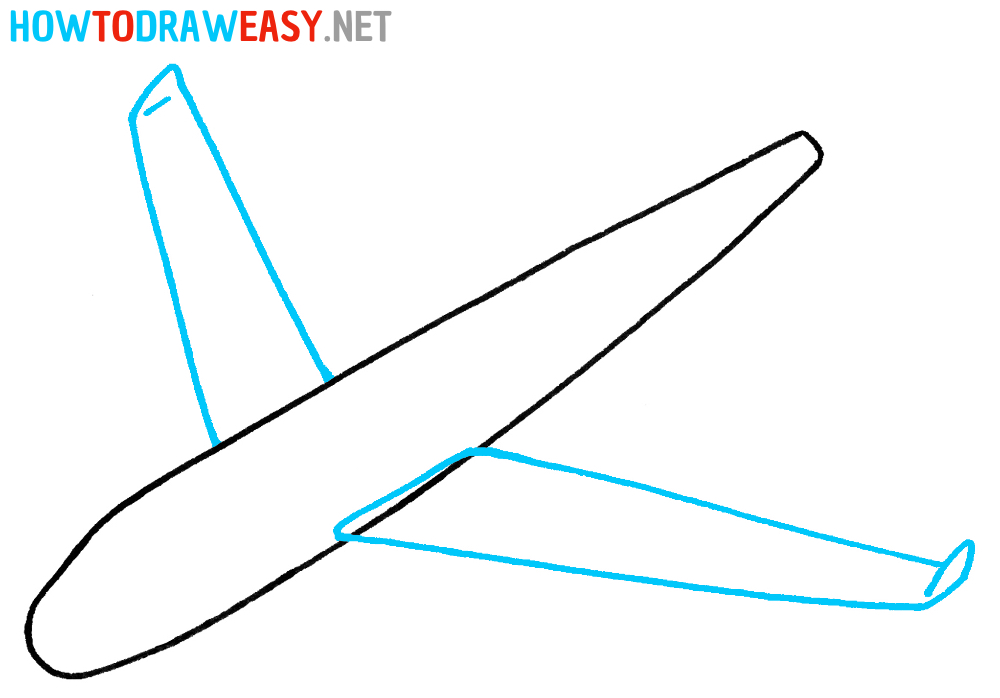
- Draw the wings.
Now it’s time to add wings to the airplane. Extend straight lines from the middle of the airplane fuselage and form both wings of your aircraft, as shown in the example.
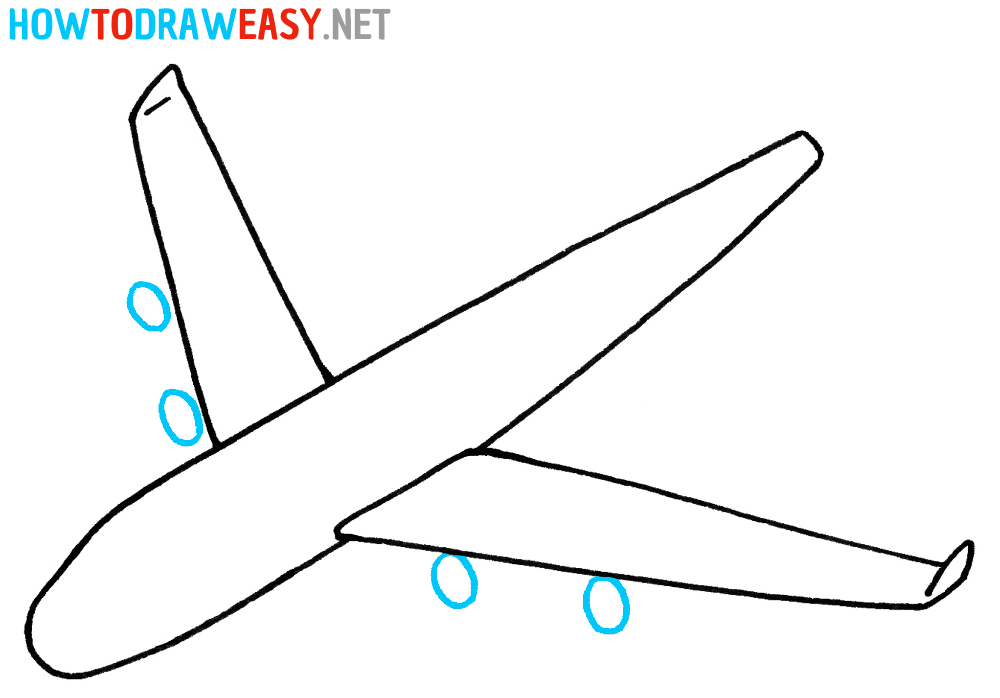
- Draw the jet engines.
Start drawing the jet engines of the airplane with oval shapes. Draw these oval shapes on the wings to form this important detail of the aircraft.
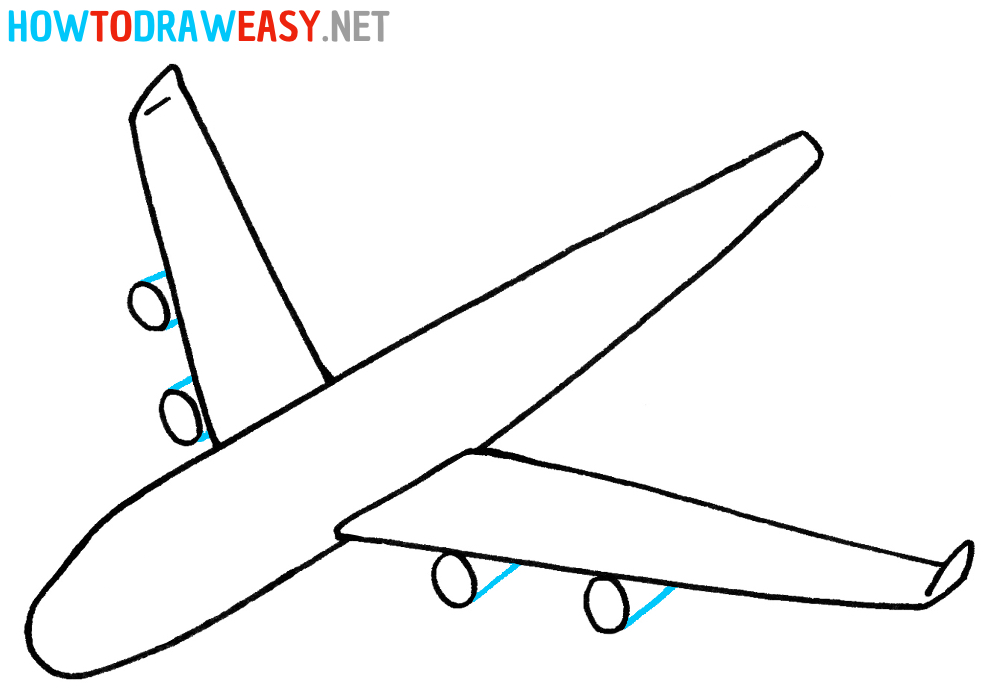
- Add details.
Now complete the drawing of the jet engines by adding the main basic shape. Use straight connecting lines as in the example from the step.
- Draw the windows.
Move on to drawing details on the fuselage of the airplane. Draw side circular windows for the airplane, and also draw the cockpit windshield using curved lines.
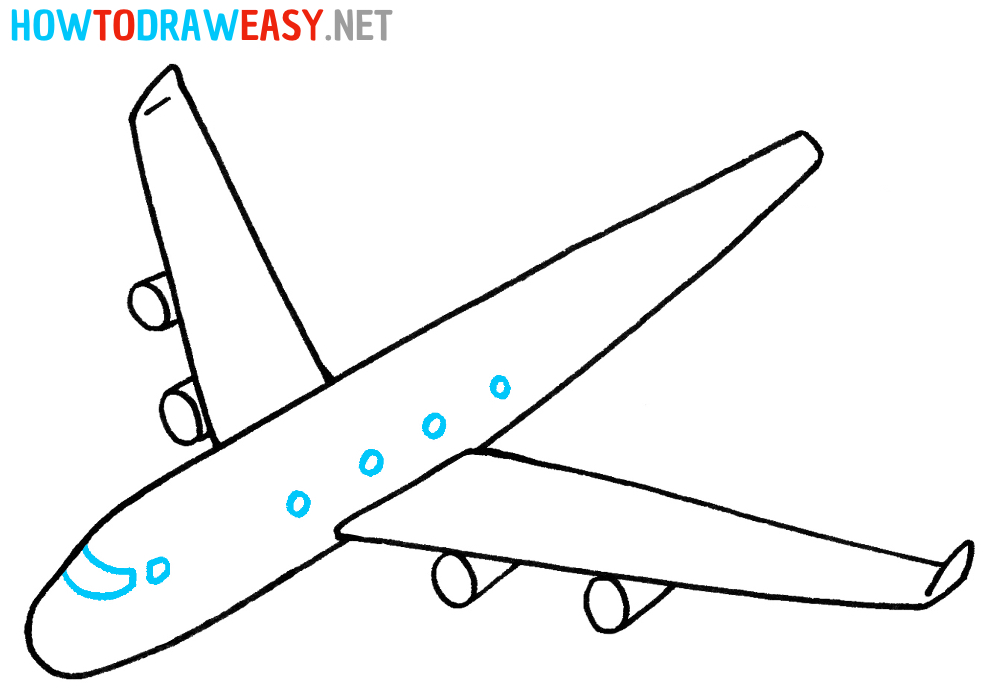
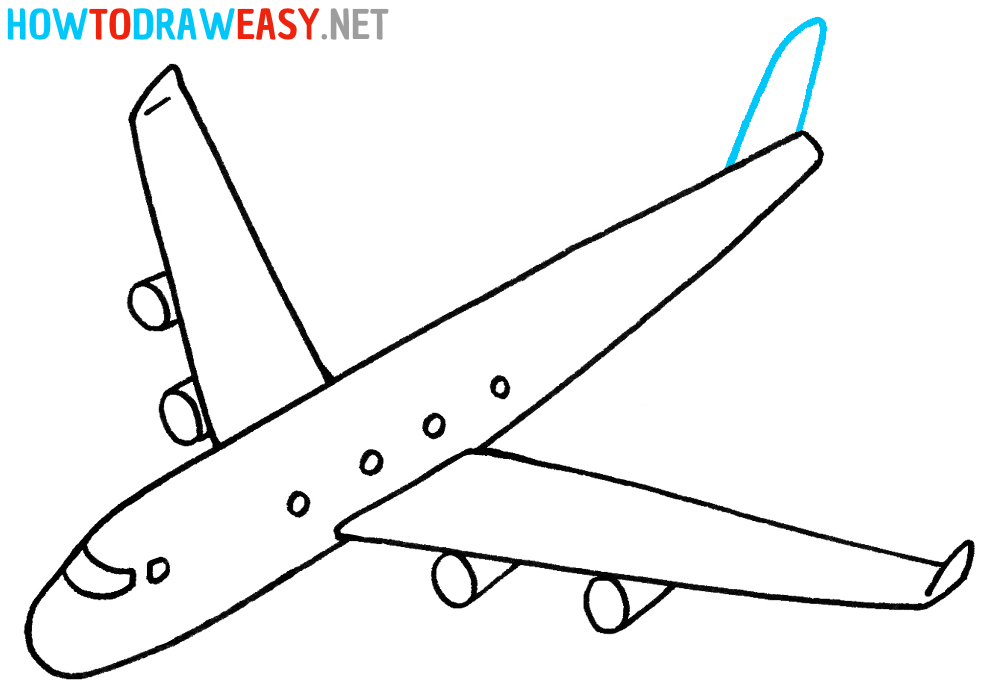
- Draw the plane tail.
Now move on to drawing the tail of the airplane, first draw the vertical stabilizer of the aircraft as shown in the example from the step.
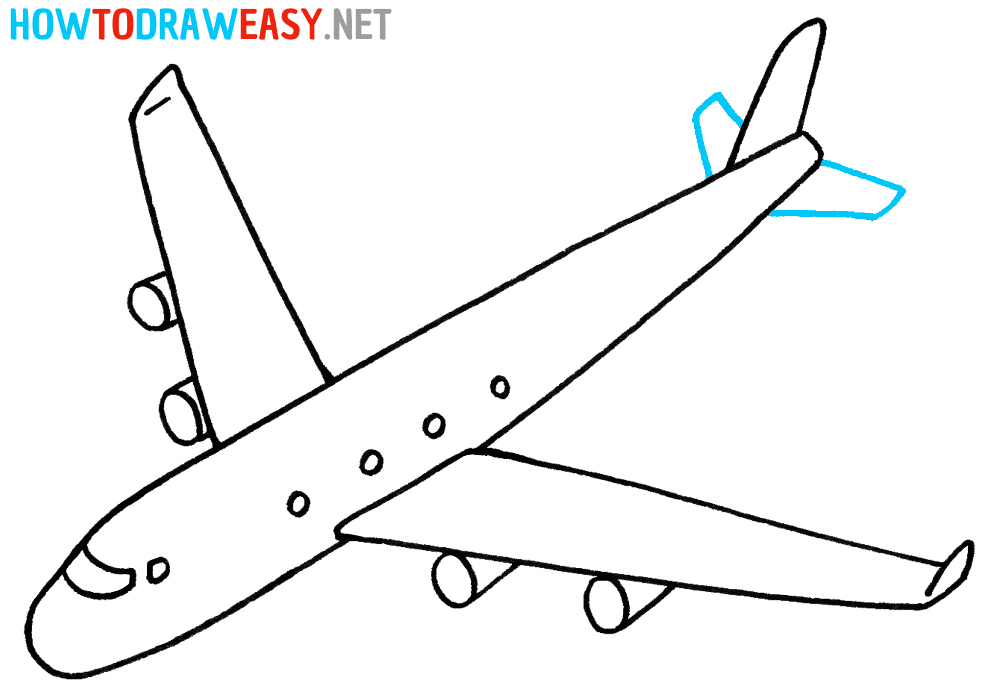
- Add horizontal stabilizers.
Now, step for drawing horizontal side stabilizers, use straight lines to draw them as in the example.
- Color the airplane.
Before the coloring process, trace the contours of your sketch using a black marker or pen for tracing the sketch. Then take your favorite coloring tools and add color to your magnificent airplane drawing.
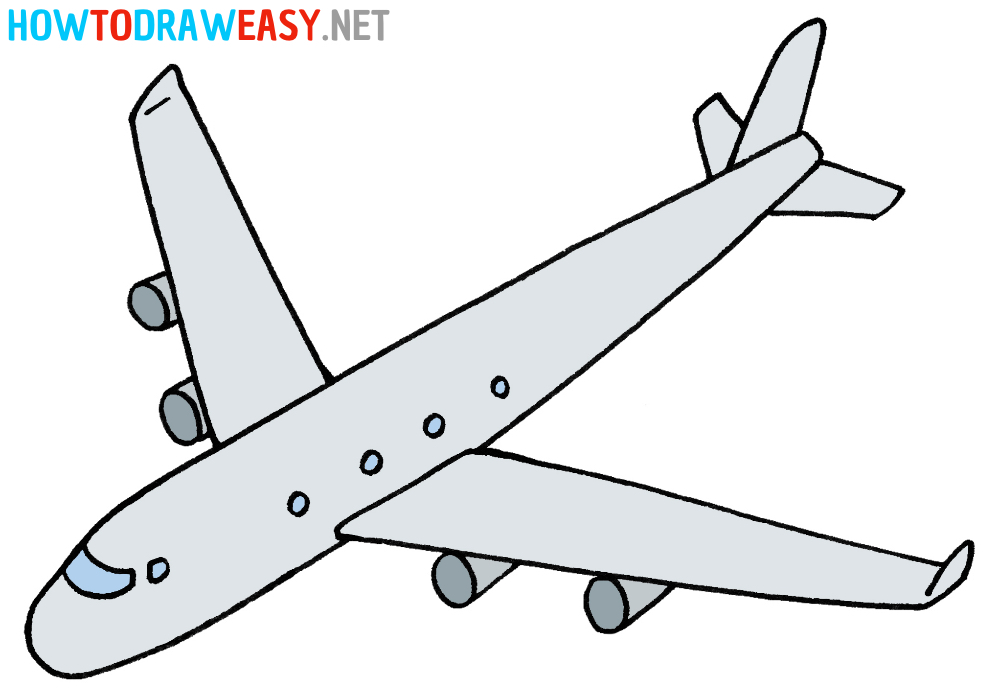


Here is our airplane drawing ready! We have successfully created all the main elements: fuselage, wings, engines, windows, cockpit, and tail section. Now our airplane looks fully completed and ready for flight!
Don’t forget that each of you can add your own creative approach to drawing an airplane. You can change the sizes, shapes, and even colors to create a unique design for your own aircraft.
Remember, practice makes perfect, so don’t stop at what you have achieved! Keep drawing and experimenting with different styles and techniques to improve your skills and develop your creative vision.
Thank you for participating in this airplane drawing lesson! I hope you enjoyed the process and are pleased with the result. Good luck on your creative journey, and until we meet again!
>:-(