
How to Draw a Penguin
Learn how to draw a penguin step by step with this elementary drawing guide for beginners. You can see detailed instructions and a step-by-step collage by scrolling below!


Hello everyone! Today we will look at How to Draw a Penguin—a fluffy representative of one of the Penguin families. It has a streamlined body shape that allows you to easily move in the water column. Also, the penguin has developed muscles and a special structure of bones, which help it to function as wings, like screws.
What does this animal eat? The diet is usually fish and crustaceans. It is interesting that during the molting period (and in some species – during the period of incubation of chicks), penguins stop eating. In order to maintain the required level of energy, their bodies begin to use up the fat reserves created the day before. Initially, drawing a penguin may seem difficult, but with the help of our instructions you will get a nice colorful drawing. Let’s start!
Time needed: 30 minutes
How to Draw a Penguin
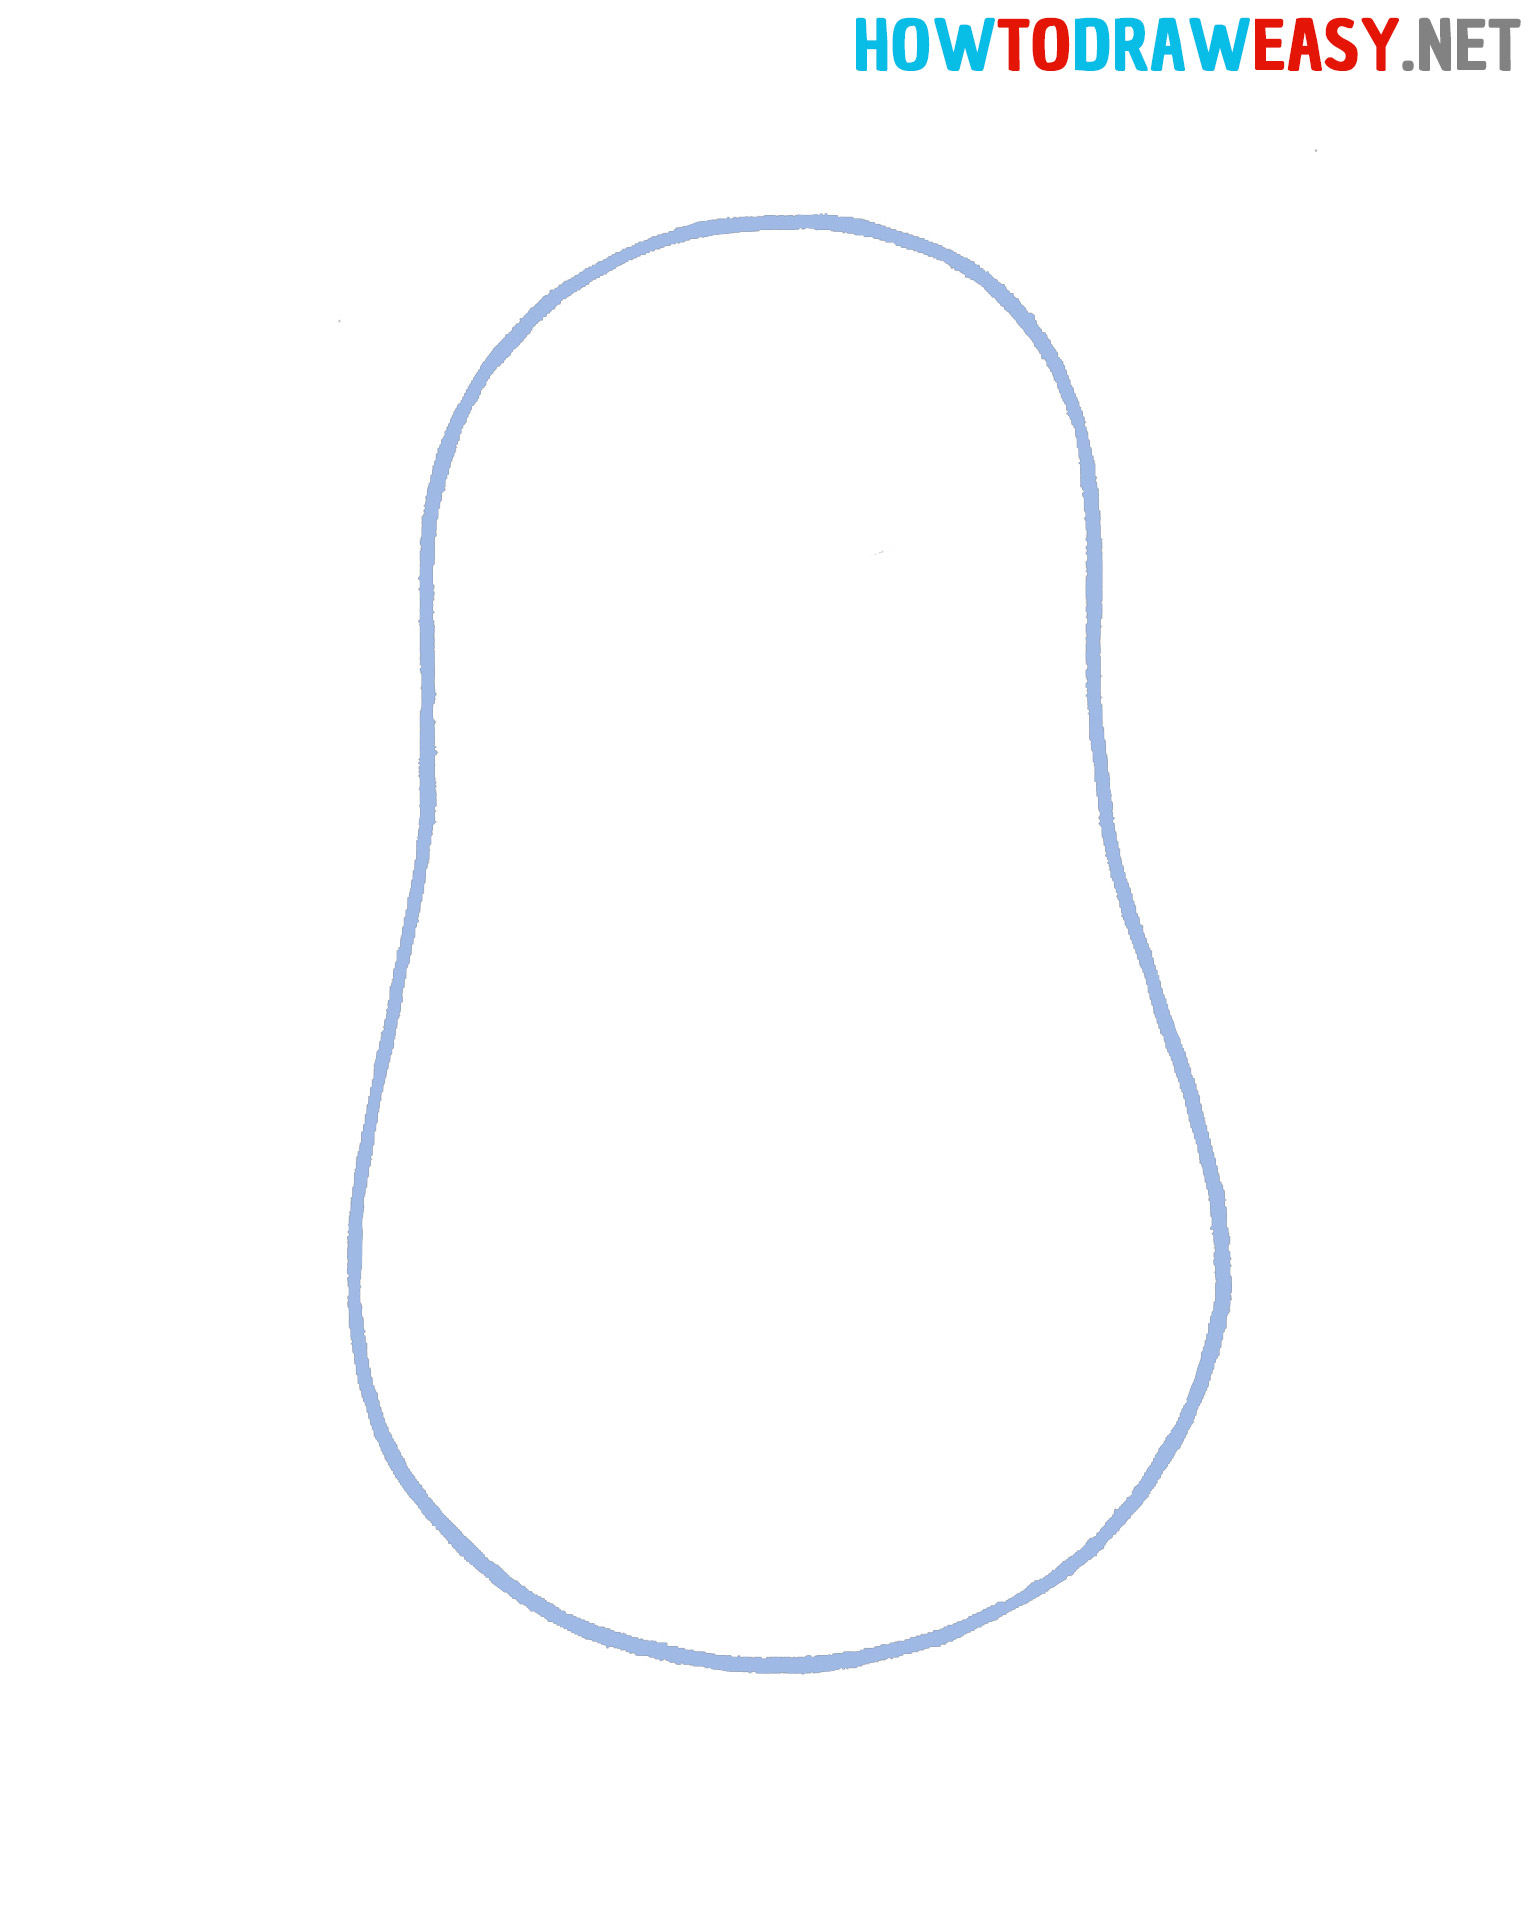
- Draw the body.
In appearance, the body of the future penguin resembles an avocado or peanut. Draw an appropriate large figure on the sheet, focusing on the image. Note that the top will be narrower than the bottom.
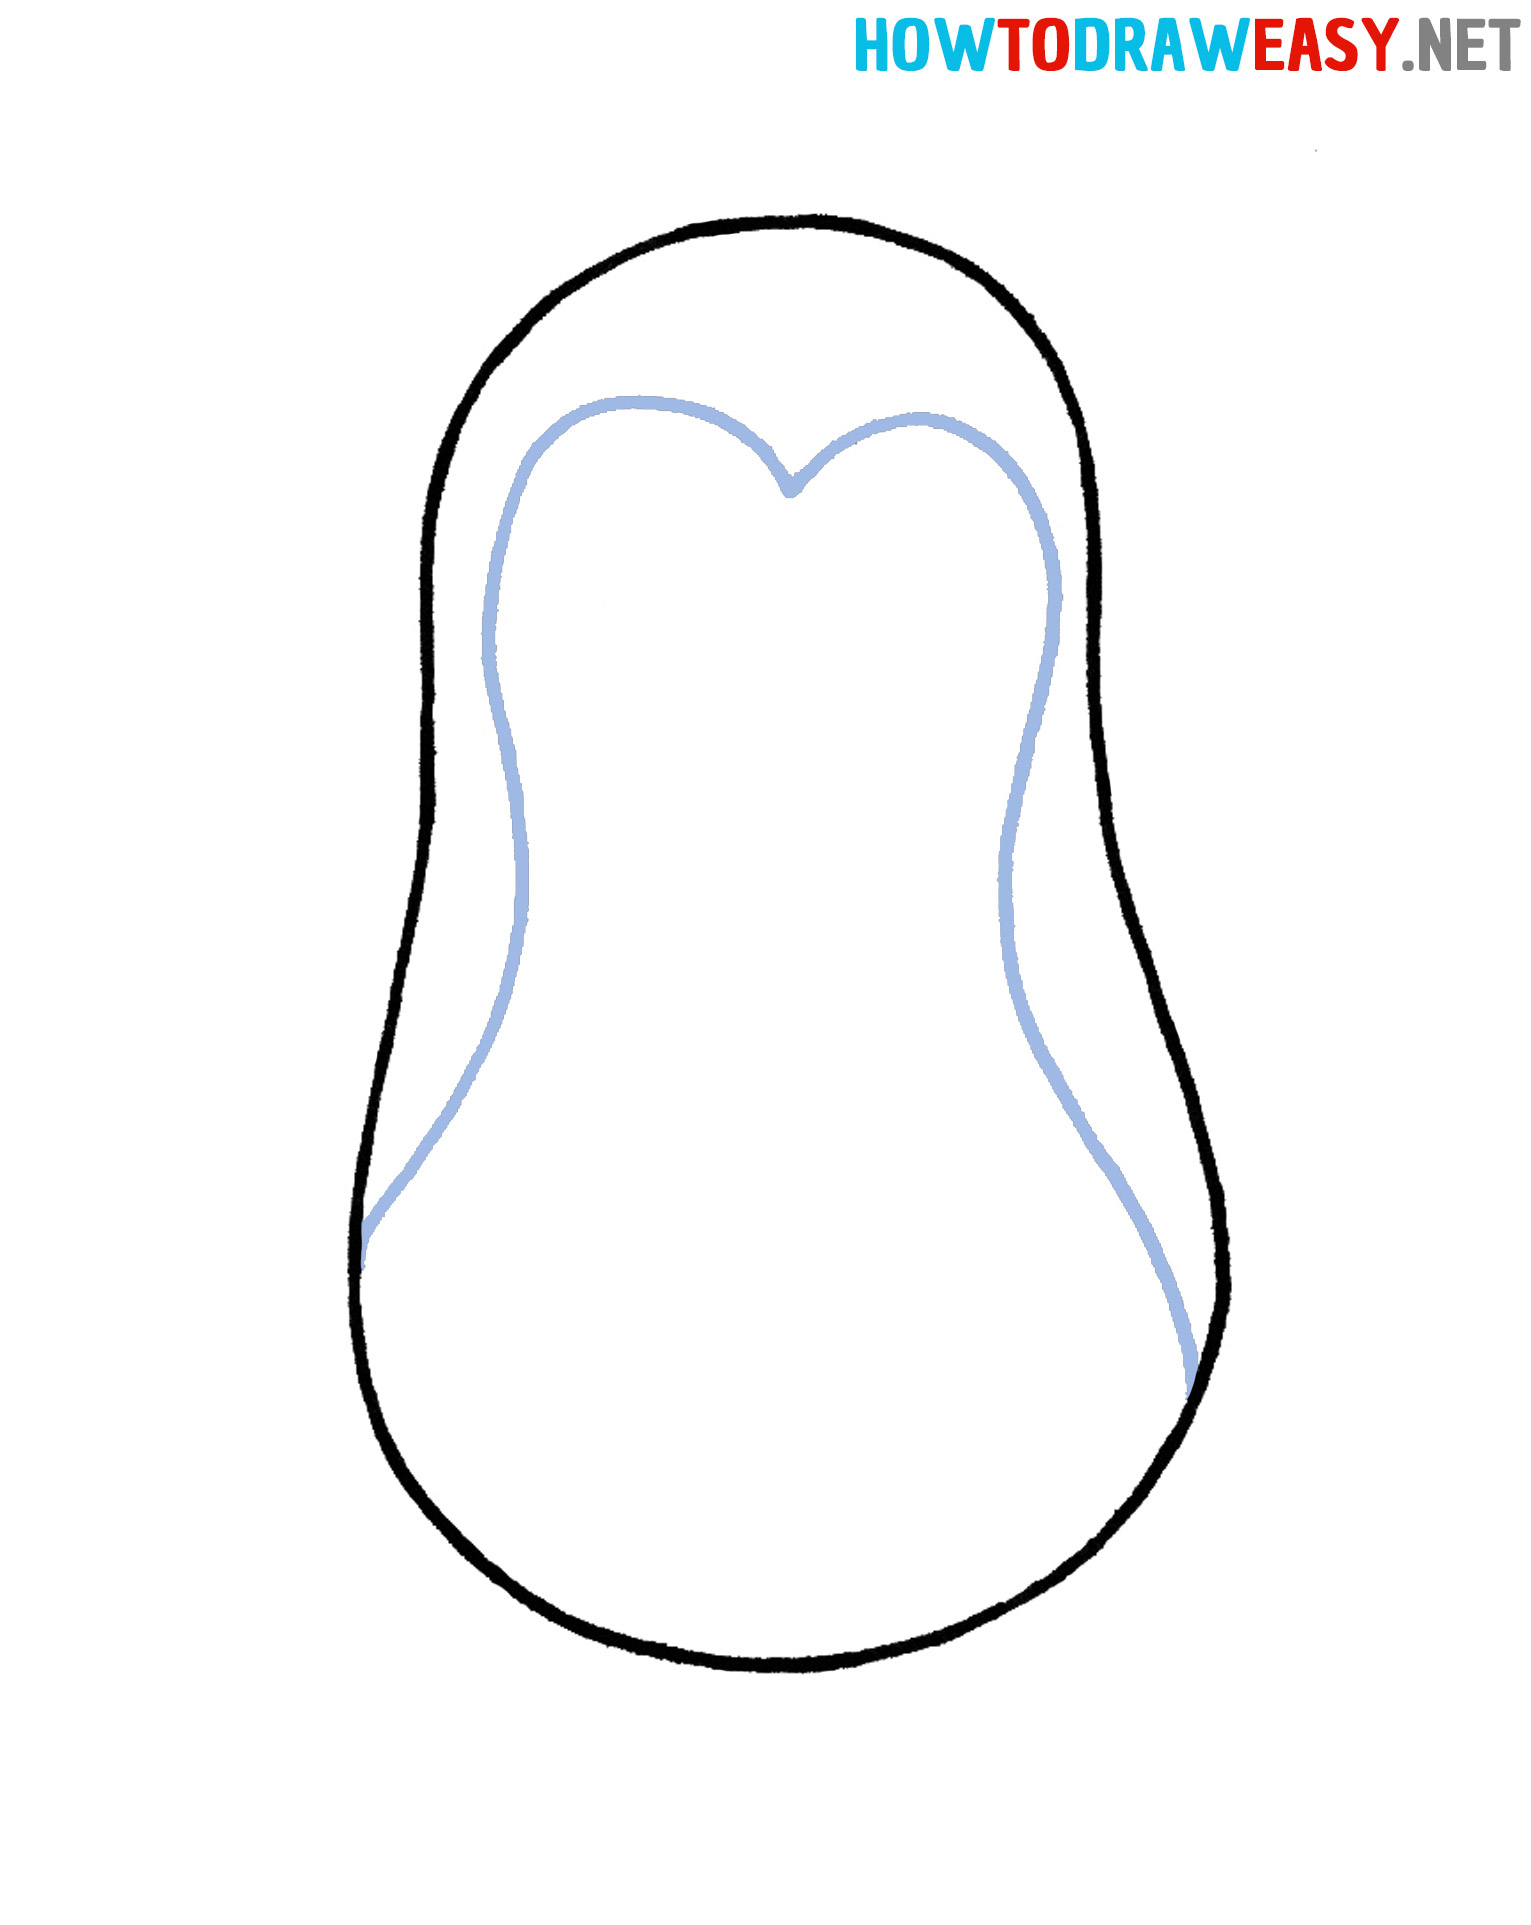
- Draw plumage.
Draw this part with a curved line. It rises to the head and forms a heart-shaped curve, and then gently descends. Please note that the end of such a line should be lowered slightly lower than on the opposite side of the body.
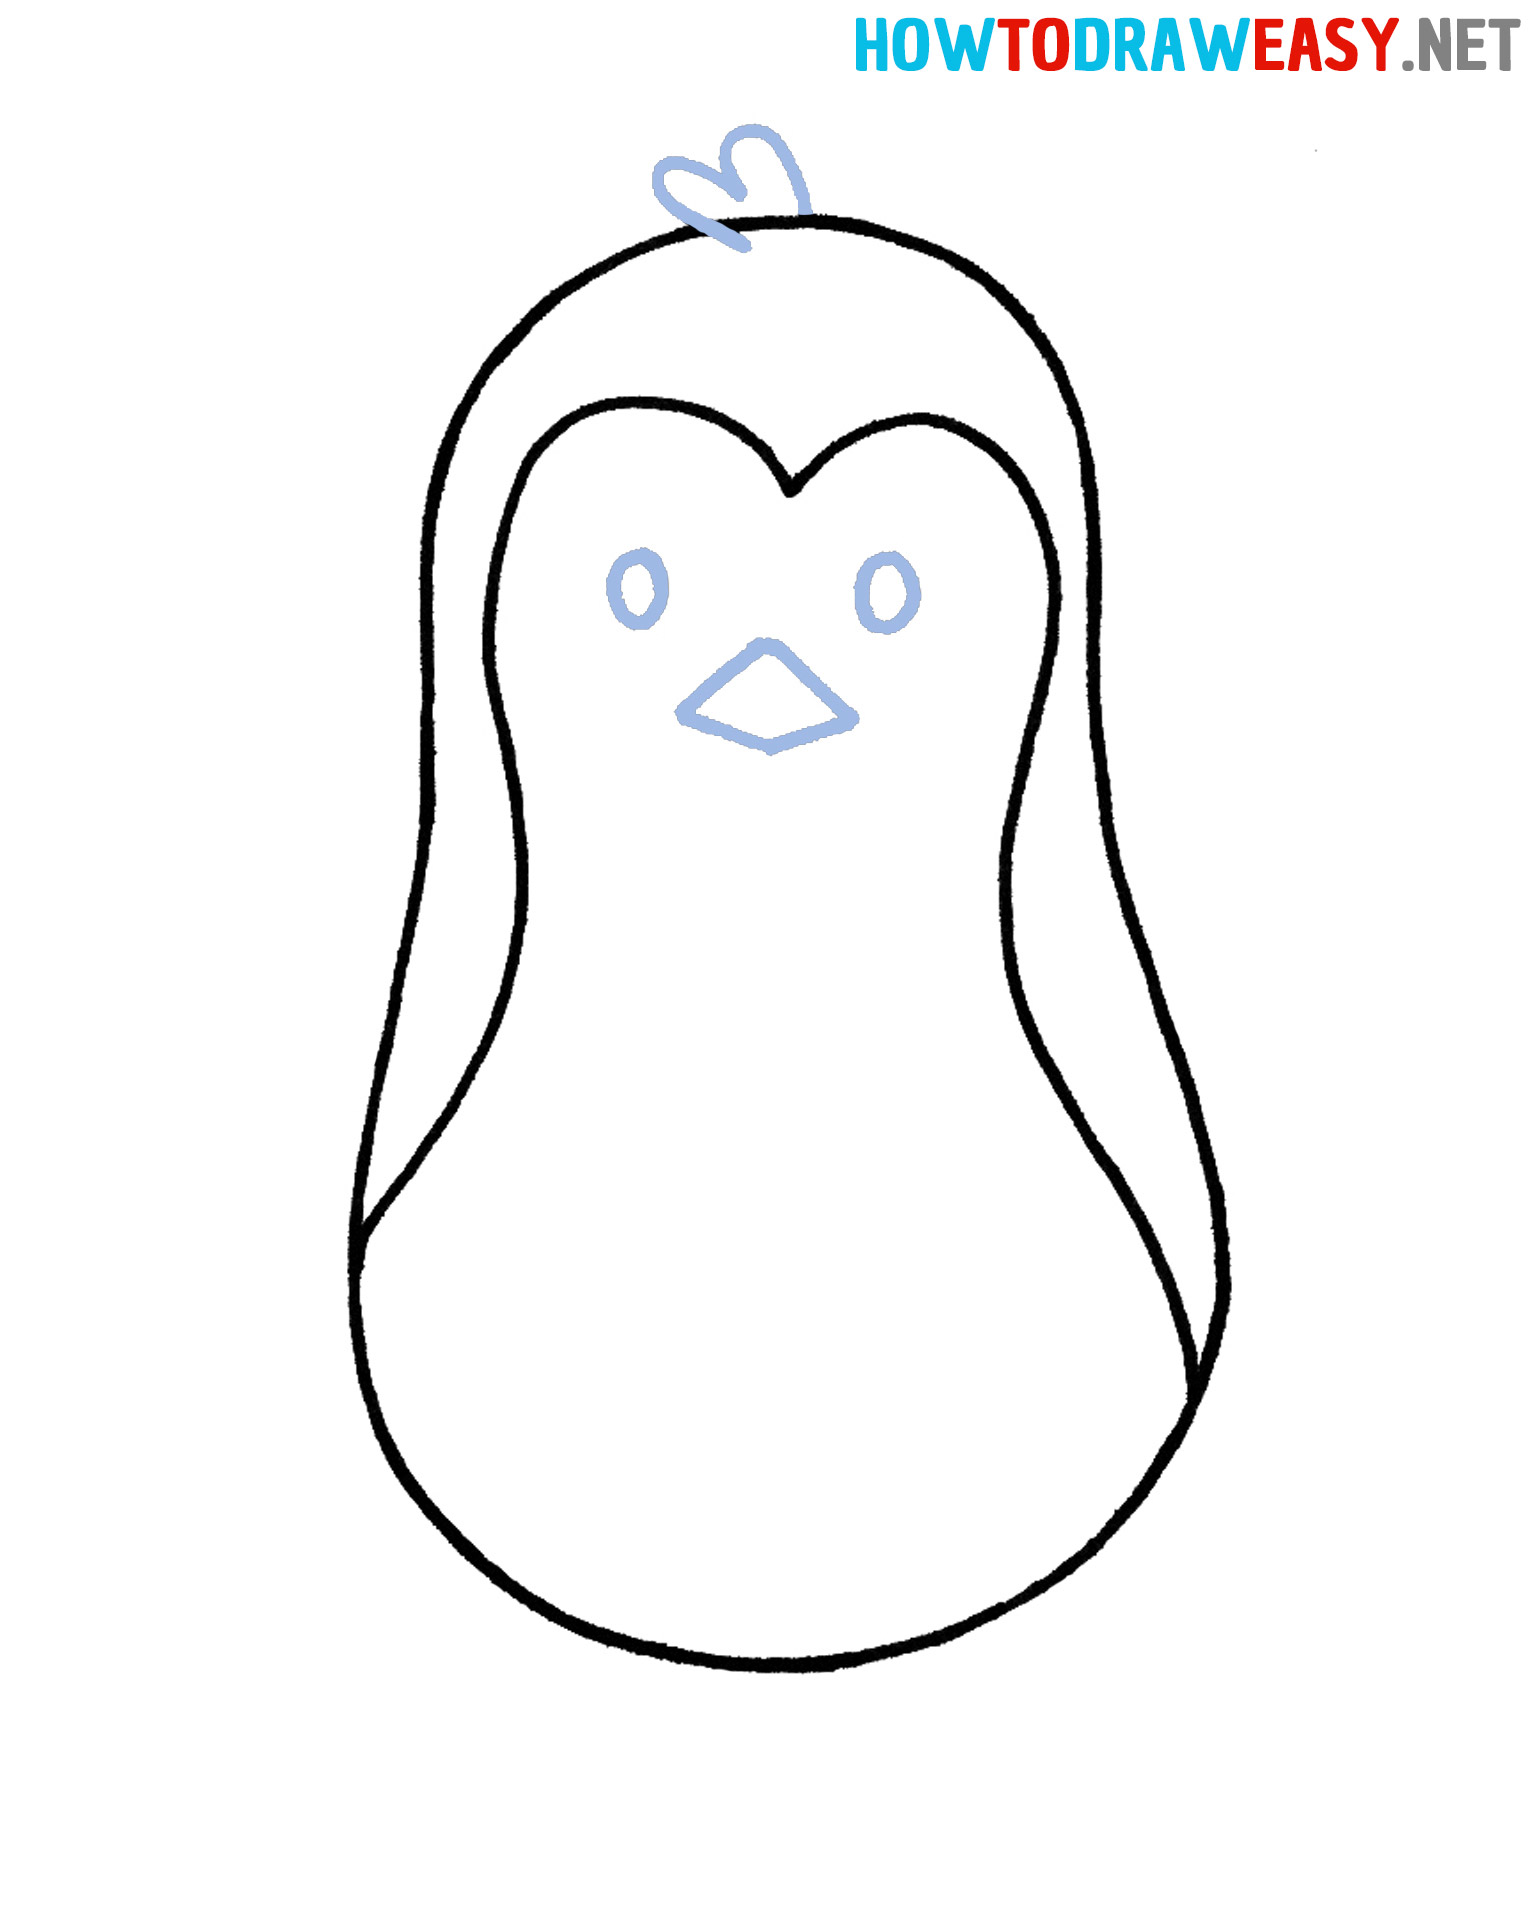
- Draw the eyes, beak, and crest.
Inside the marked area of the plumage, place two identical small ovals that will serve as the eyes of the bird. Between them is a small beak in the form of an irregular quadrangle. Finish the step with the image of the crest: sketch a couple of arcs on the head.
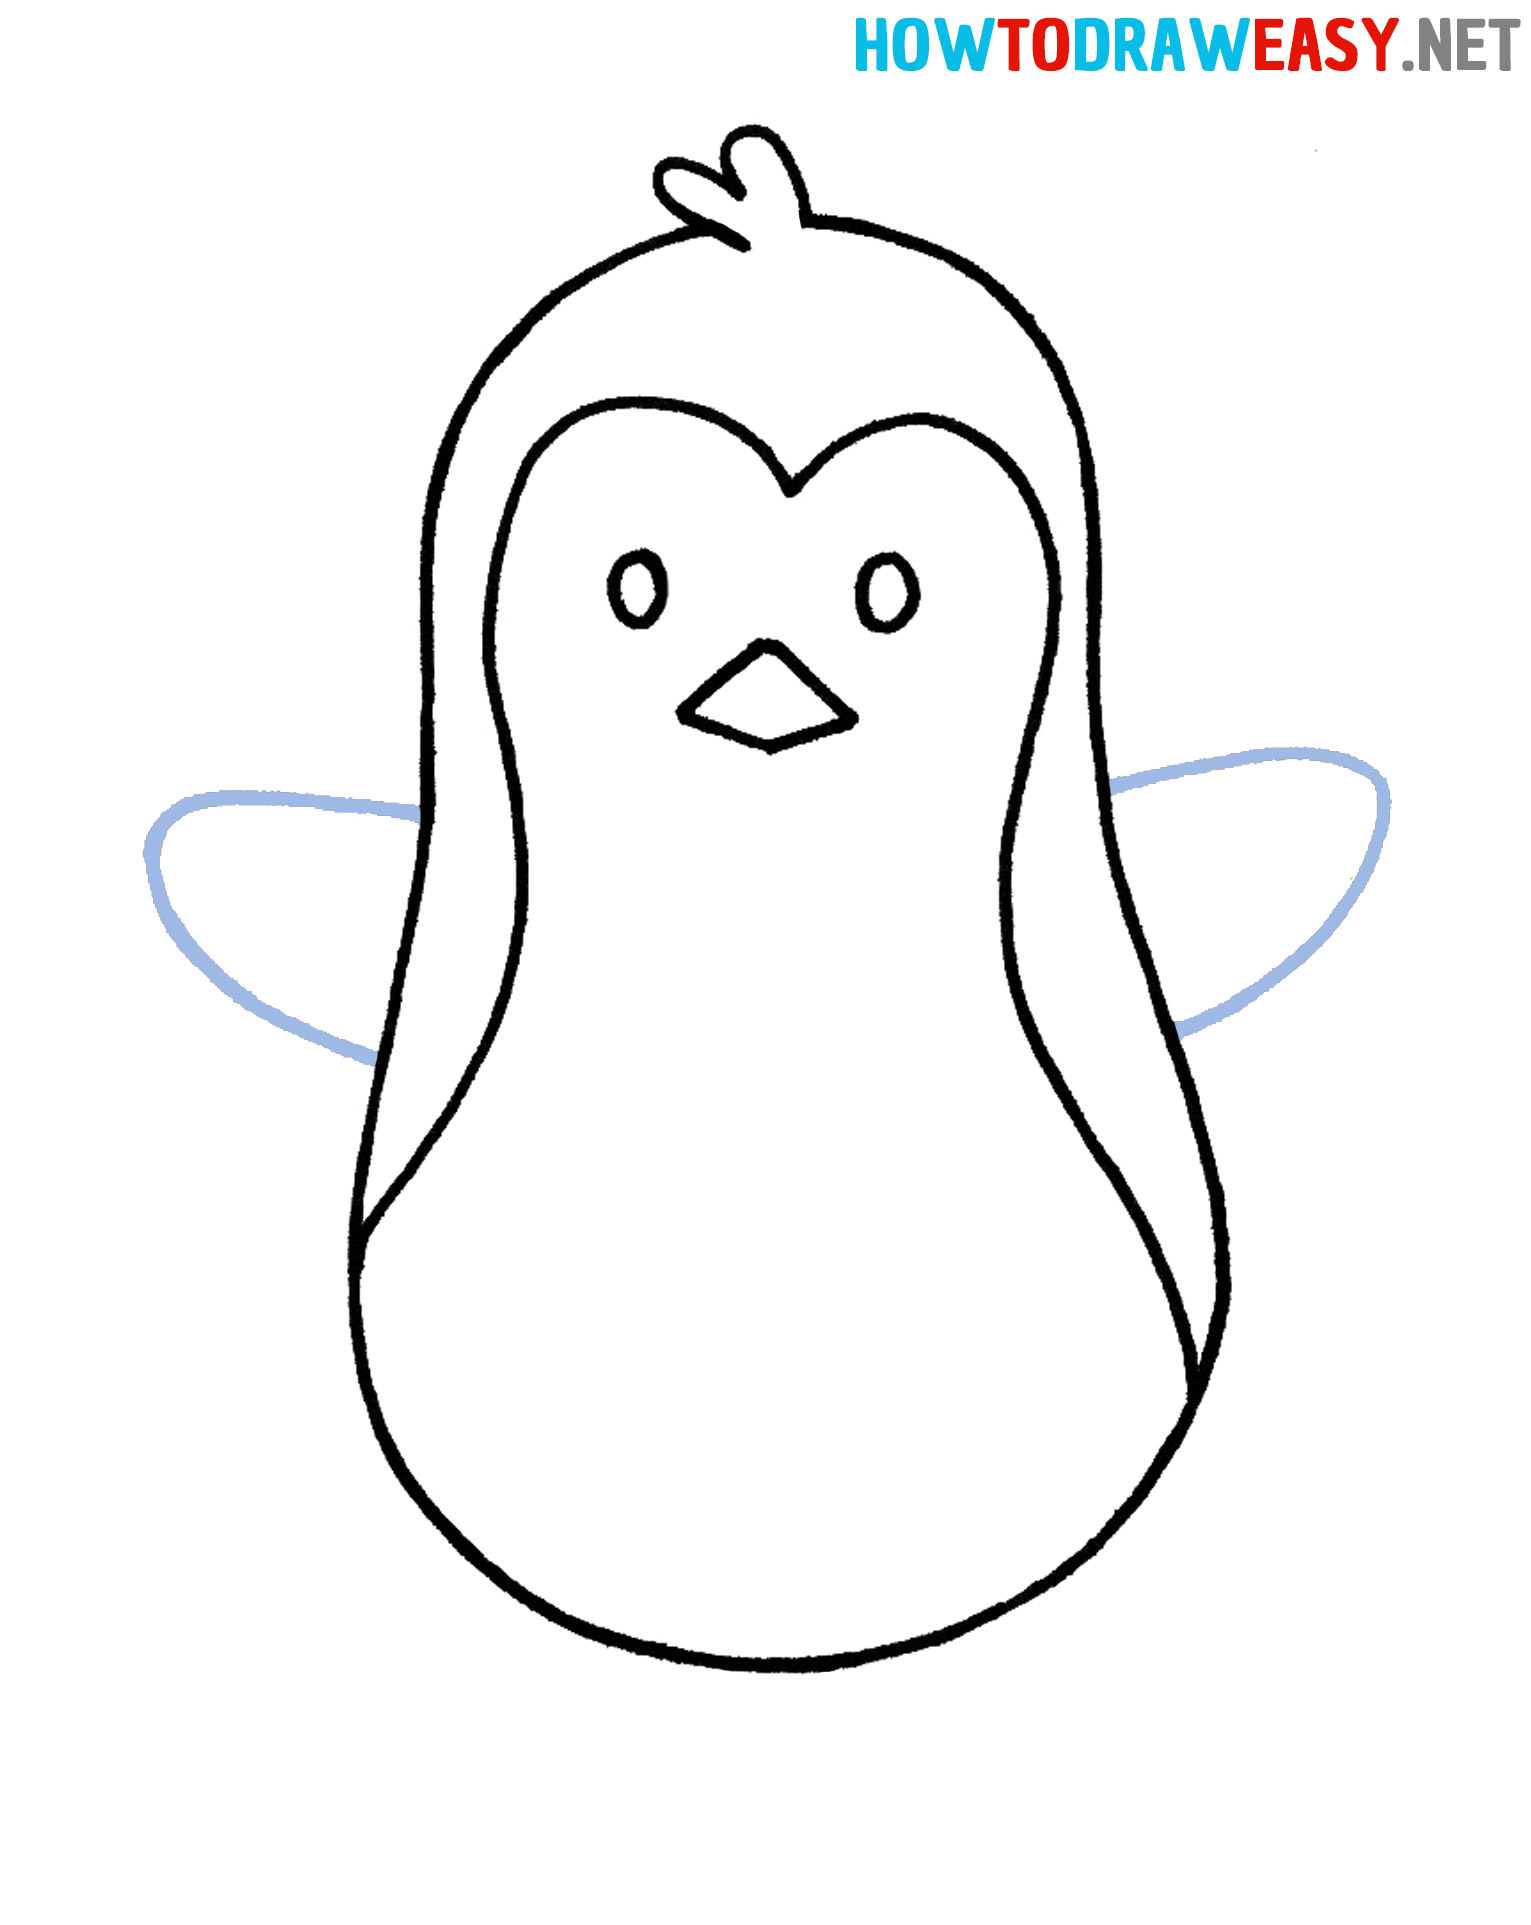
- Draw the wings.
Depict small penguin wings on each side of the torso.
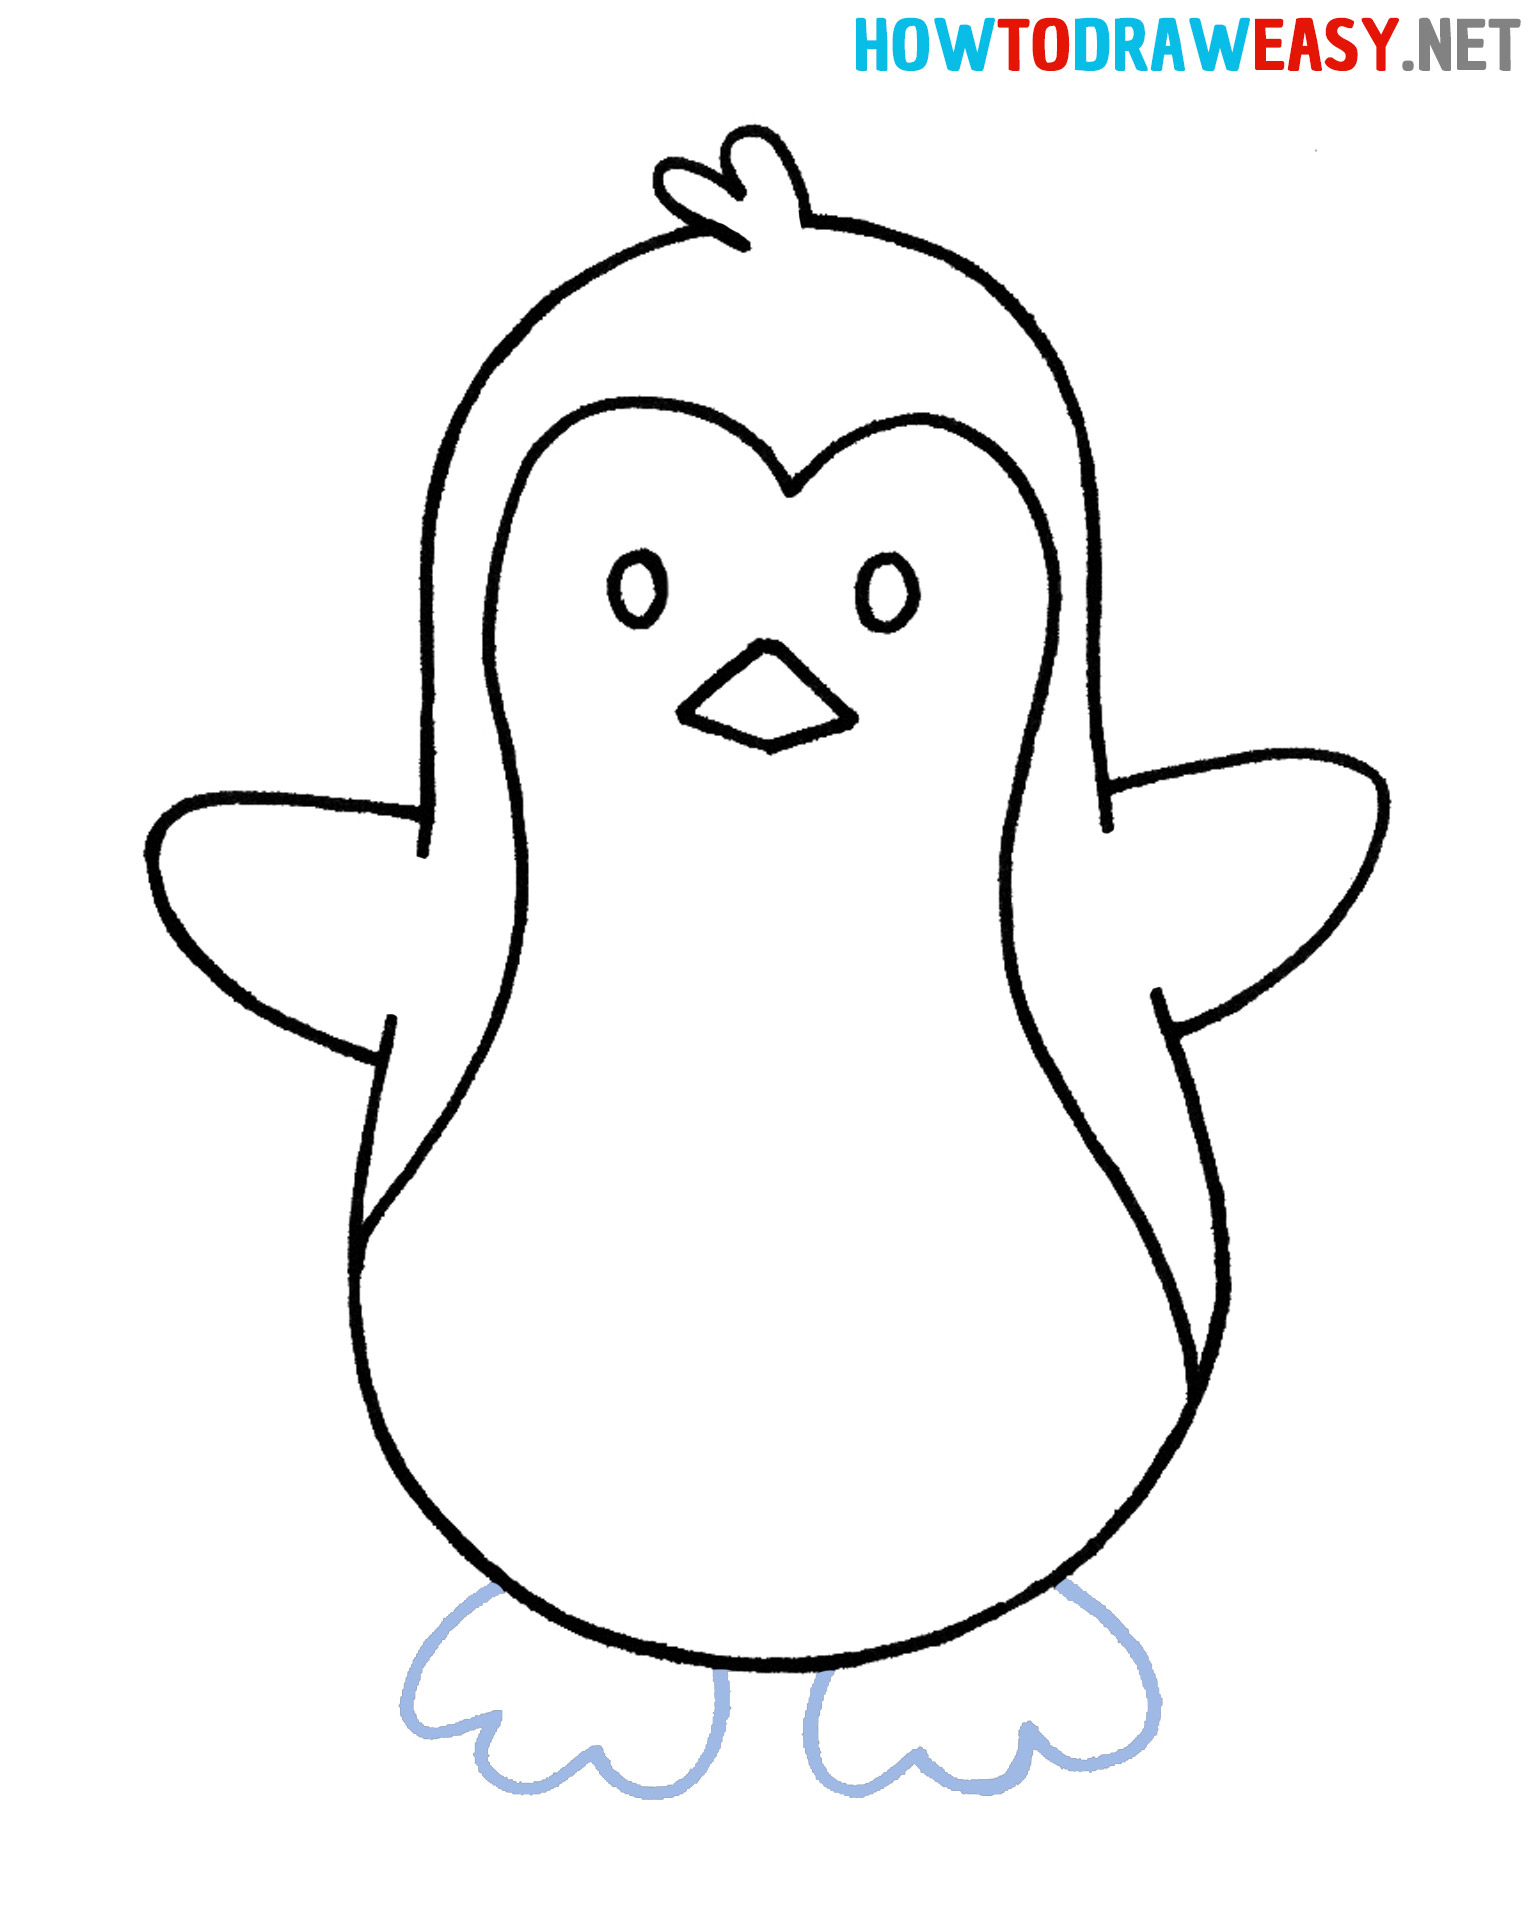
- Draw the legs.
Now you need to depict cute penguin feet. Draw the feet using wavy lines as in the example.
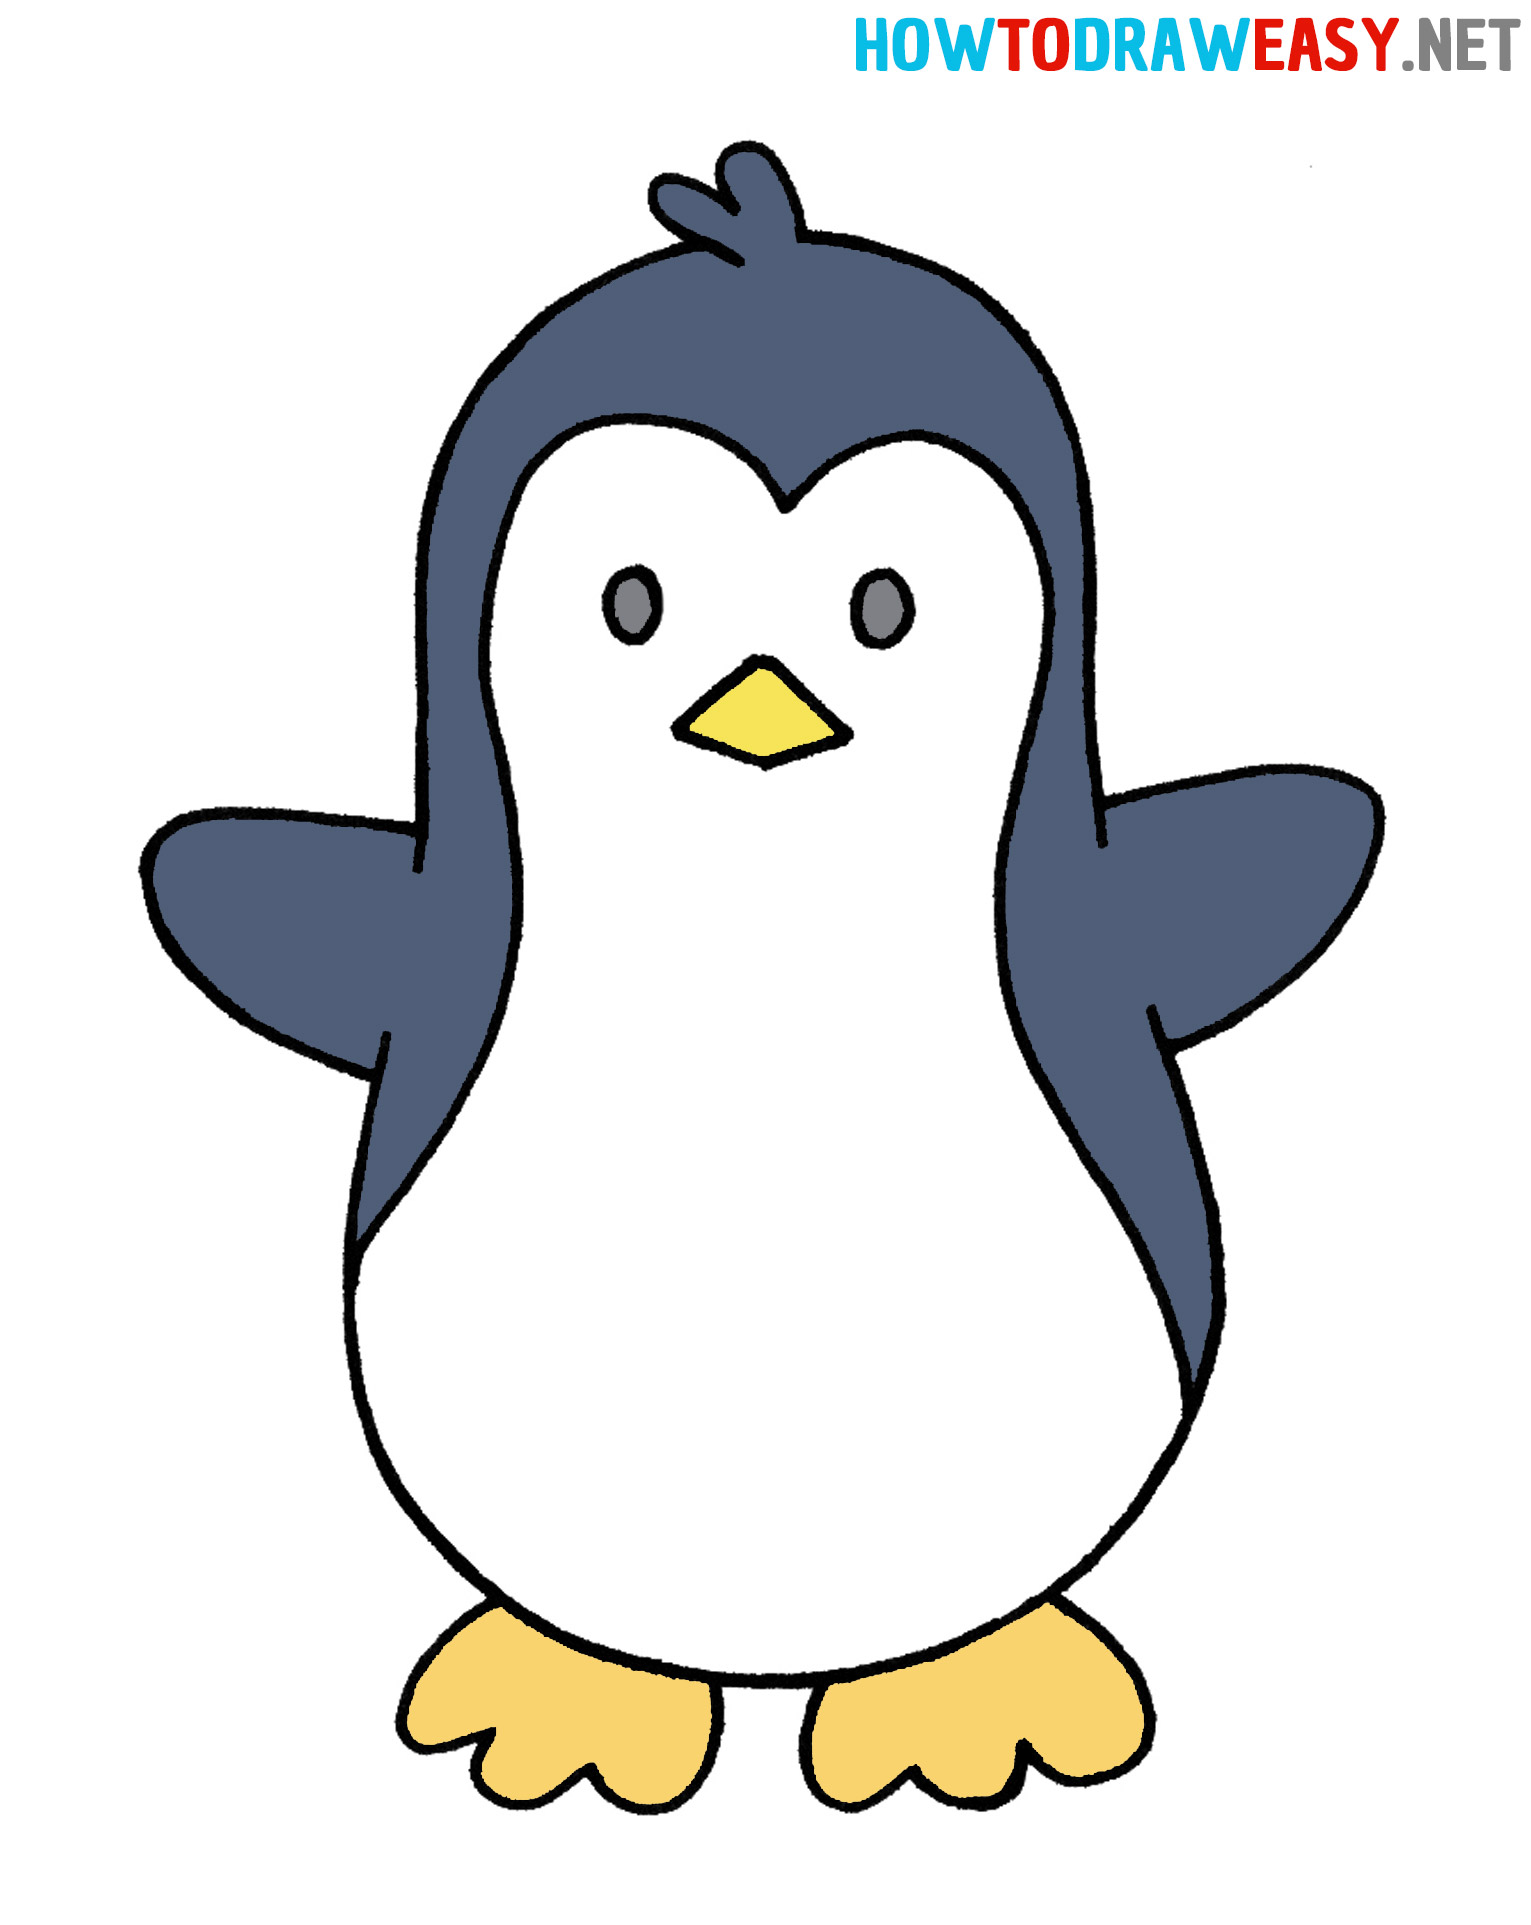
- Color penguin drawing.
Color your cute penguin with dark blue shades.


Learn to draw different animals with our drawing lessons. Share with your friends what you have drawn and try to draw together!