
How to Draw a Microwave for Kids
Have you been looking for an idea for a microwave drawing? Here, you will learn how to draw a microwave for kids using our easy drawing lesson.


Hello, friends! Welcome to the instruction, in which you will learn how to draw a microwave for kids. With us, you can easily learn how to draw different things that have simple geometric shapes. We try to make our lessons as simple and accessible as possible for everyone so that the process of drawing becomes a real pleasure and not a difficult task. Follow all these steps and you will upgrade your drawing skills! The main thing is to try to love the drawing process!
So, in this guide, we suggest you sketch an oven. This electronic food warmer has become a popular accessory in all kitchens. Thanks to the microwave, you can quickly reheat food, and sometimes even prepare the simplest dishes! Microwaves come in a variety of colors, shapes, and sizes. Many can no longer do without this thing in their kitchen, but we will try to sketch an electric oven together with you!
Time needed: 25 minutes
How to Draw a Microwave for Kids
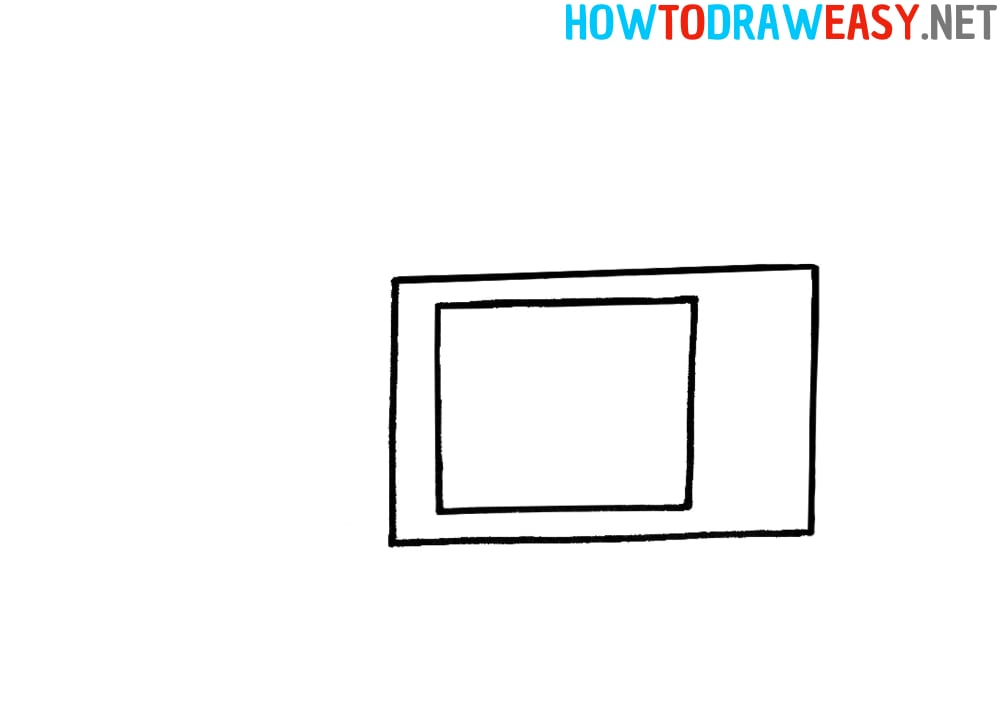
- Draw the front part.
Begin by drawing a rectangular shape for the front of the oven, as shown.

- Draw the window.
Now draw a square microwave window.
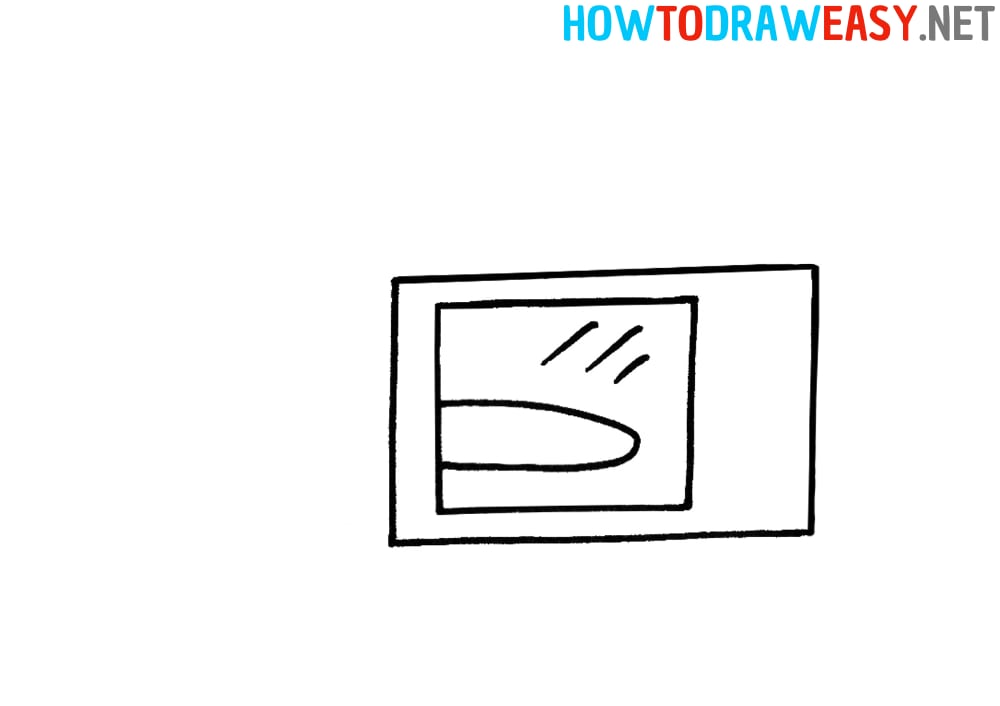
- Add details.
Now you need to add details. Draw the plate that is inside the microwave and also detail the glass of the microwave window as shown.
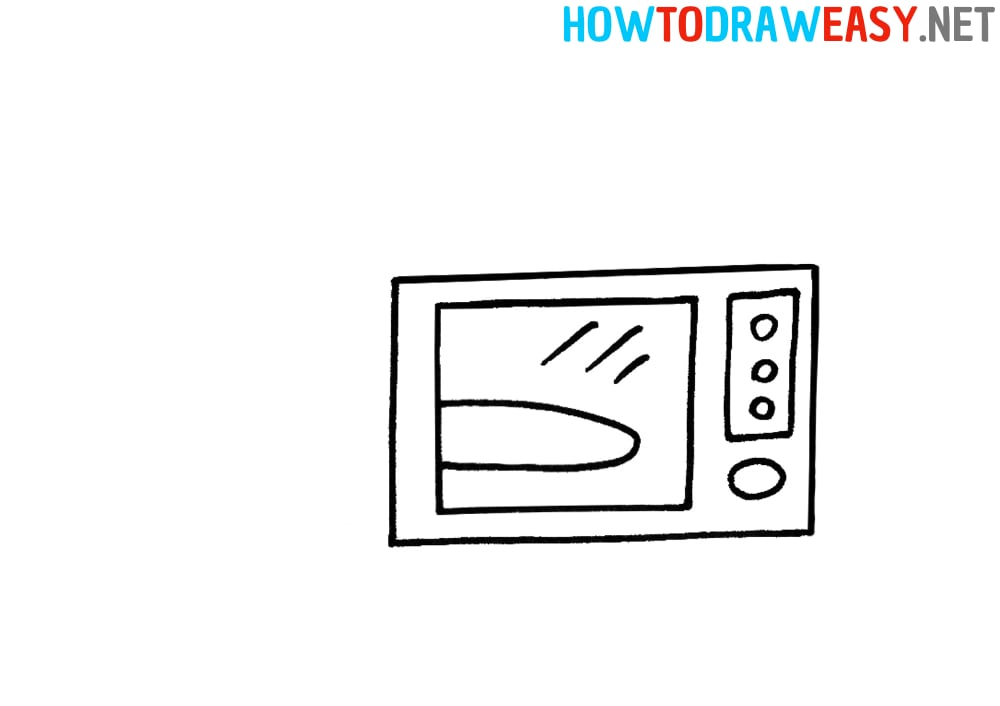
- Control Panel.
On the right side, add the shape of the microwave control panel.

- Add buttons.
Now draw round buttons on the control panel and also add a big round power button.
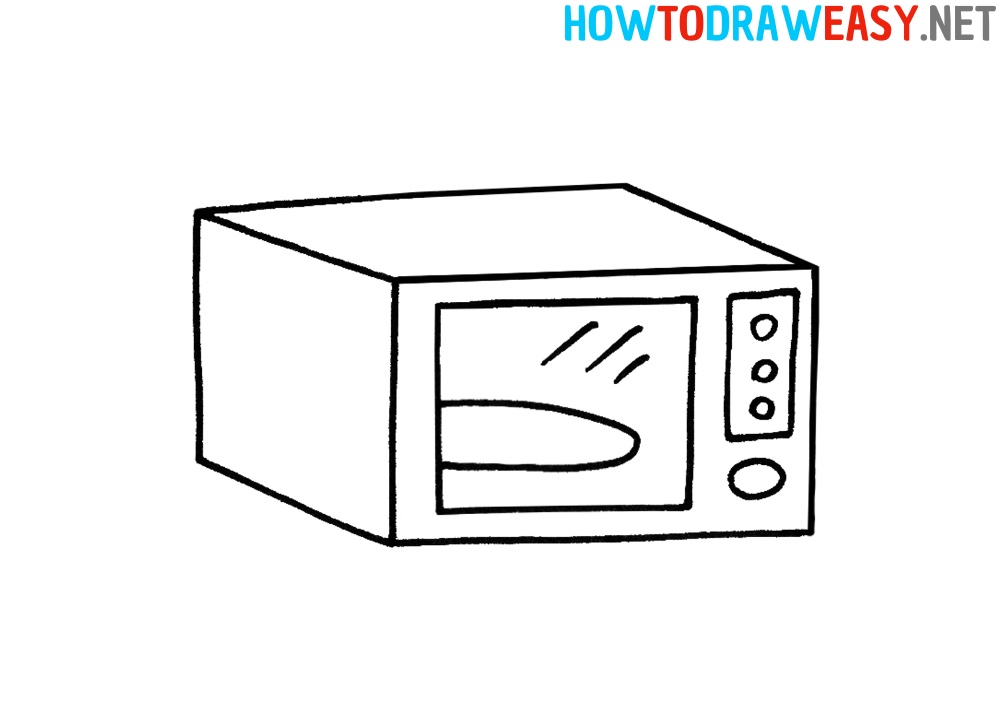
- Draw the top of the microwave.
Draw the top of the microwave using three straight lines, as in the example.
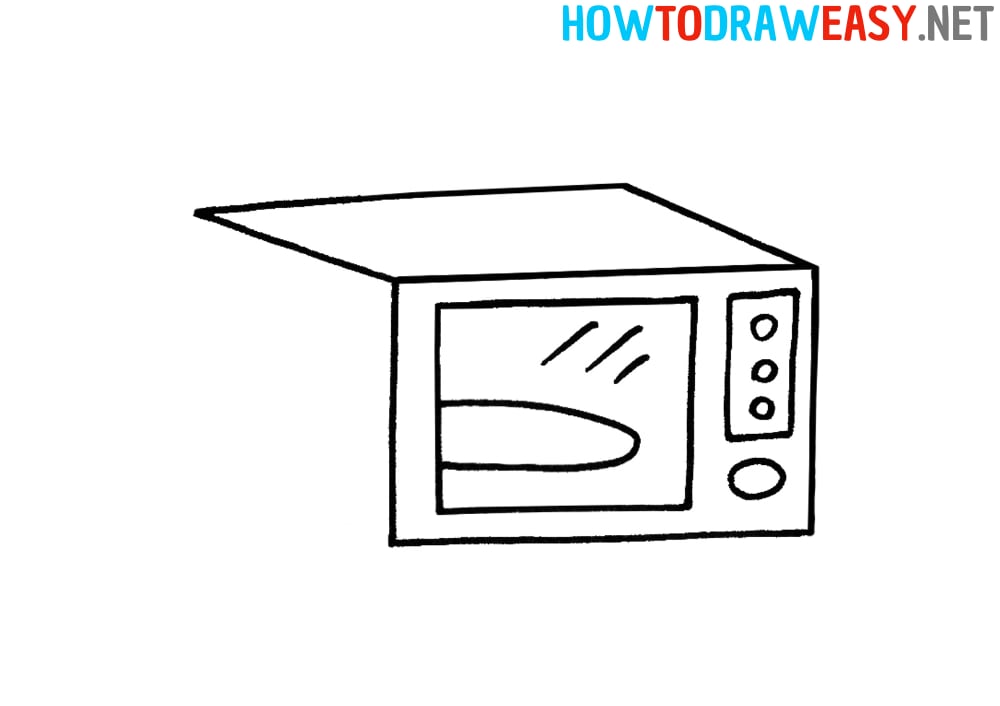
- Side part.
Draw a straight vertical line for the side of the microwave, and then connect that part and the front with a bottom line.
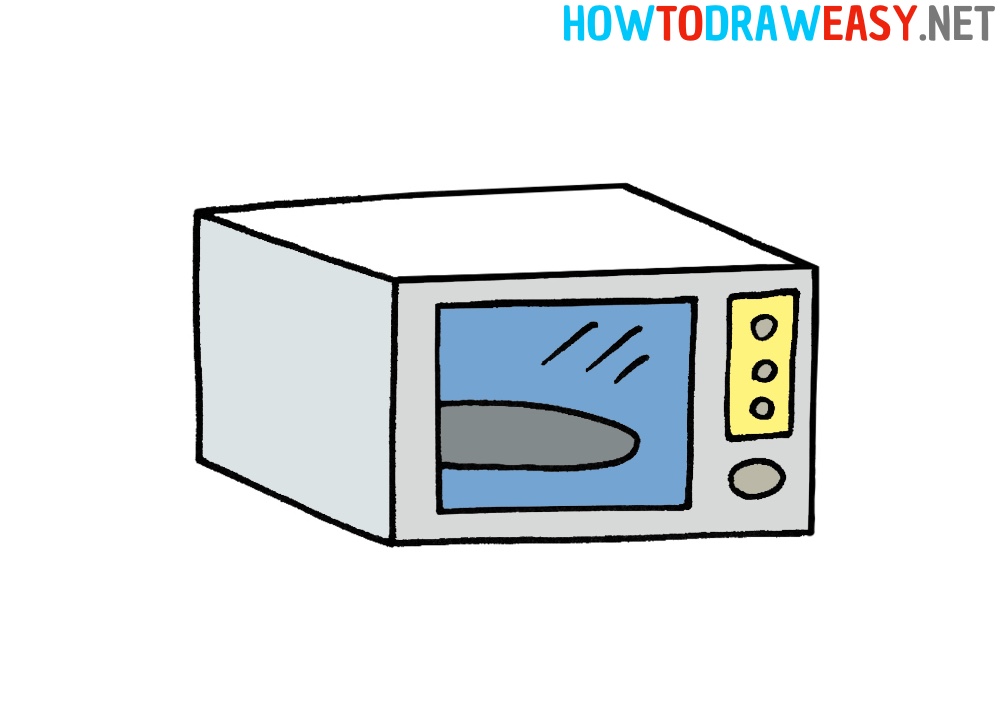
- Color the microwave.
Trace your sketch with a marker or pen, then color your drawing.


To practice, you need cool drawing ideas, and that’s what we created our site for! Draw with us to improve your skills as an artist.