
How to Draw a Lock for Kids
Learn how to draw a lock for kids step by step with this elementary drawing tutorial. The lesson is simple, even for preschoolers and those who have never drawn before.


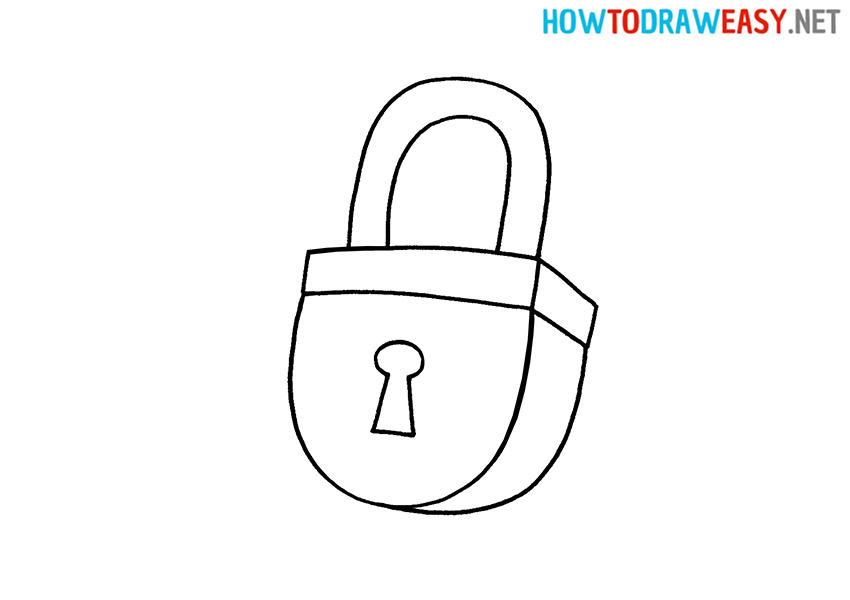
Hello everyone! In this drawing lesson, you will learn how to draw a lock for kids. The lock is perhaps the simplest device for closing doors. Even the most ancient people are 4000 years old. BC. used it, the first were the Egyptians. Drawing a lock is quite simple, since we tried to make the drawing lesson as detailed as possible and at the same time consisting of simple geometric shapes. Most of the drawing elements are made up of arcs and rectangles. We draw in 1/3 way, where the lock is turned sideways to us.
Time needed: 20 minutes
How to Draw a Lock for Kids
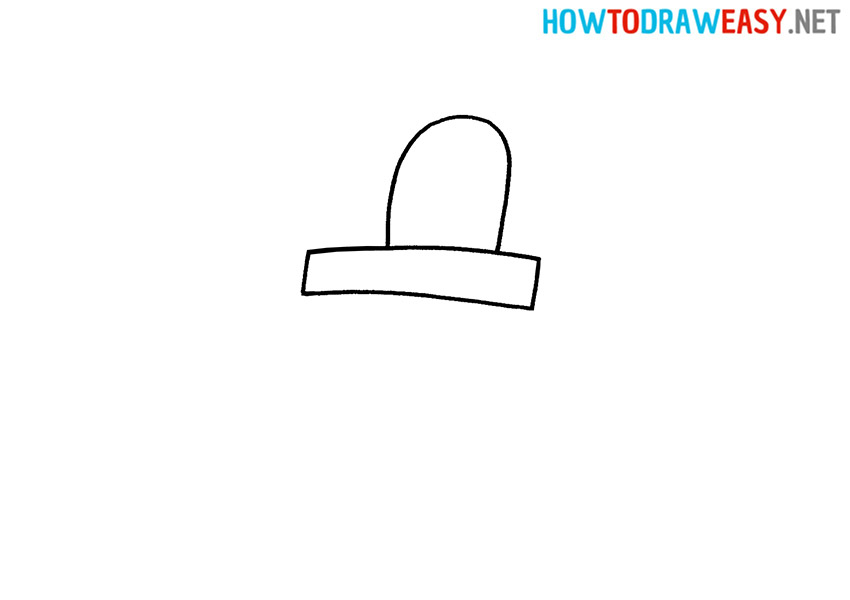
- Draw the rectangle.
In the future, this rectangle will serve so that the shackle can enter into it.

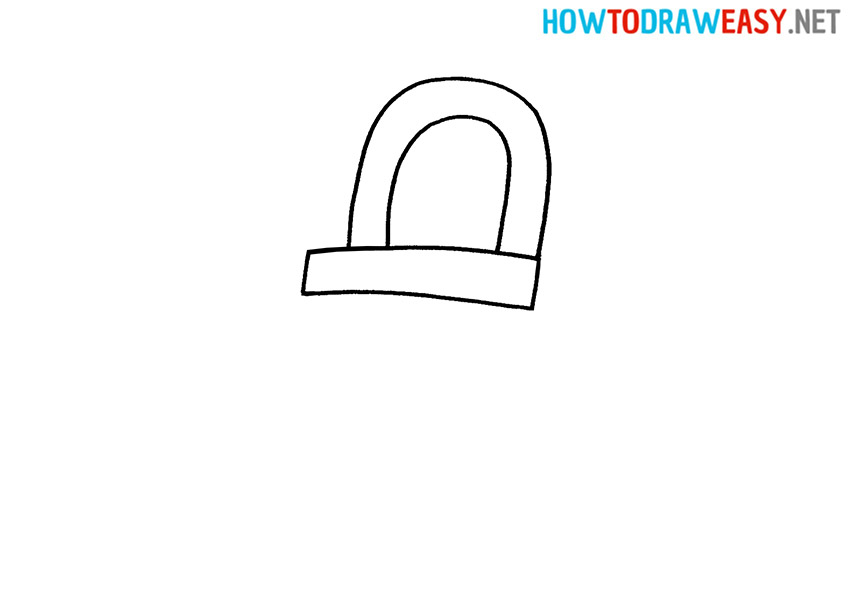
- Draw the inner arc for the shackle.
Draw an arc, on top of the rectangle, towards the right edge.
- Draw the outer arch of the shackle.
Above the arc from the previous step, draw the second in the same way, but at a larger size.
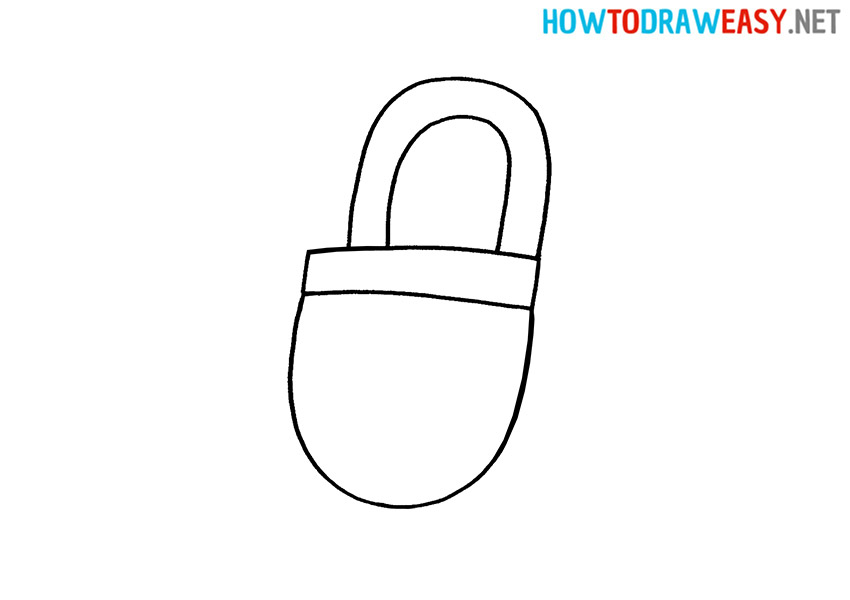
- Draw the body of the lock.
Draw an elongated semi-oval at the bottom of the rectangle.
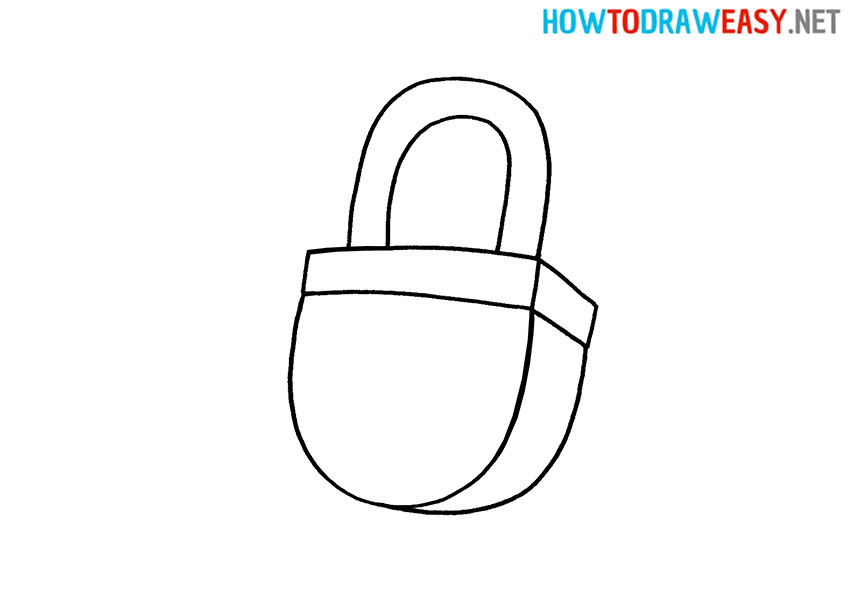
- Add volume.
To make the drawing three-dimensional, you need to draw the side of the lock. We add volume with a parallelogram.

- Draw the rest of the body.
From the lowest point of the body, you need to draw an arc of the parallelogram, which we drew in the previous step.
- Draw the keyhole.
There will be a keyhole in the case. Draw a hole as shown in the example instruction.
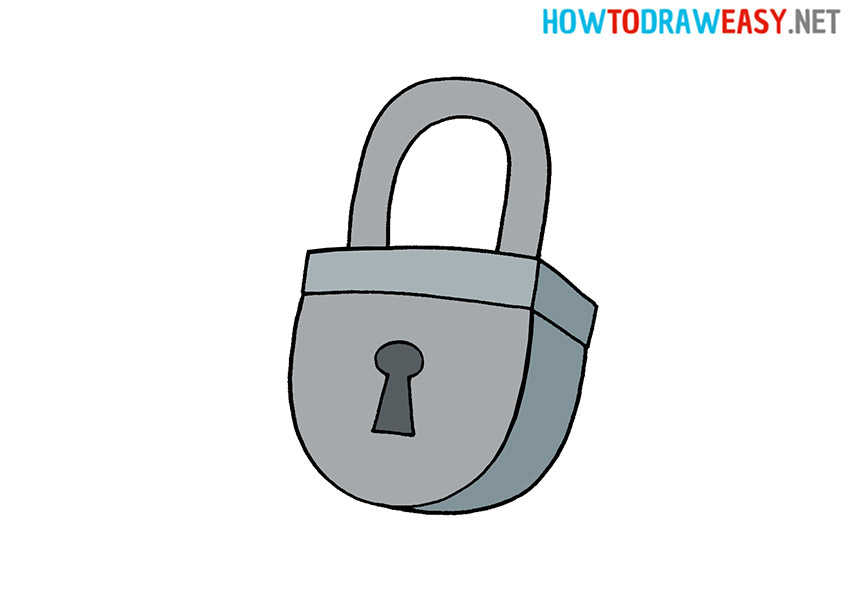
- Color the drawing.
Use gray tones to add metallic color to your drawing. Before coloring, you can outline the outlines of your pencil color with a marker or fountain pen.


We hope that this was an understandable and informative lesson for you. Be sure to show your new drawing to friends and family. We also recommend that you familiarize yourself with other drawing lessons for kids.