
How to Draw a Light Bulb for Kids
Learn how to draw a light bulb for kids. The guides are simple and easy to understand if you pay attention to the details.


Hello everybody! We have prepared a lesson on how to draw a light bulb for kids. The light bulb is probably one of the most important advancements in the world of technology. Before her, there were gas and petrol lamps that exploded and were extremely uncomfortable. The first light bulb appeared in 1878 by the great American inventor Thomas Edison. Its principle was to heat the thread by passing an electric current through it.
A light bulb as a drawing subject for a beginner is quite simple. The simplest version of an electric lamp is an incandescent light bulb. It is in her example that we will draw a light bulb. Let’s start!
Time needed: 20 minutes
How to Draw a Light Bulb for Kids
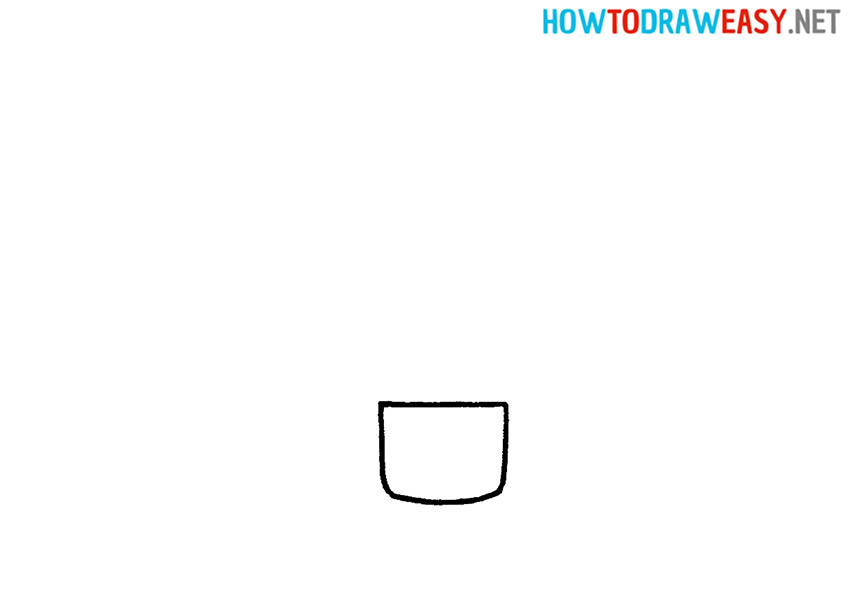
- Draw the lamp holder connection.
This part is needed to screw in the lamp. Draw a rectangle with a slightly convex bottom side.
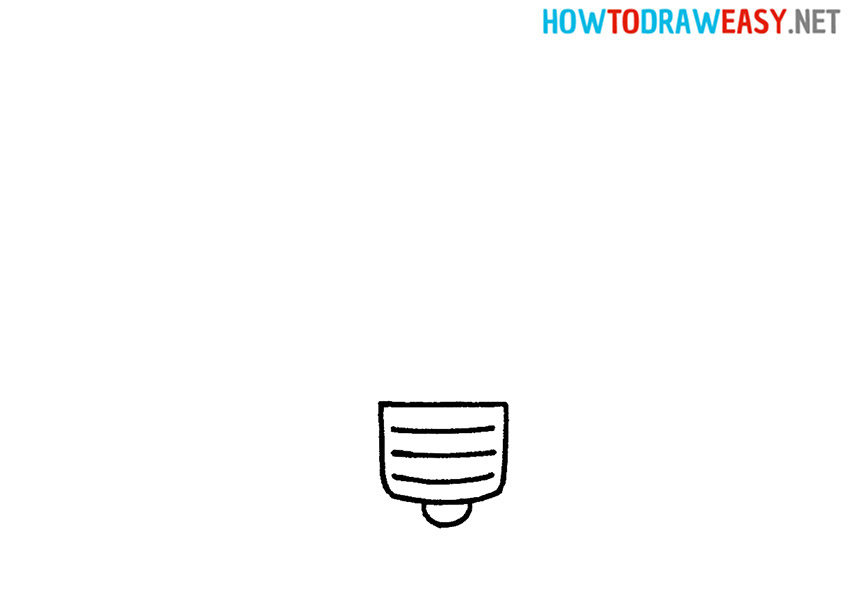
- Draw the carving.
The carving is drawn with three horizontal lines. They should be at the same distance.

- Add electrical foot contact.
Draw a semicircle at the bottom.
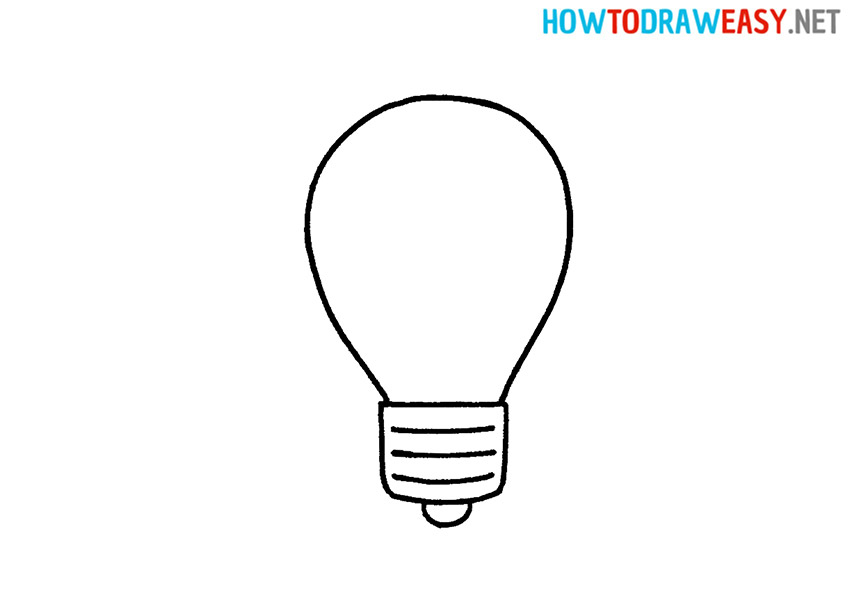
- Draw glass.
On the opposite side of the bottom, draw an oval towards the base, which will resemble a balloon.
- Draw the filament, contact wire, and glare.
One of the last steps is to add the inner parts of the lamp. To do this, you must first draw two slightly oblique vertical lines, and next connect them with a zigzag line. Then, to give our drawing volume and aesthetics, we need to add a twist to it.

- Color the drawing.
Color your cartoon light bulb with just a few colors. Shade the bulb itself yellow and the metal part grey.


Your cartoon light bulb drawing is ready, and now you have one more element available for you to draw. We hope that you will not stop there and continue to learn to draw with us!