
How to Draw a Lantern for Kids
Draw a lantern with us and our easy drawing lesson on how to draw a lantern for kids. It’s easy if you try to, don’t ignore the details.


Welcome to the tutorial on how to draw a lantern for kids. A lantern is one of the most famous sources of light at night. They first appeared in 1417 in England. There was no electricity in the lantern, but the candles were burning. The next stages in the development of lanterns included various mechanisms and ideas for the use of fuel, for example, the invention of an oil lantern with a cotton wick and the use of hemp oil as fuel. Named such a flashlight is presented in this manual. The process of drawing a lantern itself is not entirely complicated, everything consists of the simplest geometric shapes.
Time needed: 20 minutes
How to Draw a Lantern for Kids
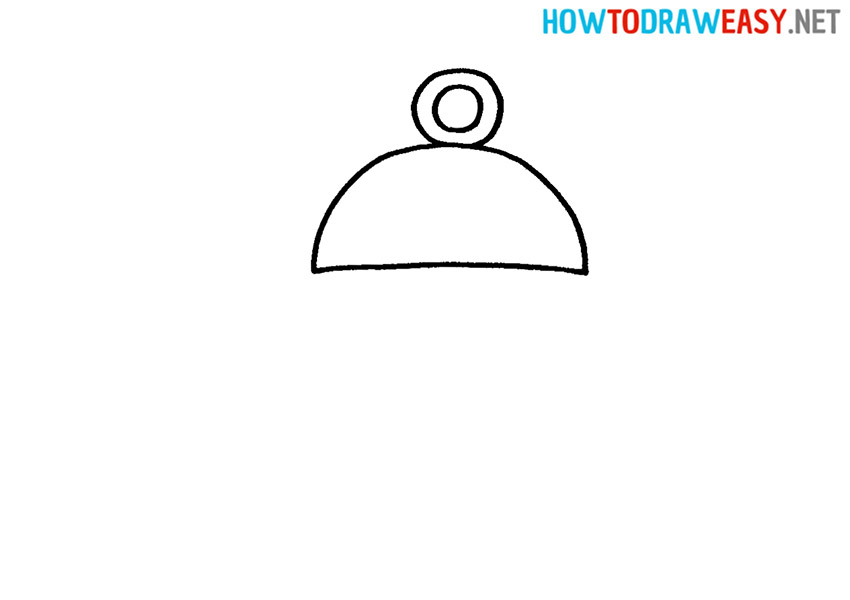
- Draw the hook.
Let’s start by drawing a hanging hook, which is fairly easy to draw as two rings.

- Draw the cap.
Draw a hat in the shape of a semicircle near the hook, connect the edges with a horizontal line from below.
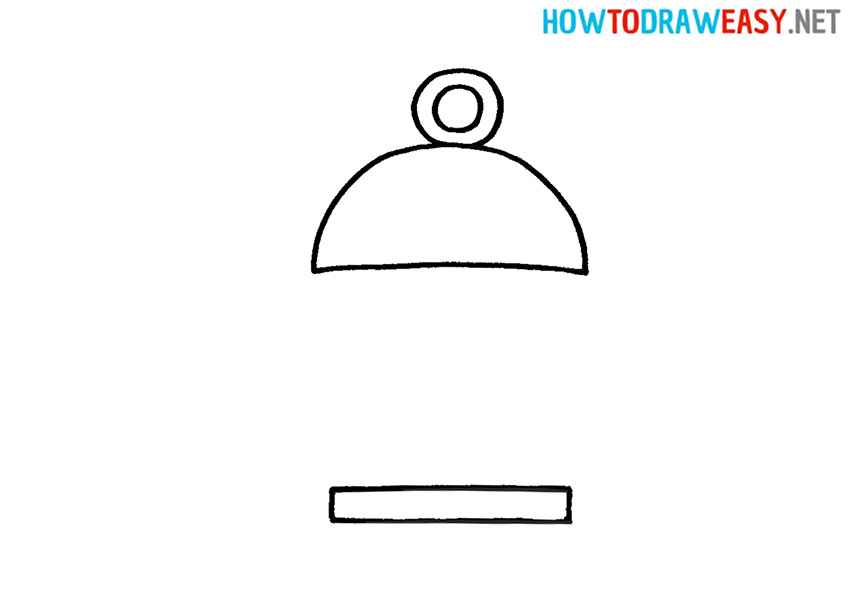
- Draw the base of the lantern.
To do this, draw the rectangle just below the header you drew earlier.
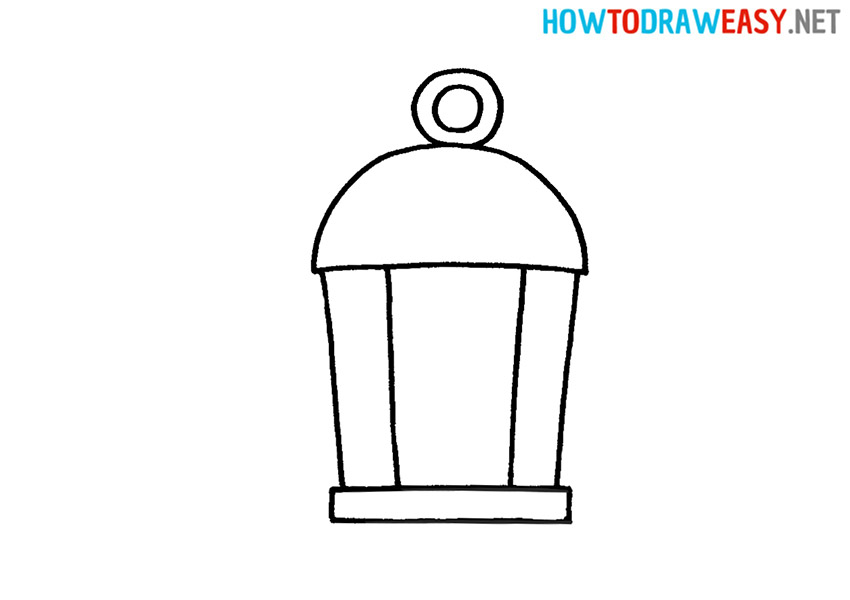
- Draw the lamp chimney.
To do this, it will be enough to connect the cap and base of the luminaire with two vertical lines at the edges and two more closer to the center.
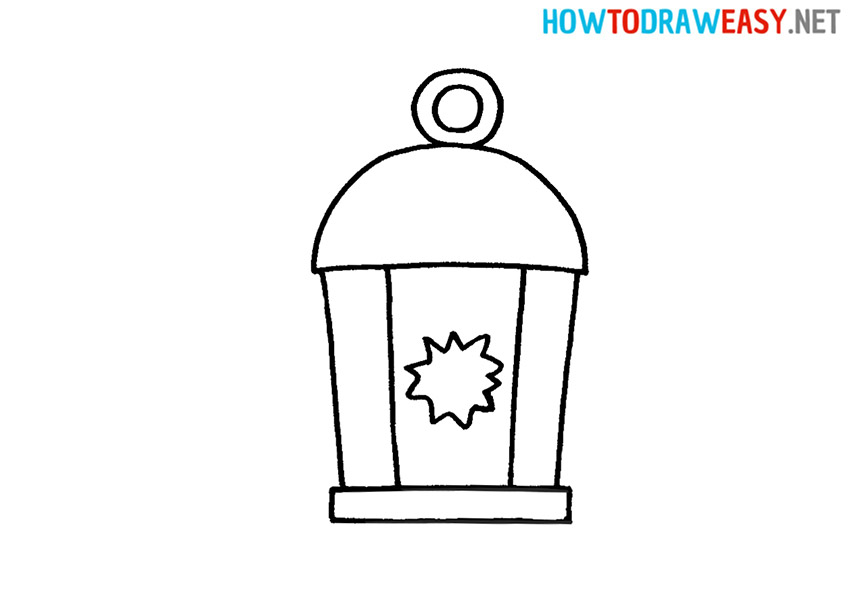
- Draw the fire.
Fire can be drawn arbitrarily in the shape of a polygon.
- Color the drawing.
Now the last step is where you need to add colors to your drawing. Color the metal parts using gray, and the glass and fire, respectively, shades of yellow and orange.


We hope that this was a useful and informative lesson for you. Be sure to show your new drawing to friends and family. We also recommend that you familiarize yourself with other drawing lessons for kids.