
How to Draw a Ladybug for Kids
Here you will learn how to draw a ladybug, easy enough even for kids. Scroll below to see all the instructions and the collage of the drawing.


Hello everybody! Our team has prepared a simple tutorial on how to draw a ladybug for kids step by step. We try to make the lessons simple and understandable for all of our readers. Therefore, the ladybug drawing tutorial is perfect for all artists of all skill levels. The ladybug drawing consists mainly of rounded shapes and simple lines.
The ladybug belongs to the beetle family and is one of the brightest and most memorable representatives of the genus. The body is round and convex, the base color may differ, but there are always black spots on top. Follow all the recommendations that are presented in the step-by-step instructions, and you will definitely be able to draw an insect.
Time needed: 20 minutes
How to Draw a Ladybug for Kids
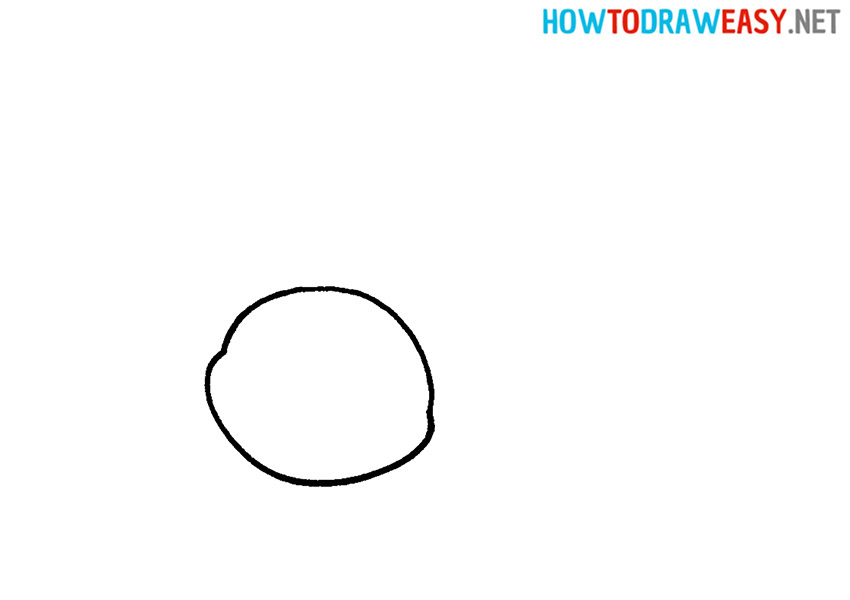
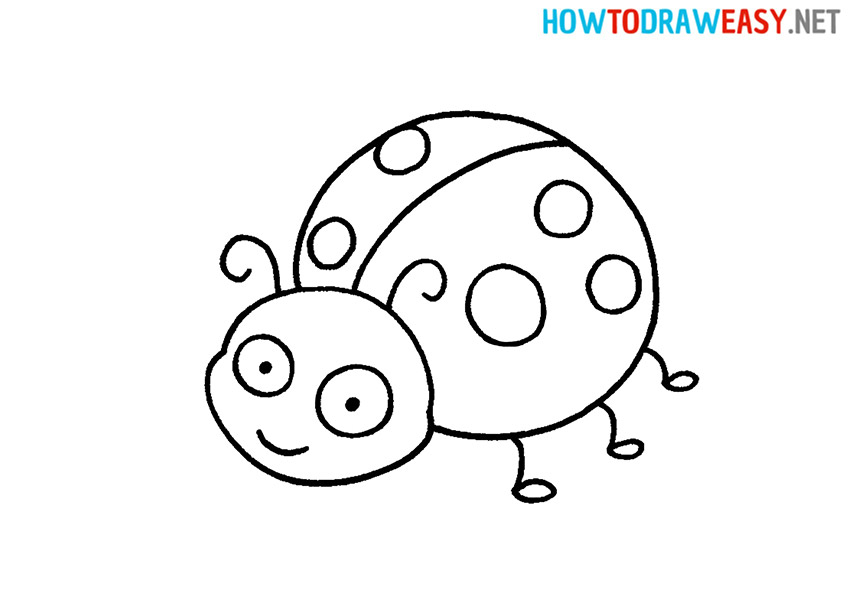
- Draw the head of a ladybug.
Draw the small oval with small indentations on the sides.
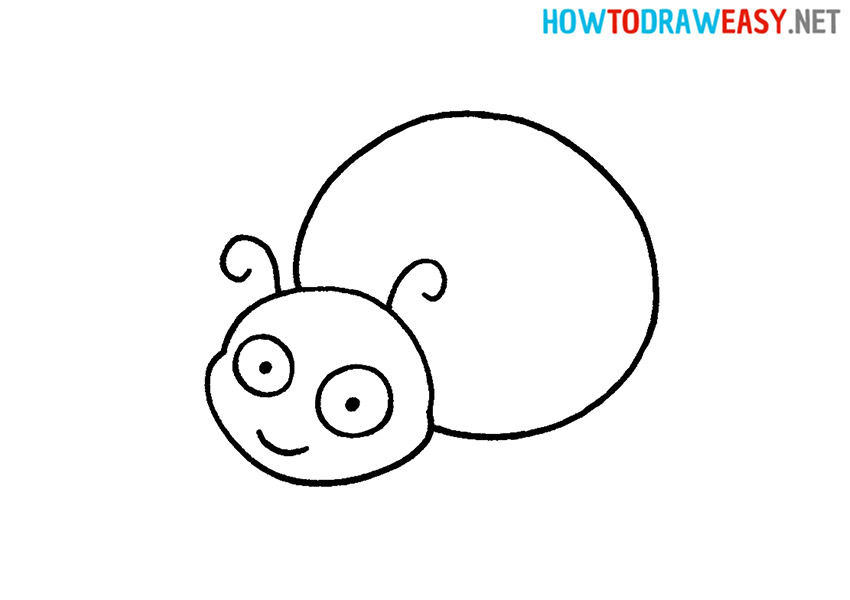
- Draw the eyes and mouth.
The eyes are round. Draw small black pupils inside. Draw a semicircular smile under the eyes.

- Draw the antennae.
On the ladybug’s head, draw 2 small antennae that have rounded edges.

- Draw the body.
The body of a ladybug looks like a large circle.
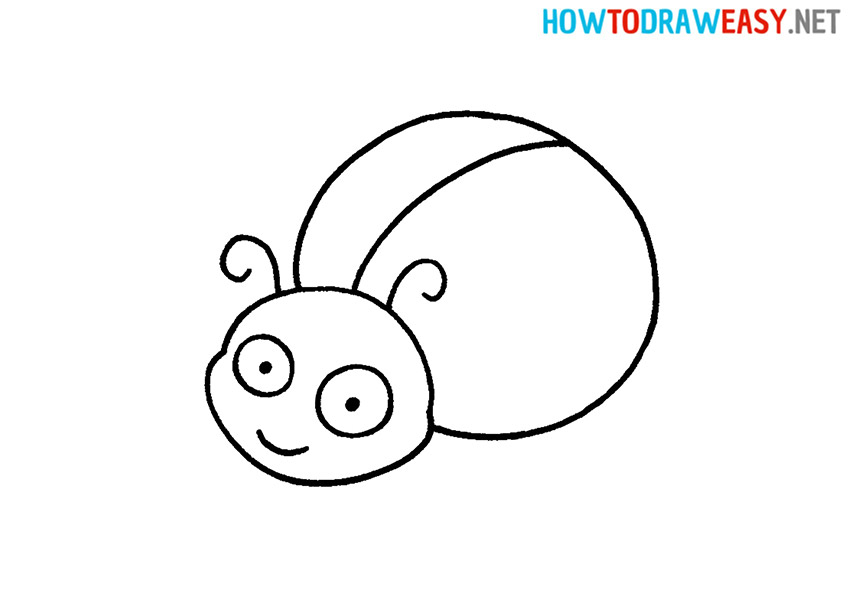
- Draw the elytra.
Draw a line in the middle of the body to separate the two parts of the elytra.
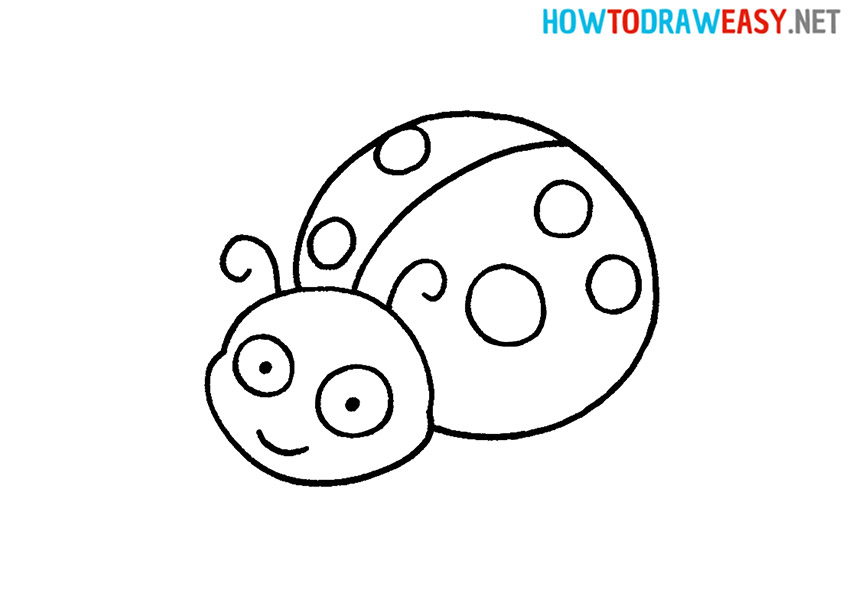
- Draw spots.
Draw some round spots on the back of the ladybug.
- Draw the legs.
The legs of the insect are in the form of small lines with ovals at the end.
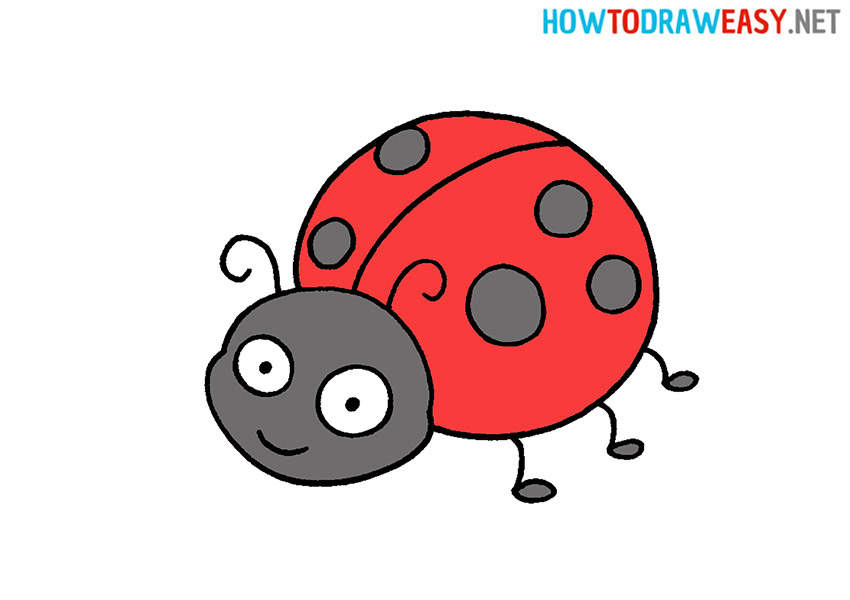
- Color the drawing.
Paint the head, legs, and spots on the elytra in a dark color and the rest of the spot in red.


Congratulations on the successful completion of the lesson on creating a drawing of a ladybug! You have just learned how to draw a bright and cute insect that is sure to please everyone. We hope that this lesson has inspired you for further creativity, and you will use our tips to create new interesting drawings!