
How to Draw a Knight Helmet for Kids
In this step by step drawing lesson, you will learn how to draw a knight helmet for kids. This is an easy and understandable drawing, even for those who draw for the first time!


Good day, friends! In this drawing lesson, we have prepared step-by-step instructions on how to draw a knight helmet for kids. Knights are an integral part of the history of the XIV-XVII centuries. Their knightly code is admired by millions of people. Of course, being a knight is not an easy task. Wear chain mail, serve your beloved king and homeland. Their equipment, as mentioned earlier, consists of chain mail.
Of course, a knight’s helmet is an integral part of all knightly equipment. A knight’s helmet consists of many elements, and it may seem difficult for a novice artist to draw it. But especially for you, we have prepared a very simple instruction for drawing a knight’s helmet with a detailed description. The main thing is not to rush and follow our recommendations, and you will definitely succeed in the drawing. Let’s start!
Time needed: 30 minutes
How to Draw a Knight Helmet for Kids
- Draw the visor attachment.
Let’s start the drawing with a simple element that will be approximately in the center of the drawing. The visor is the movable part of the helmet that protects the face. Draw a small circle in the middle. He will be our main and support you will rely on in the future.
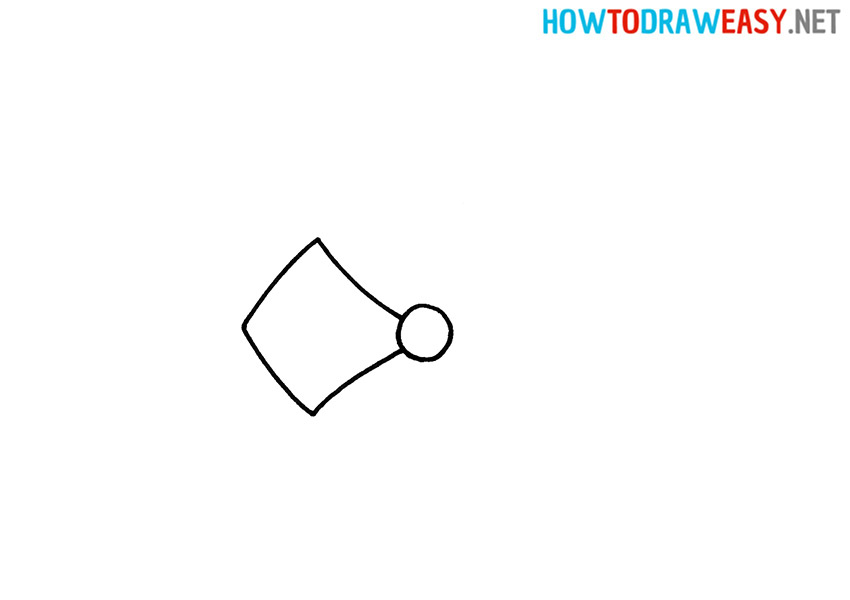
- Draw the visor.
For the bindings on the left, draw a diamond shape.
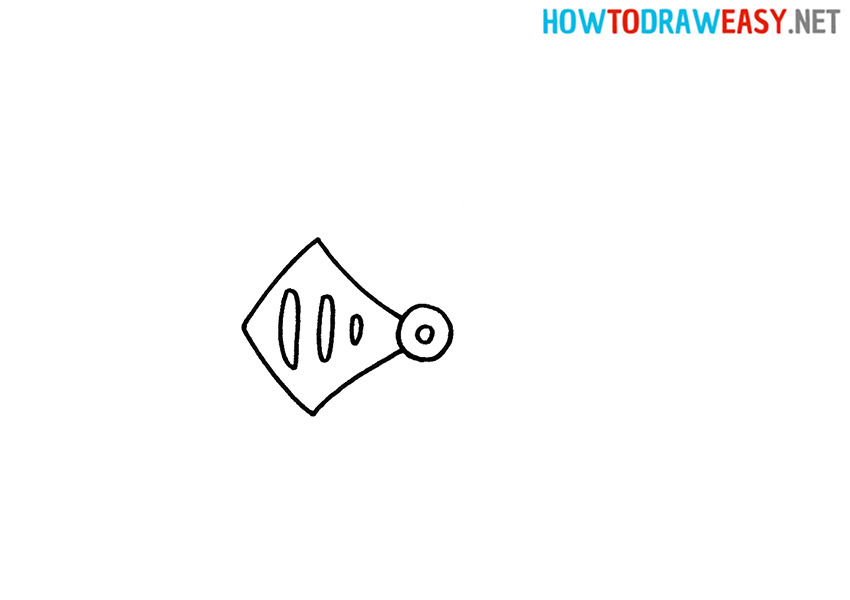
- Draw the holes in the visor.
In order for the knight not to be “blind”, he needs holes inside the visor. To do this, draw oval holes in the diamond. Also, draw a circle on the mount.
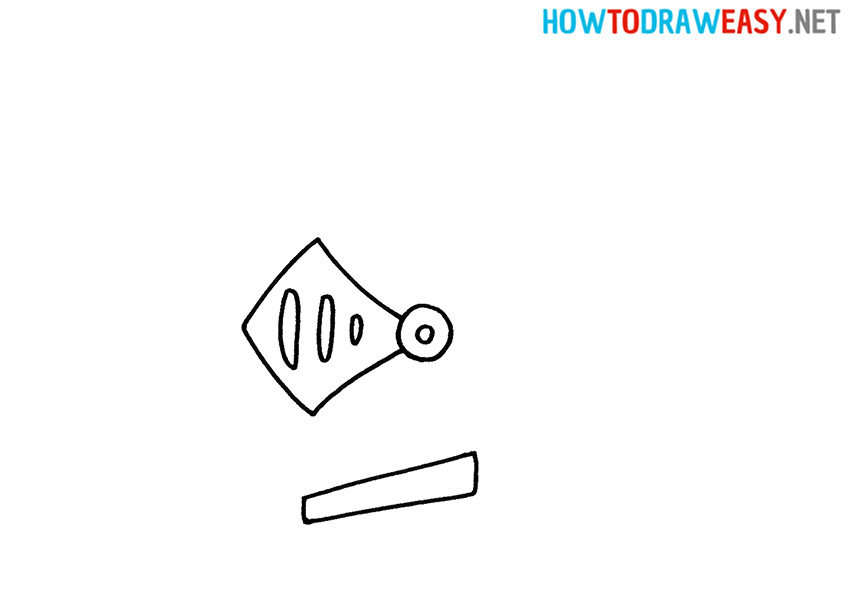
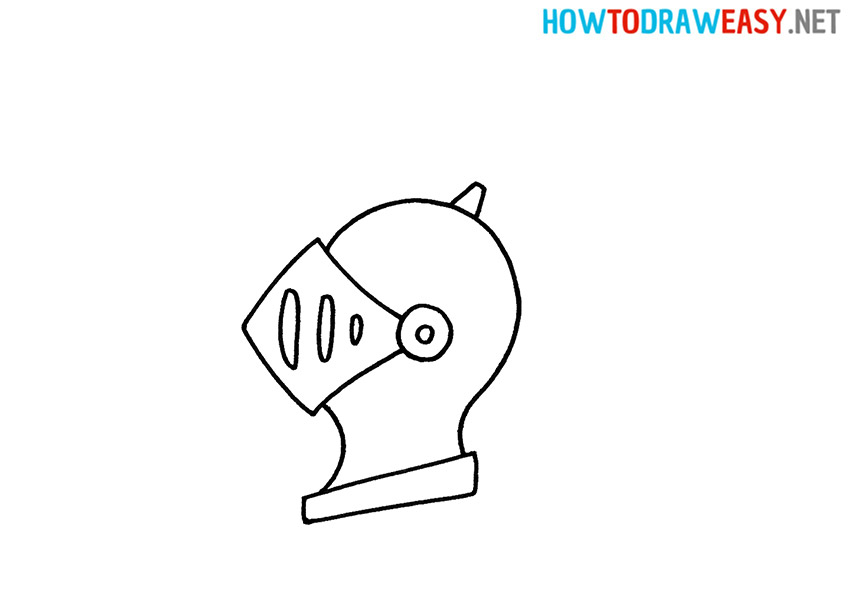
- Draw the base of the helmet.
To do this, draw a slanted rectangle just below.
- Draw the outlines of the helmet.
To depict the shape of the helmet, you need to understand that it is on the head and neck. That is, the part where the head is located should be more rounded and larger than the part where the neck is.

- Draw the place to insert the plume.
The plume is the feathers on the helmet. Draw a small, narrow trapezoid at the top of the helmet.
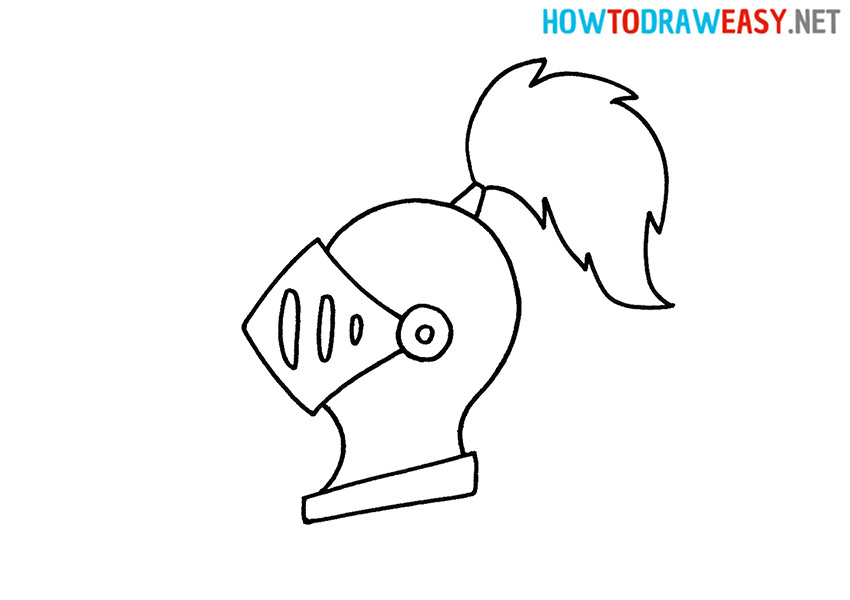
- Add the plume.
Draw the plume as shown in the example instruction. Draw the plume of the helmet using furry lines.
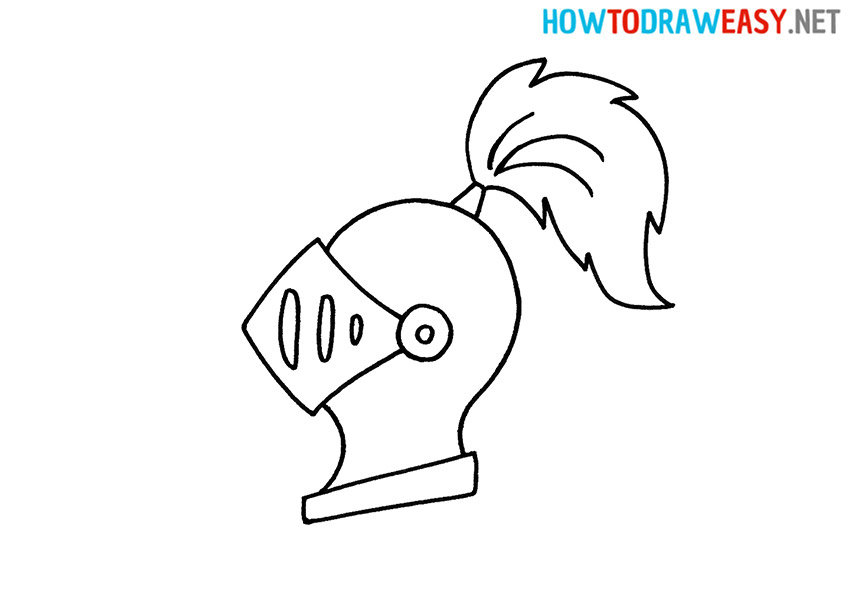
- Add details of the helmet.
Draw some lines to give the drawing a more realistic look.
- Color the drawing.
The visor and base are light grays. The helmet itself, the clasps of the visor, and the part for inserting the train are slightly darker. The most notable of these is the red plume.


The drawing of the knight’s helmet is ready! Try also to draw a medieval castle, which is just as easy to draw.