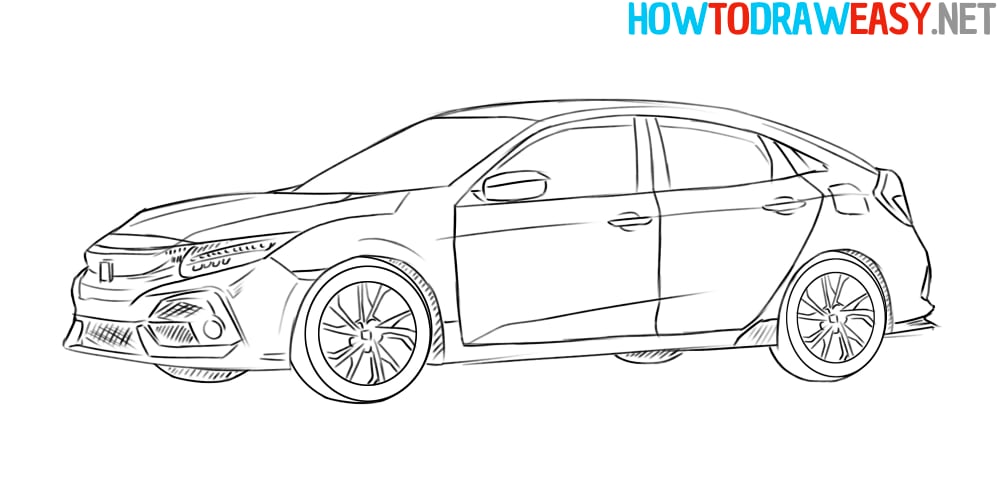
How to Draw a Honda Civic
In this simple step-by-step drawing tutorial, you will learn how to draw a Honda Civic! Learn how to create an amazing Honda drawing using our instructions!


Welcome to howtodraweasy.net! In this instruction, we will look at how to draw a Honda Civic according to a tutorial divided into ten steps. Scroll below to see the steps in more detail.
The Honda Civic is a very popular car around the world, and this car is especially popular in the United States. Considering all the most popular cars in the States, the Honda Civic is the eighth most popular at the time this drawing tutorial was published. But it is worth noting that this list is mainly pickup trucks and SUVs, and the only passenger cars among the popular cars are the Honda Civic and the even more popular Toyota Camry.
Time needed: 45 minutes
How to Draw a Honda Civic
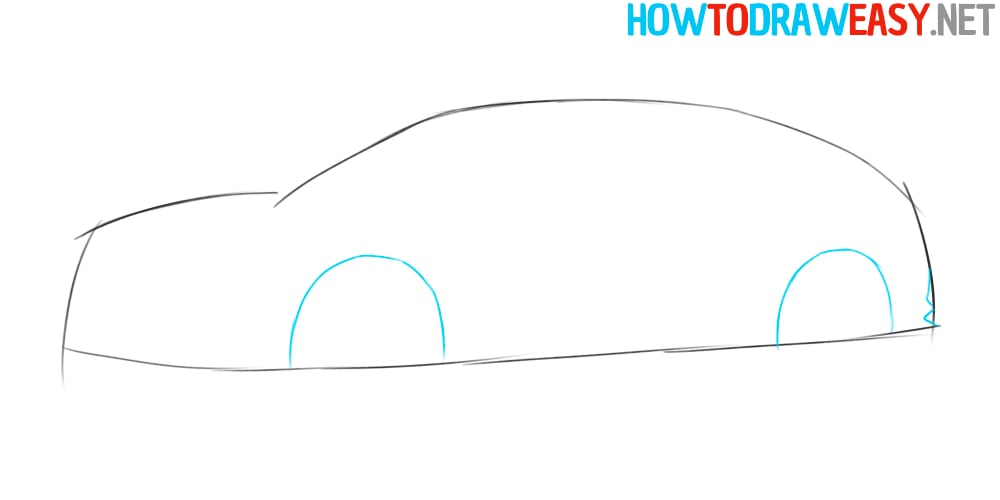
- Draw the base.
Start sketching the Civic by sketching the shape of the car, which will serve as guidelines for the next steps.

- Wheel arches.
The guidelines are now ready, now you need to sketch the wheel arches, which are shown in blue in the example.
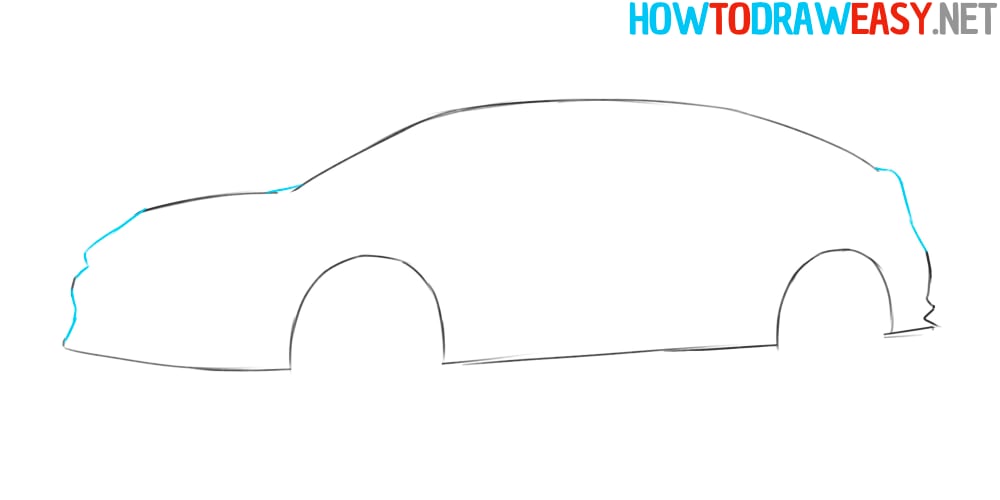
- Body lines.
Detail the front of the car by drawing Honda’s design lines, then do the same with the back of the car.
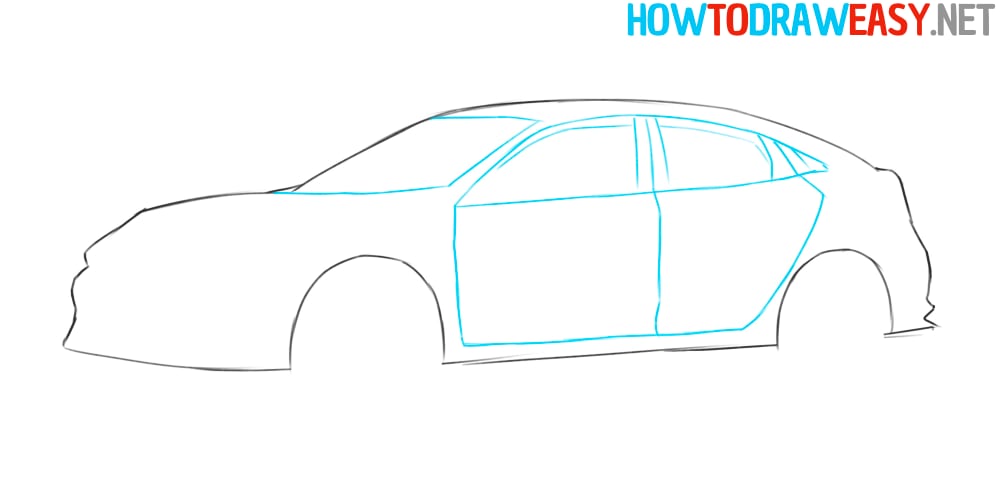
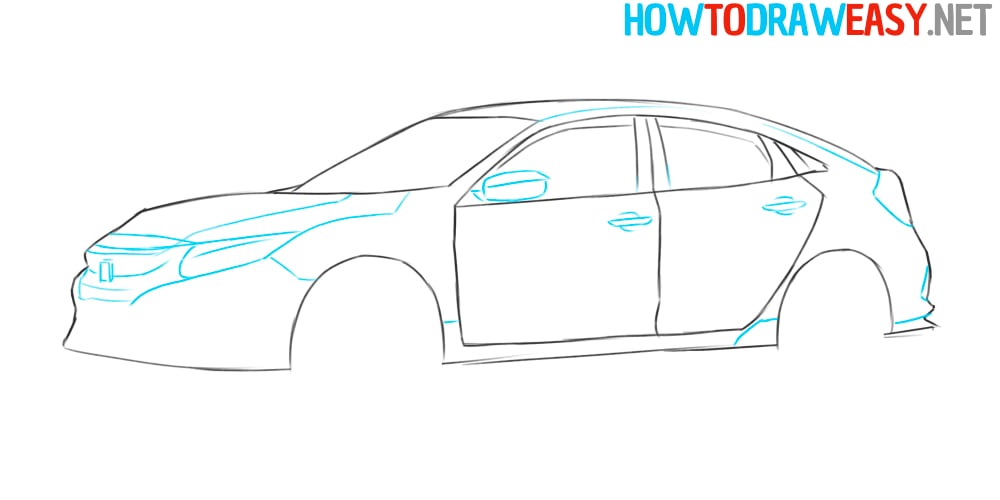
- Doors and windows.
Start filling the car with its important parts, first of all, we start by drawing the lines of the car windows and doors.
- Draw the details of the middle section.
Start this step by drawing the front of the car, these are the headlights of the car, the lines of the hood, and the radiator of the Honda Civic. After the front part, draw the rearview mirror and door handles, and don’t forget the rest of the small details shown in the step.
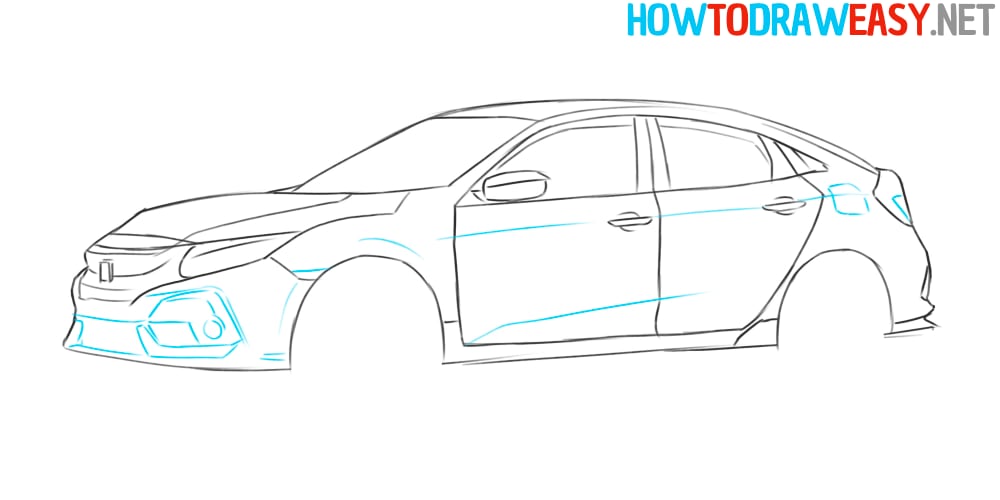
- Bumper details sketch.
Now let’s move on to drawing the details of the front bumper by drawing the fog lights, bumper air deflectors, and the rest of the lines. Also in this step, you need to draw the rest of the body lines shown in the example.
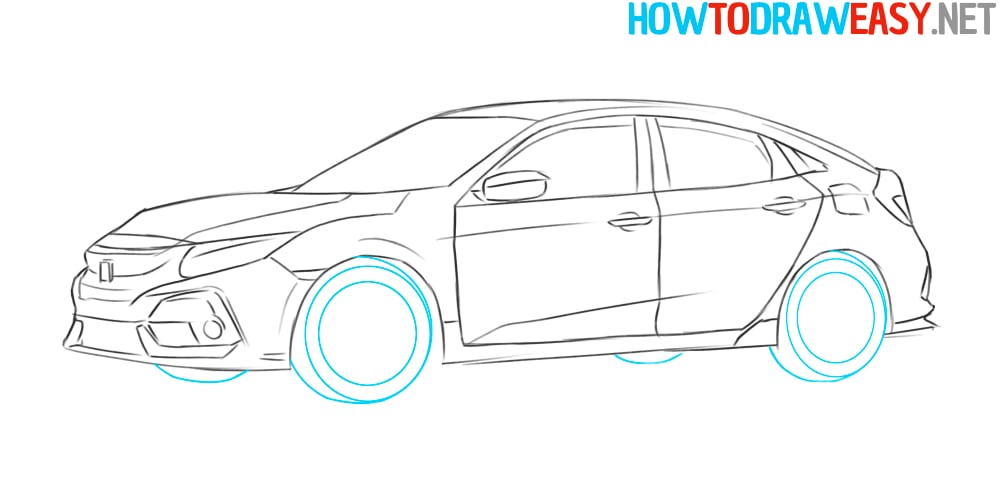
- Draw the outline of the wheels.
You need to draw round wheel outlines, which consist of two parts – this is the outer rubber wheel, and also the inner part, in which you will draw the Honda Civic wheels.
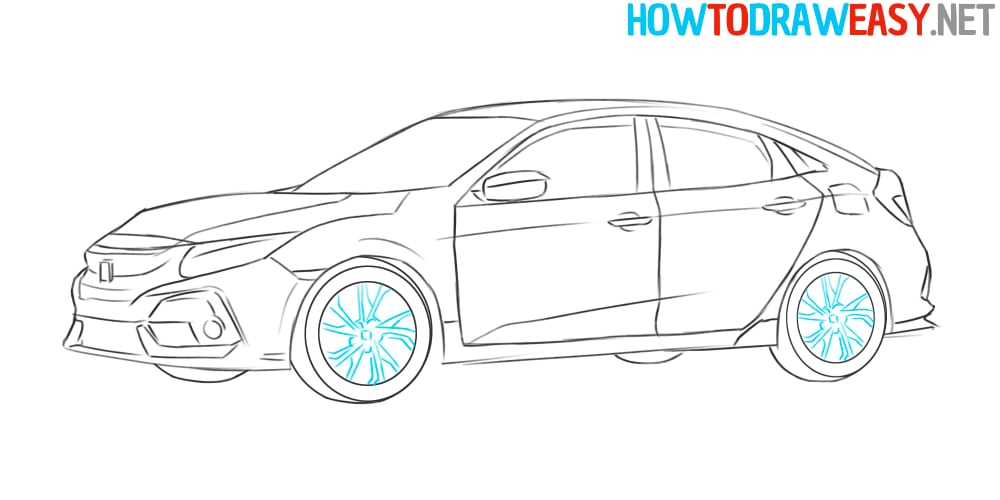
- Draw the rims.
In the very inner circular parts that were mentioned in the previous step, you need to draw the Honda Civic wheels following the example.
- Hatching.
So, the car shapes are ready, and you are in the final stage of rendering. You need to add small details like in the example, and also add shadows to the sketch by doing this with a pencil and hatching.
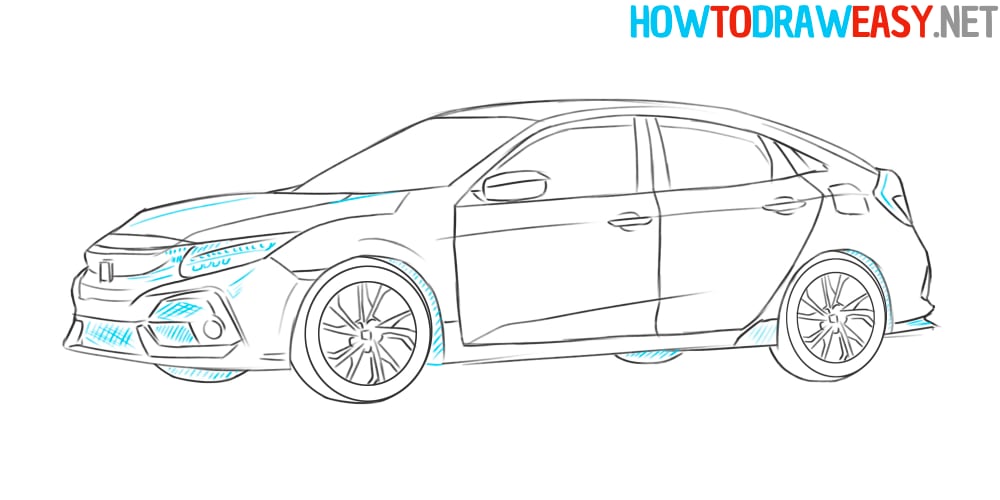
- The Honda Civic sketch is ready!
The car is drawn, it remains for you to decide whether you want to color your drawing or not. If so, use your favorite coloring supplies for this artwork.