
How to Draw a Halloween Pumpkin Easy
Learn how to draw a Halloween Pumpkin easy step by step with this drawing guides for everyone. Scroll down below for instructions and a step-by-step collage.


Good day to all! In a new tutorial, we’ll look at how to draw a Halloween Pumpkin easy, which means it’ll be a little intimidating. Pumpkin with an ominous expression began to be made in the USA and England when the fashion for this holiday reached them, since it is a very cheap product from them.
Drawing such a pumpkin is a very exciting process, you will have the opportunity to plunge into the atmosphere of mysticism. Would you like to know how to draw a pumpkin for Halloween, step by step? Then take a pencil and follow the simple step-by-step instructions. The result of the work will be an excellent decoration for Halloween and will certainly delight you. In the future, you can make a mask out of it. To do this, it is enough to cut out the finished painted picture and thread a ribbon around the edges.
Time needed: 30 minutes
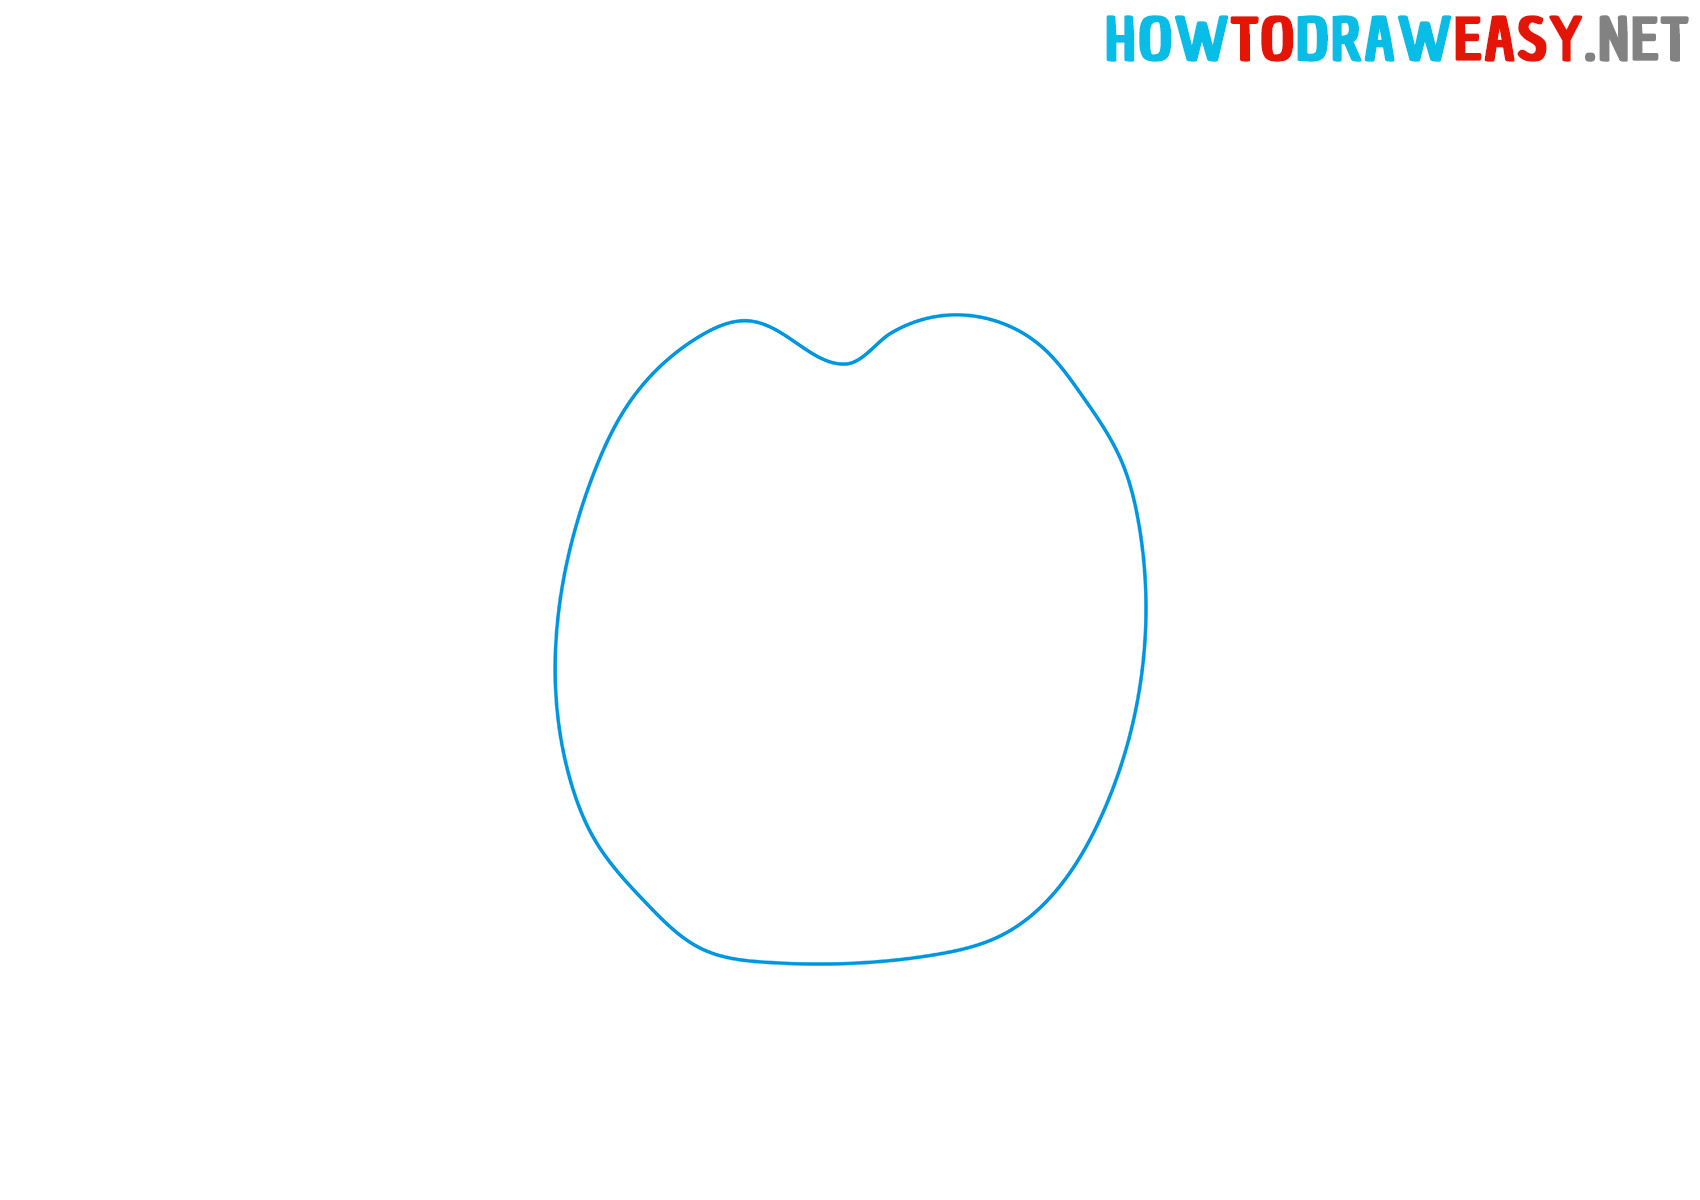
- Draw the basic shape of the pumpkin.
Draw on a piece of paper an oval with a small notch on top for our future stem.
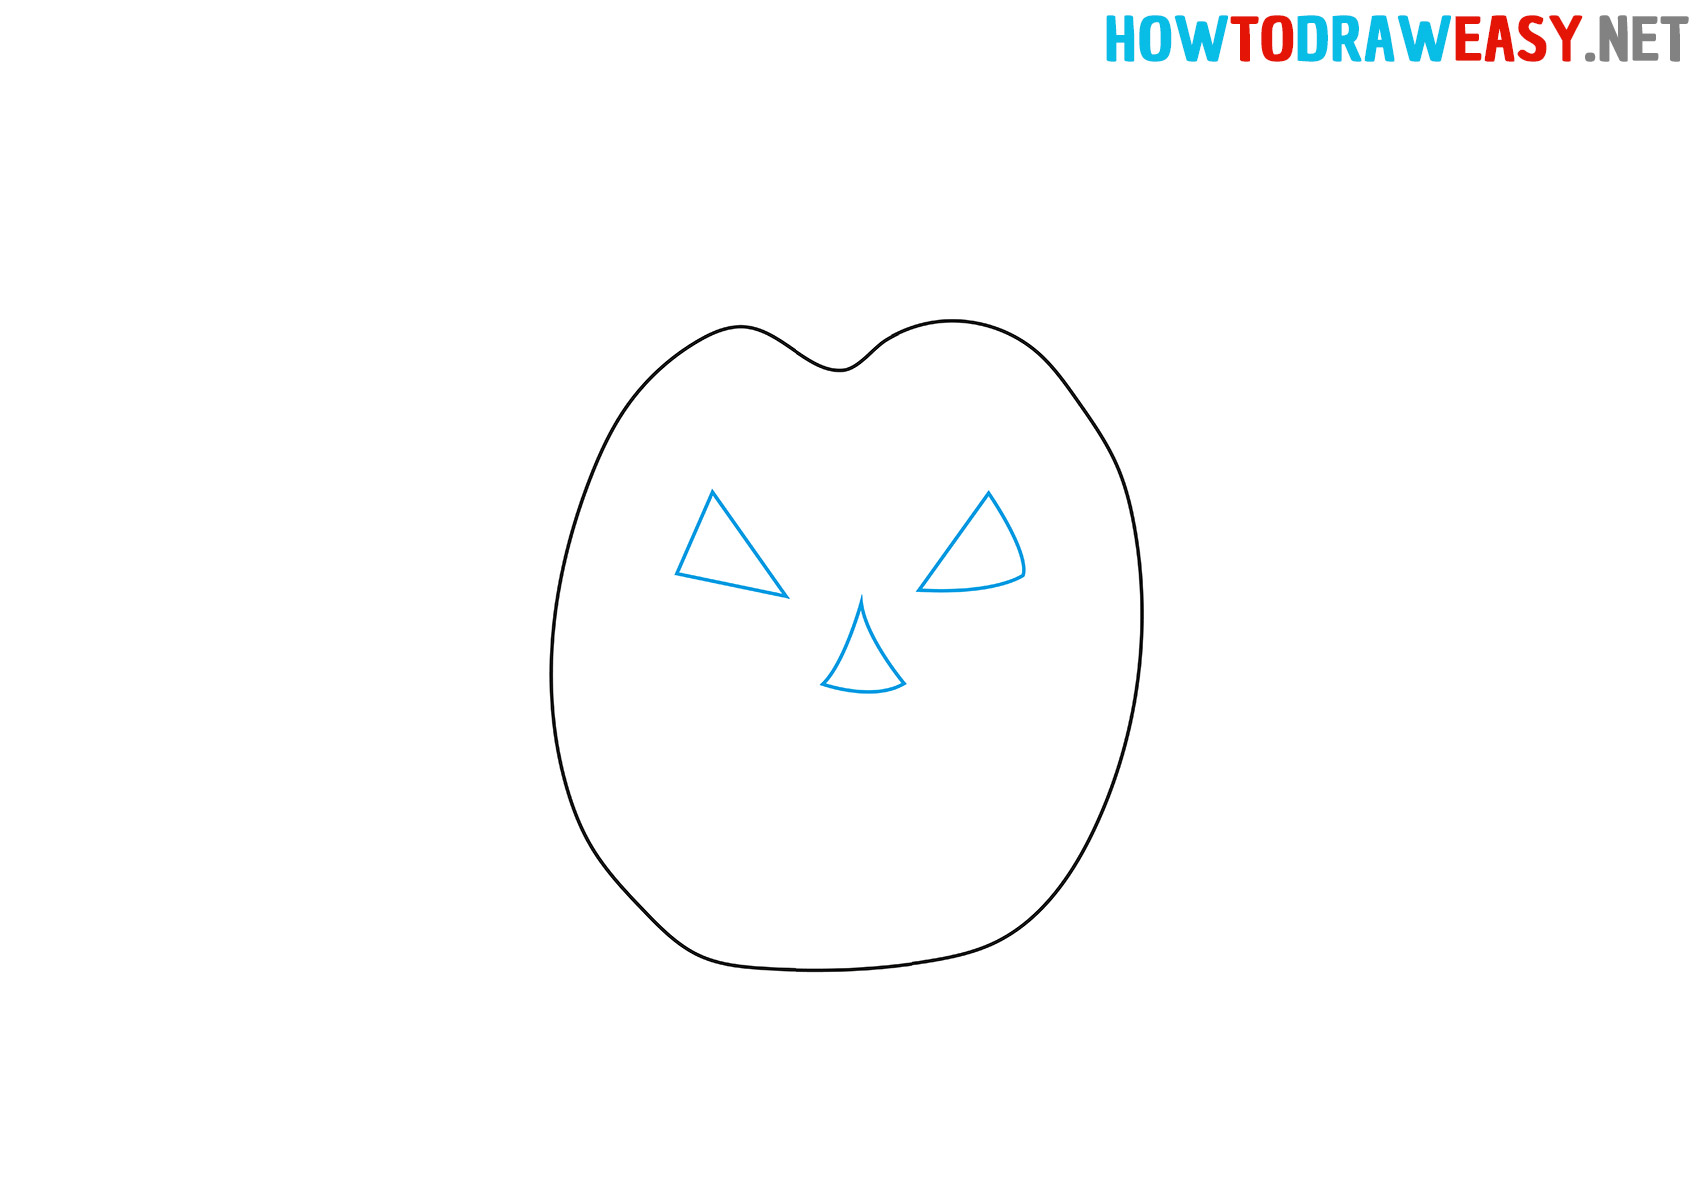
- Draw the eyes and nose.
The eyes and nose resemble the shape of a triangle, so instead of eyes, we will draw such triangles so that their long part visually points to the nose to give it the characteristic look of a frightening pumpkin. Now you can start with the nose. Draw an even triangle in the center.
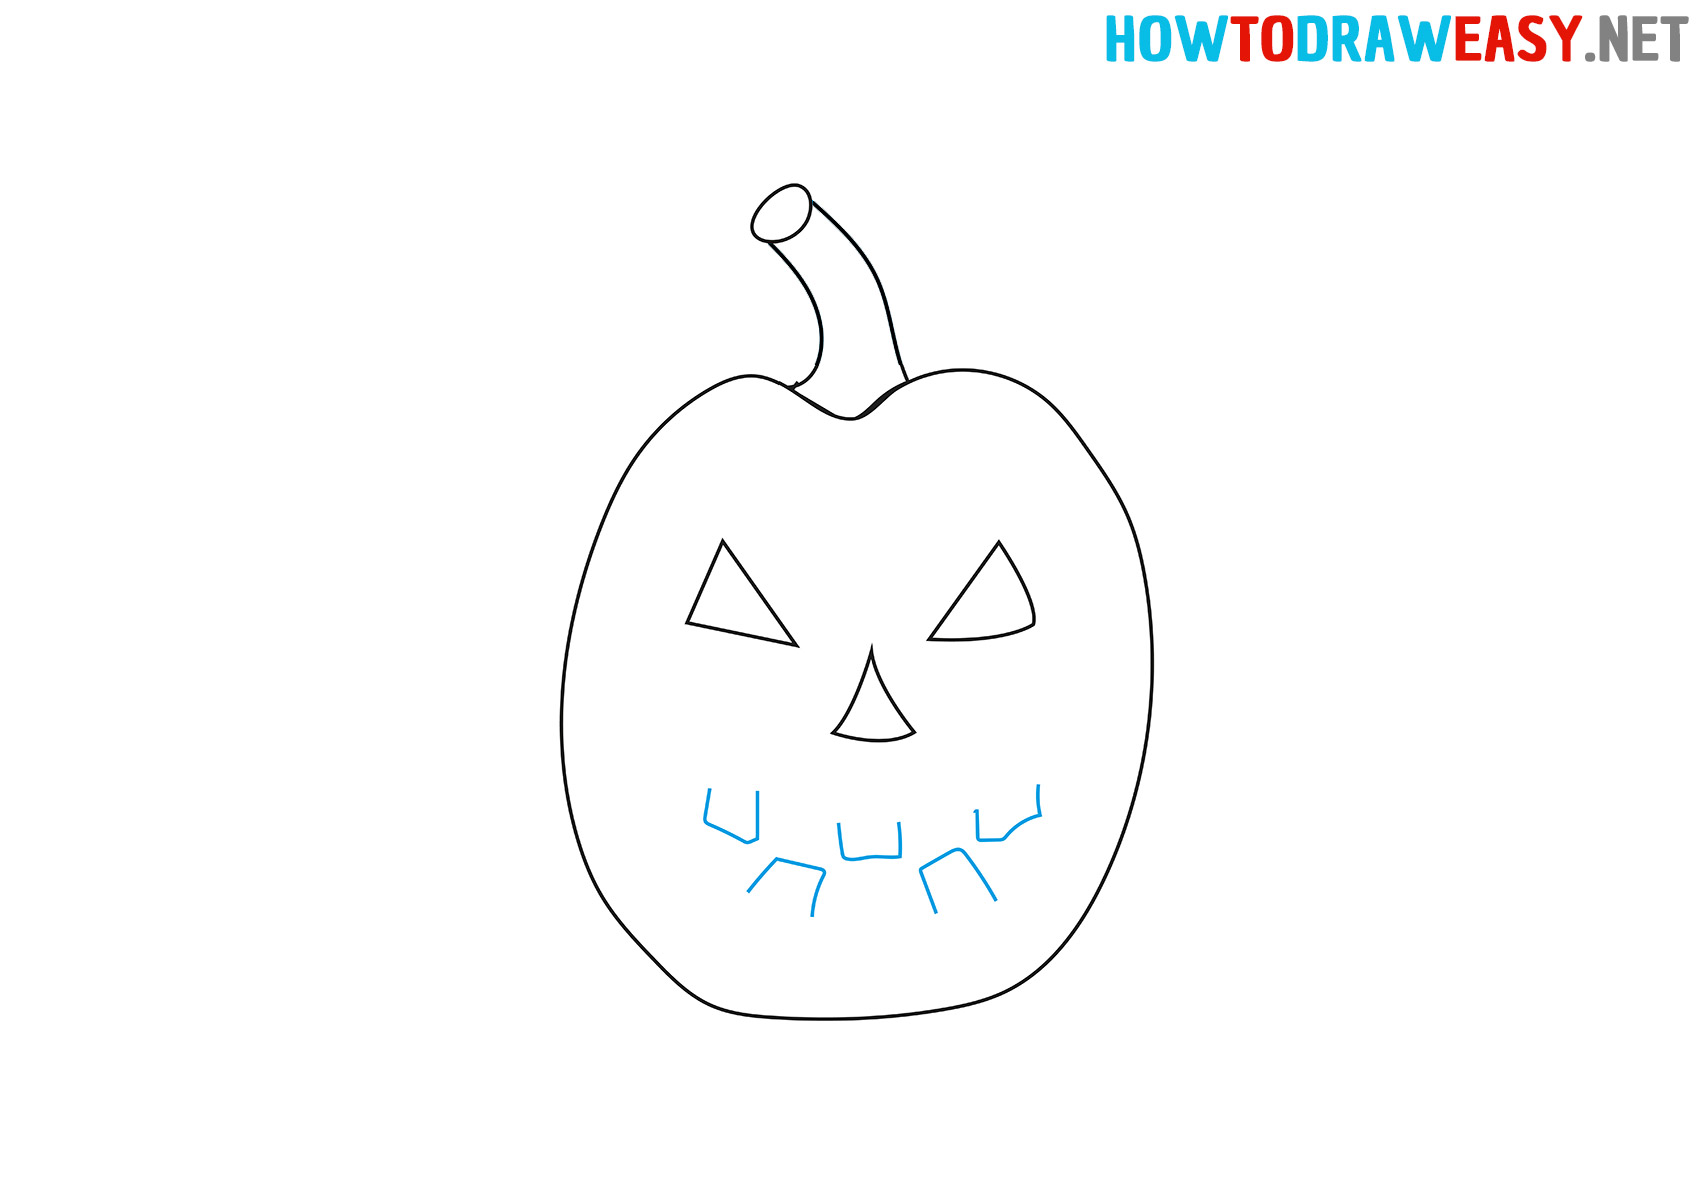
- Draw the stalk.
In the same notch, we will depict the stem in the form of two curved straight lines and a small oval so that it looks like a cut.

- Add teeth.
The teeth resemble a square shape. Please note that at the top of the teeth we do not finish the upper parts of our squares, and at the bottom, we do not finish the lower parts of the squares.
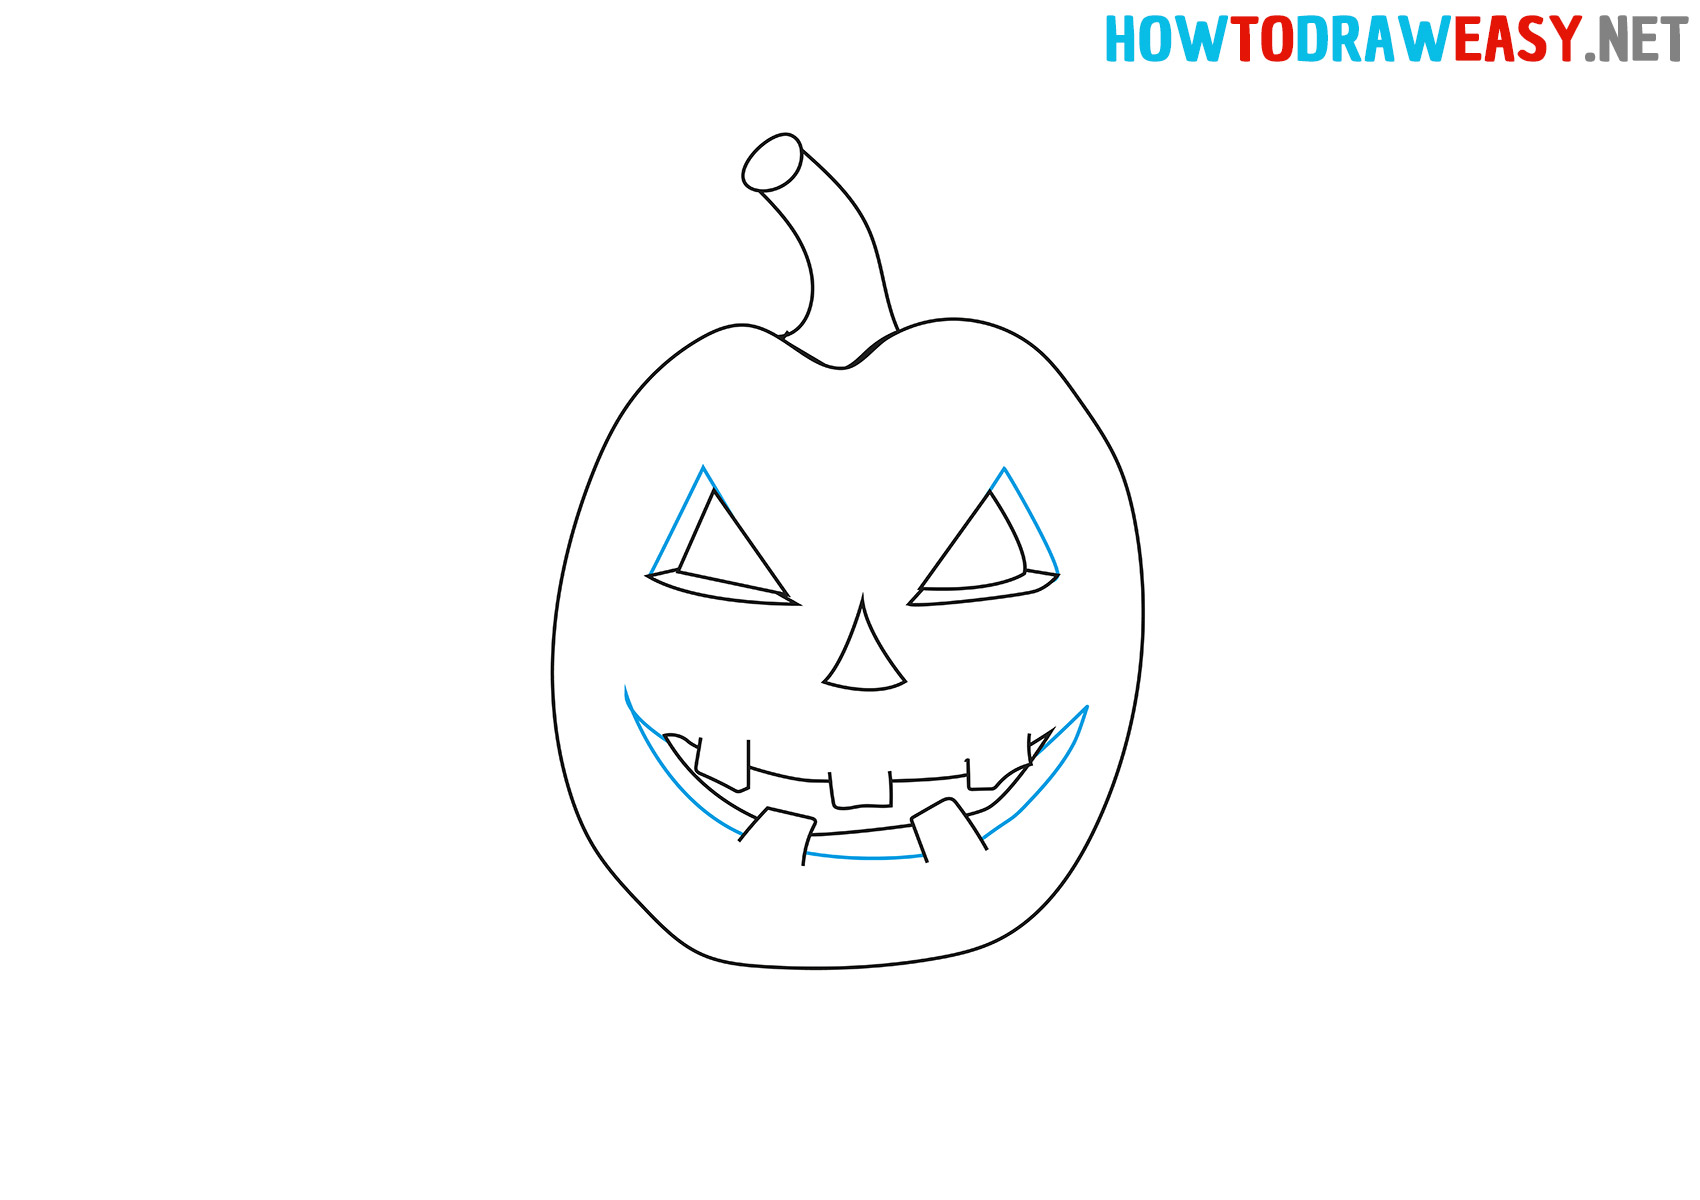
- Start detailing the eyes and mouth.
Since the eyes, nose, and mouth are cut out on the pumpkin, we need to depict the slices. Draw a line under the very bottom of the eyes. After that, draw lines resembling a dotted line between the teeth, depicting a smile.

- Finish details.
Now we need to finish them. To do this, on the sides of both eyes, you need to draw lines as close as possible to the eye itself, at the right eye on the right side, at the left eye on the left side. Next, let’s pay attention to the smile of the pumpkin. Draw a line under the bottom of the teeth and connect to the top.
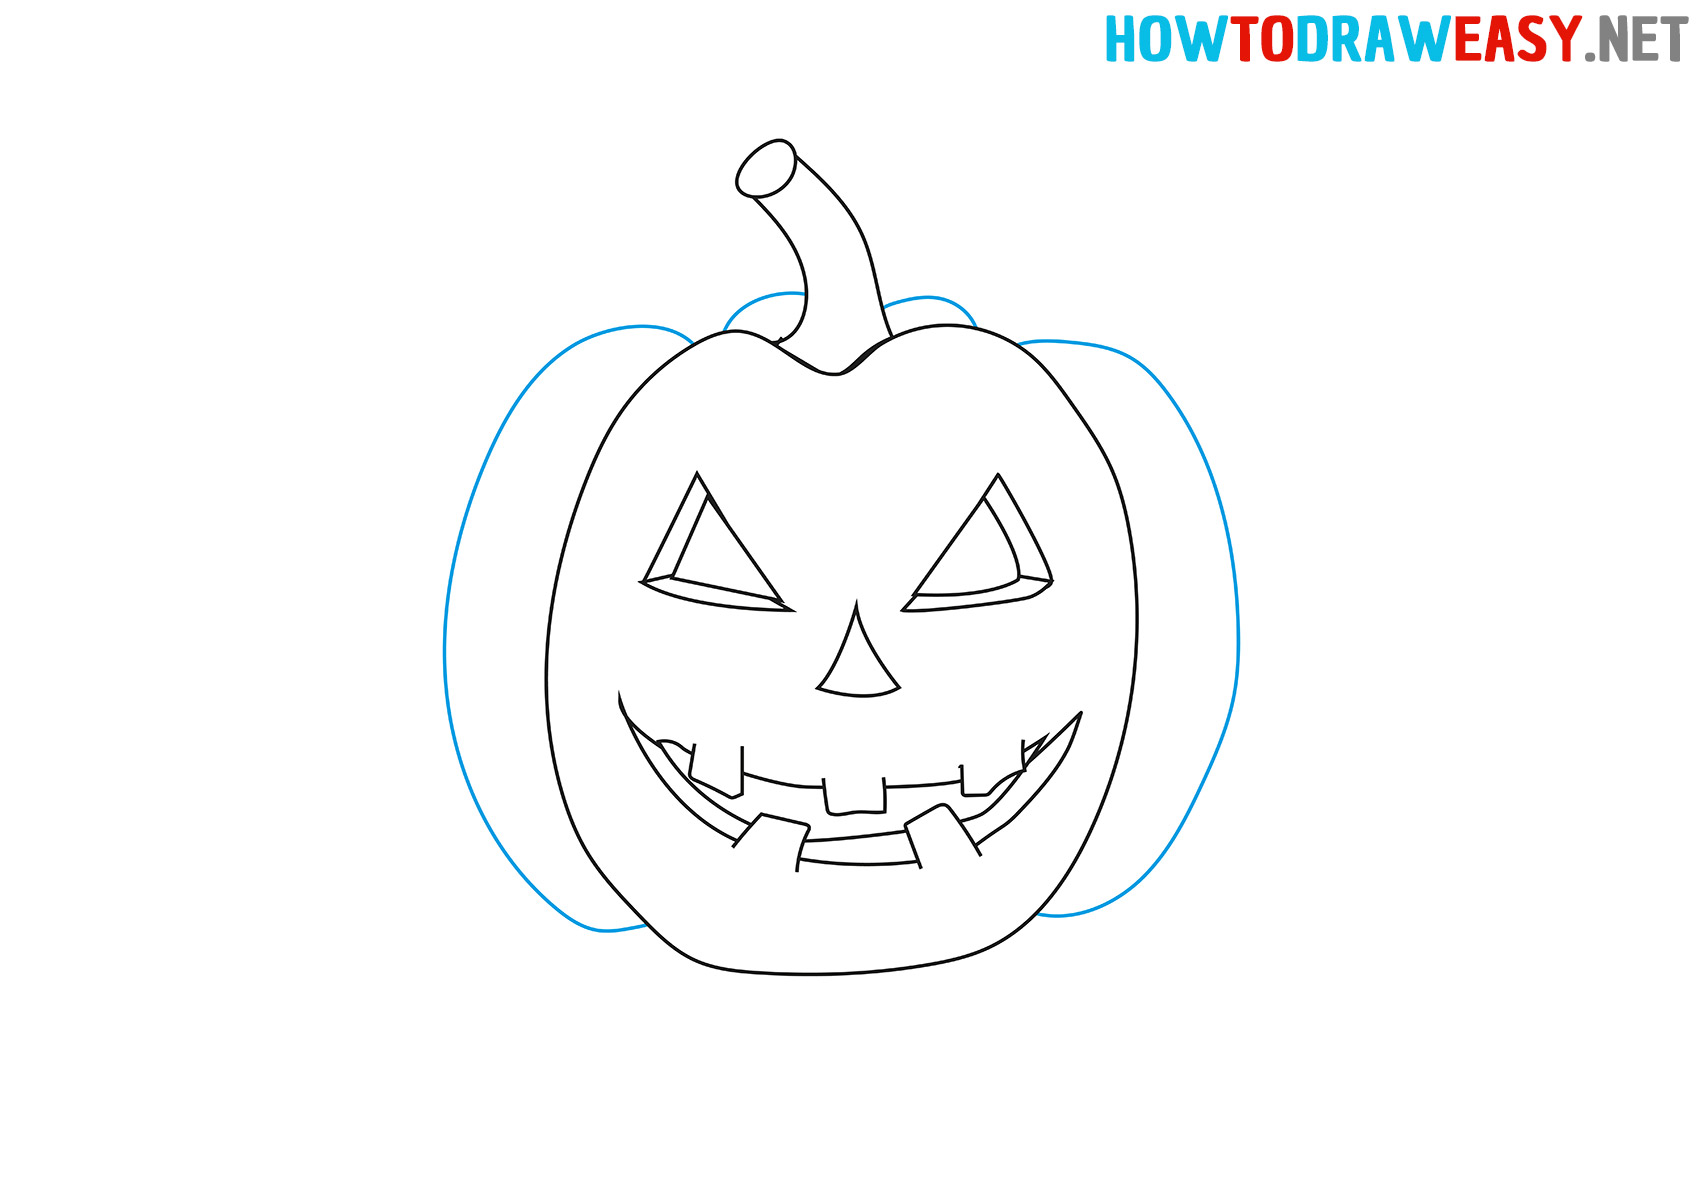
- Draw the volume.
Let’s add some volume to the pumpkin by adding slices to it. On the left and right, draw lines that connect to the pumpkin. Also, do not forget about the back of the fruit, add two small arcs.
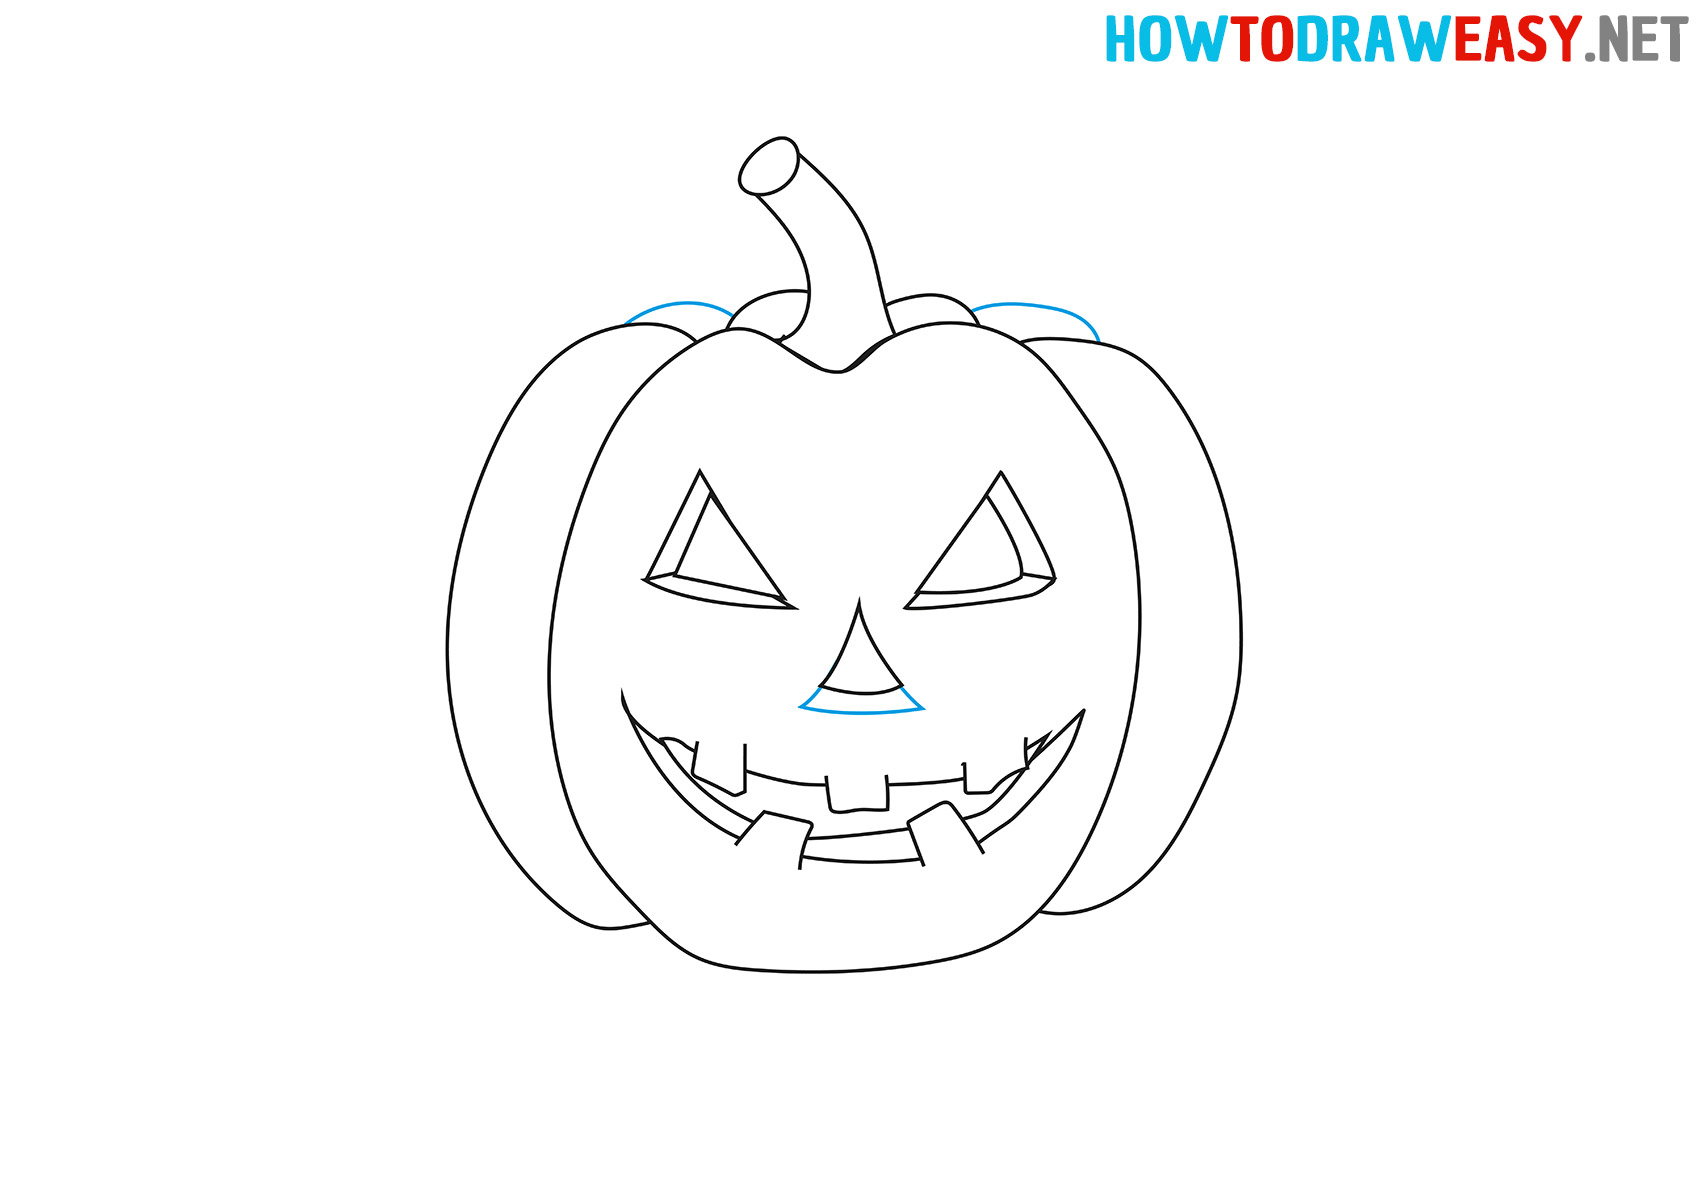
- Detail the nose.
To draw part of the nose, you need to draw a trapezoidal shape below the bottom of the nose. We’ll add more volume as well. Draw two arcs connecting the side and back edges of the pumpkin.
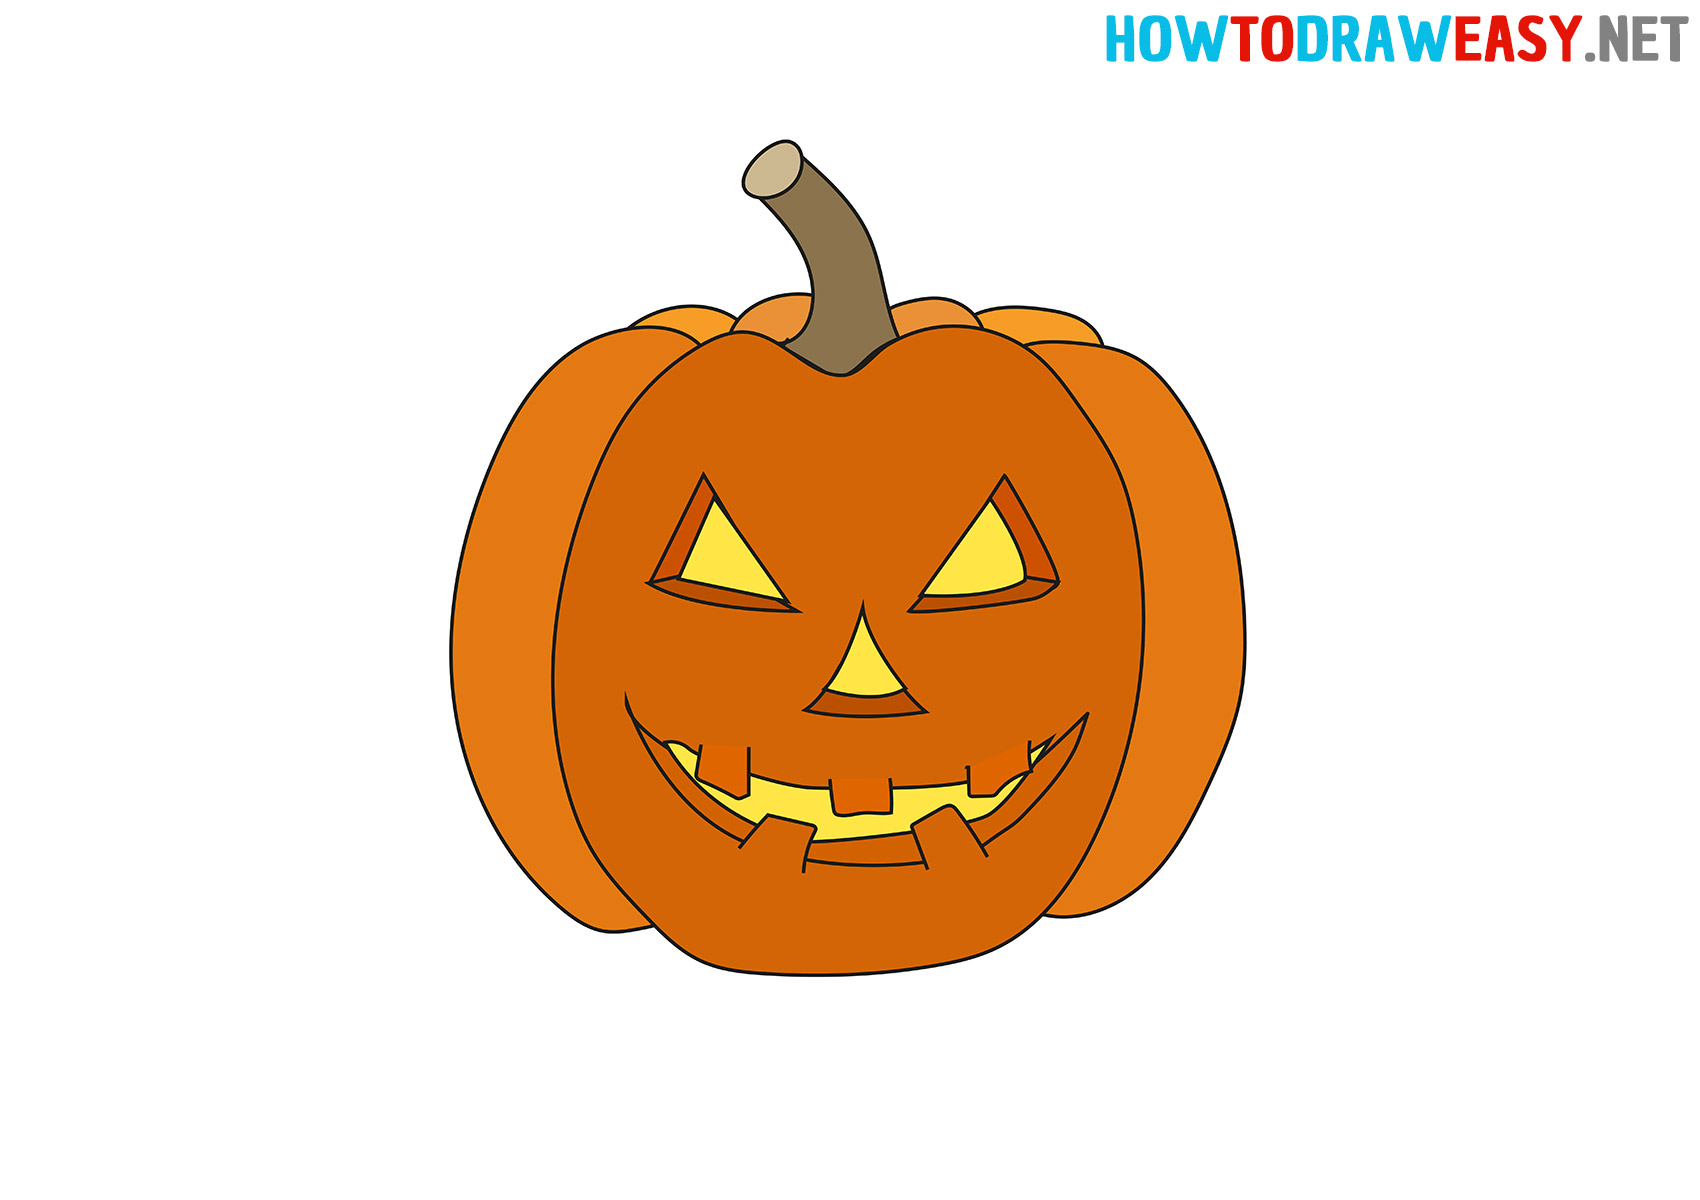
- Color your drawing.
At this stage, we used several colors: the front of the pumpkin is orange, the eyes, nose, and mouth are painted yellow since we imagine that we are inserting a lamp into this pumpkin. The left and right slices are different shades of orange for volume. With a darker pencil, such as a gray one, paint over the stem, and paint over its section with a light brown color. A wonderful drawing is ready!


Make sure you can draw very quickly and easily with our guides. Try to improve your drawing skills by practicing with our drawing ideas.