
How to Draw a Guitar for Kids
In this drawing lesson for kids, you will learn how to draw a guitar step by step. Learning to draw can be fun if you draw with us!


Hello everyone and welcome to the lesson on how to draw a guitar for kids step by step. Surely each of you dreamed of learning to play some musical instrument, perhaps even a guitar. We have prepared this simple guitar drawing tutorial for you. Our guide is simple for artists of all skill levels.
The guitar is a fairly common musical instrument that many music lovers like to play. It is a stringed plucked musical instrument that can be classical or electric. There are practically no complex elements on the guitar. Therefore, it will not be difficult to draw a musical instrument. Thanks to our simple steps with descriptions, you can easily draw a guitar. Let’s start!
Time needed: 20 minutes
How to Draw a Guitar for Kids
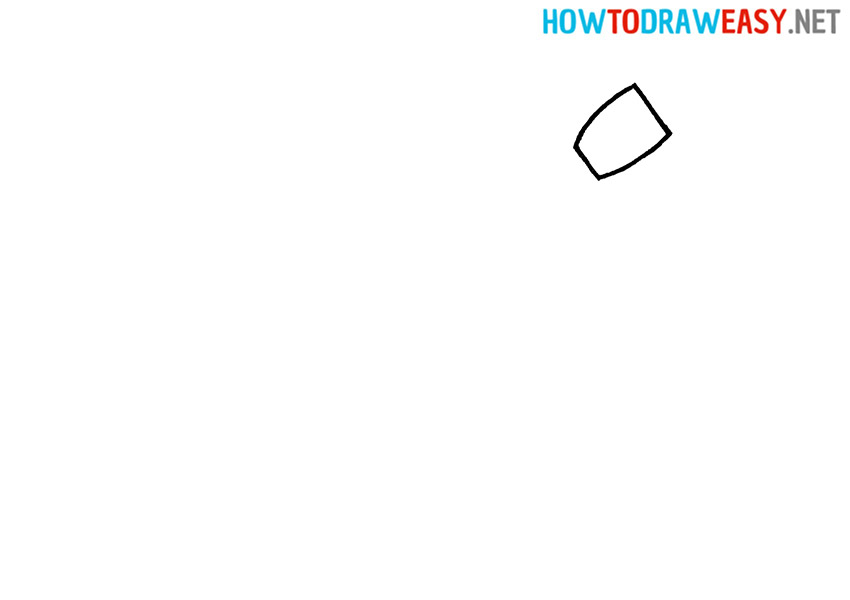
- Draw headstock.
First, draw the headstock of the guitar. To do this, draw a small asymmetrical rectangle as shown in the instructions.
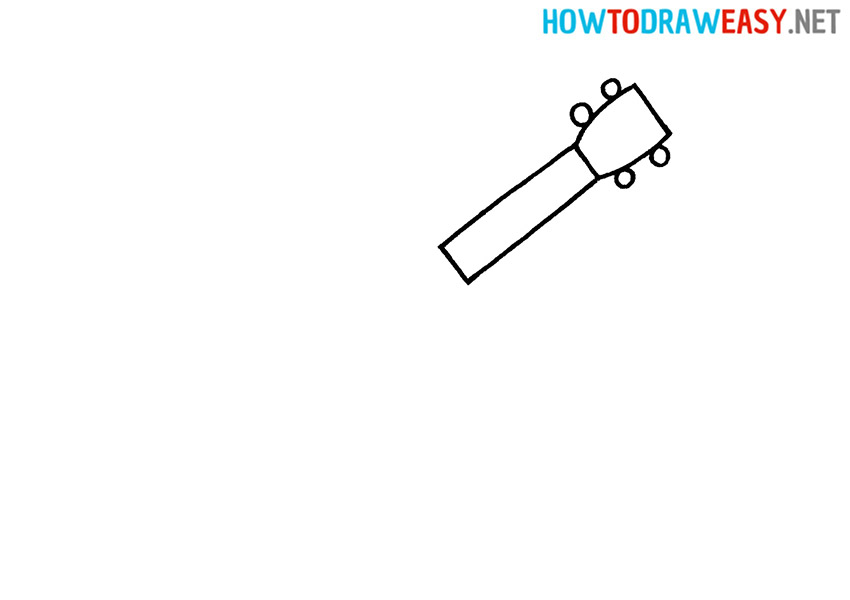
- Draw tuners.
There are 2 round tuners on each side of the guitar headstock.

- Draw the guitar neck.
Draw two parallel lines forming the longest part of the musical instrument.
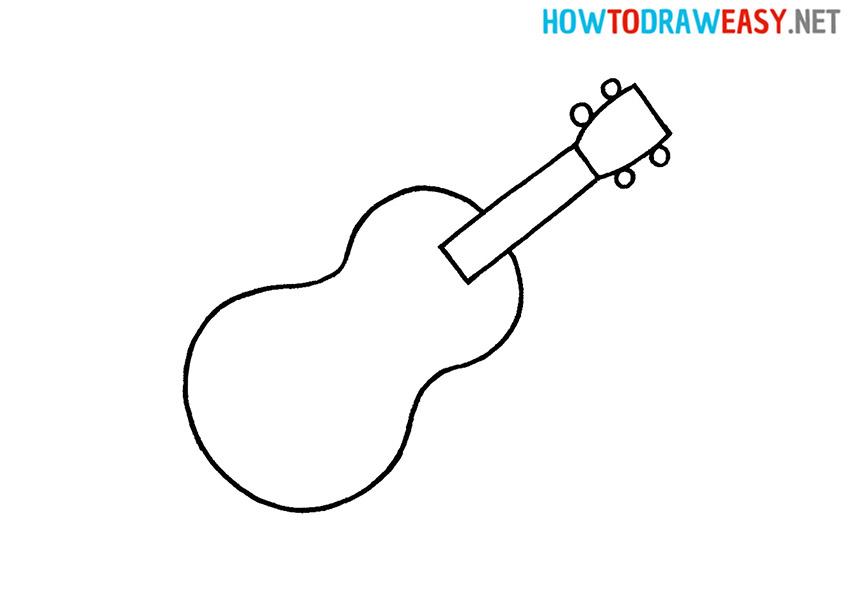
- Draw the body.
Draw the typical guitar body. Try to arrange it as shown in the instructions.
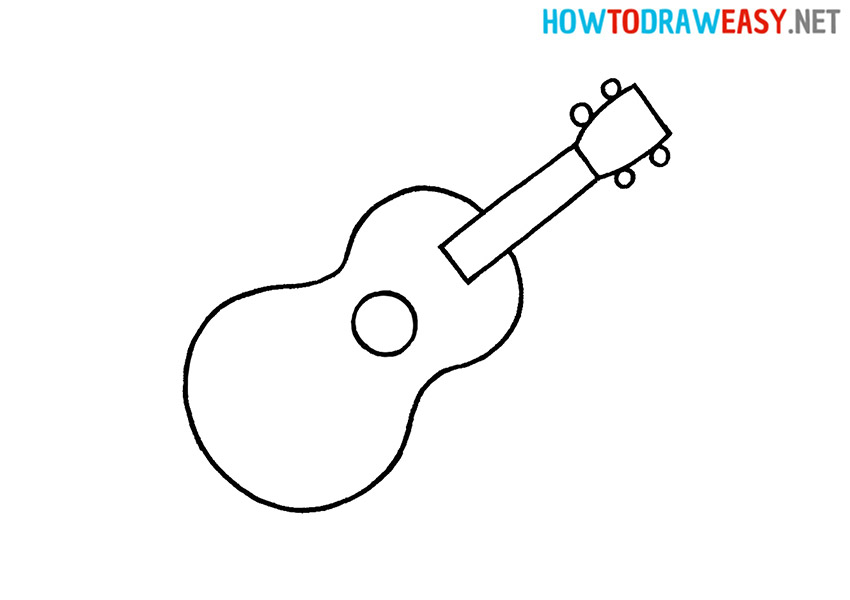
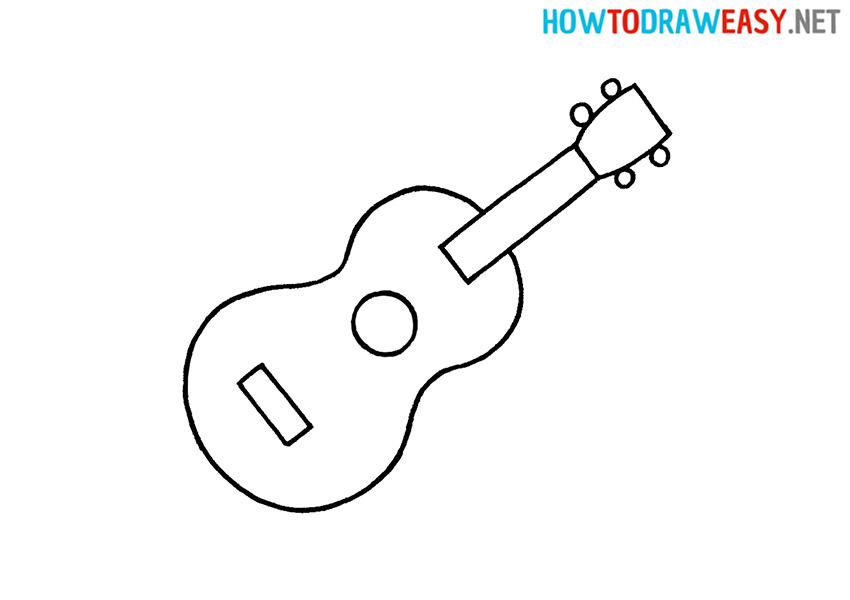
- Draw the sound hole.
In the center of the guitar, draw the small circle that is the soundhole of the stringed instrument.
- Draw the guitar bridge.
Depict the small rectangle at the bottom of the body.
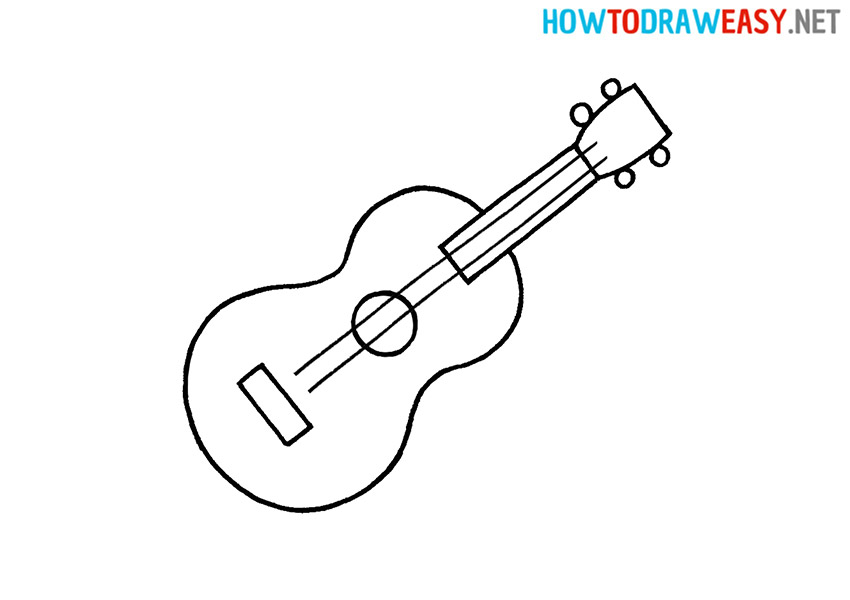
- Draw the strings.
Draw several parallel thin lines to represent the strings.
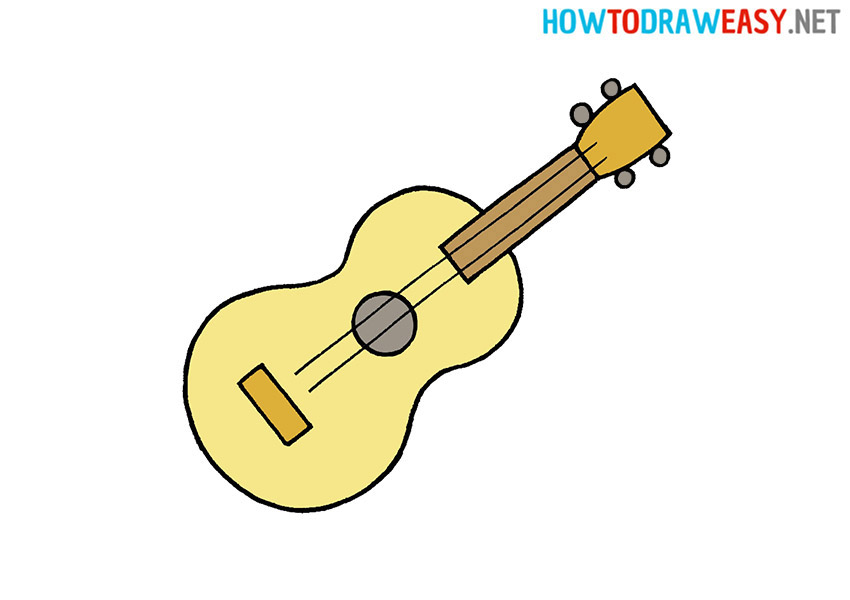
- Color the drawing.
The classical guitar usually has a wood color in the exterior of the body. You can use a different color and customize your guitar drawing to your favorite color, such as red or blue.


We hope that this guitar drawing lesson was interesting and useful for you. The guitar is one of the most popular musical instruments in the world and is used in various genres of music.
The guitar is not only a beautiful instrument, but also an object that can be used for creative inspiration. We hope that our lesson helped you learn new drawing techniques and inspired you to create new drawings. Don’t forget that creativity is a way to reach your potential and express your emotions through art.
Thanks for using our guitar drawing tutorial! We hope you enjoyed it and enjoyed creating beautiful guitar pictures. We wish you continued success in your artistic development!