
How to Draw a Gnome for Kids
If you want to learn how to draw a gnome, then this is the perfect place to do it. This is an easy drawing lesson even for kids and beginners.


Hello, friends! In this tutorial, we will show you how to draw a gnome for kids. We love to draw different fictional characters with you, because a sheet of paper does not impose any frames on our imagination, and pencils embody any of our creative imaginations.
Have you heard of such fabulous creatures as gnomes? Literature and cinema have circulated many images of this mythical creature, and each artist represented the gnome in his own way. However, several standard depictions of these fictional characters have been corrected. One of these images of a garden gnome, we will draw today in 8 steps.
Time needed: 30 minutes
How to Draw a Gnome for Kids
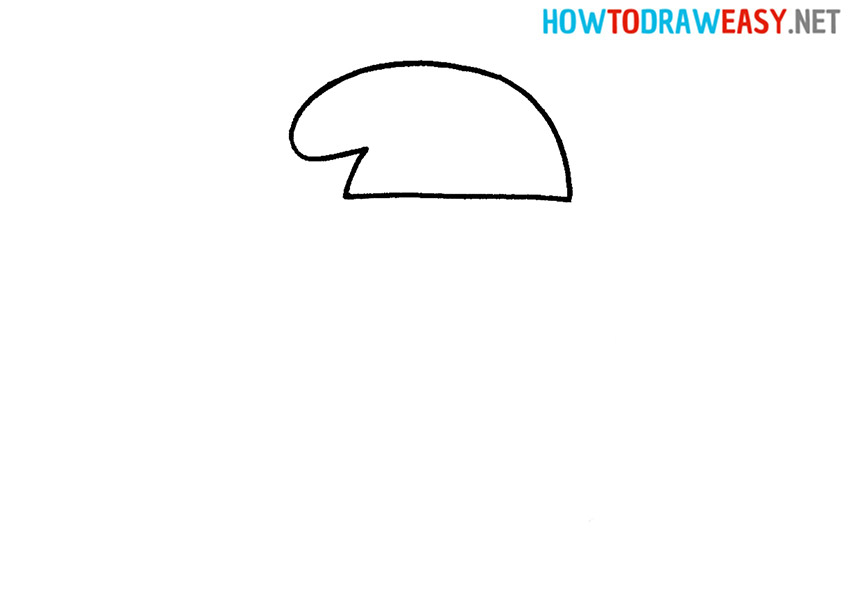
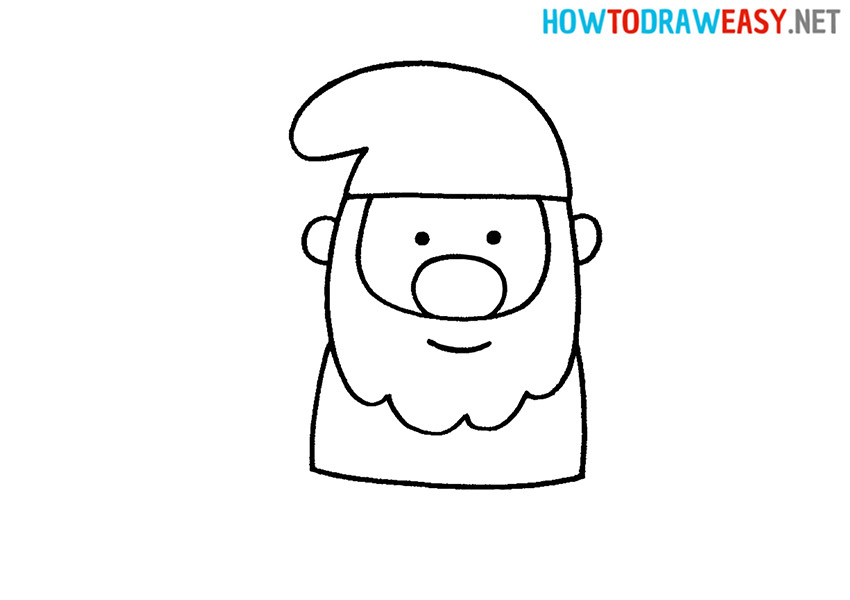
- Draw the hat.
First, draw the gnome’s hat curved to the left, as shown in the instructions.
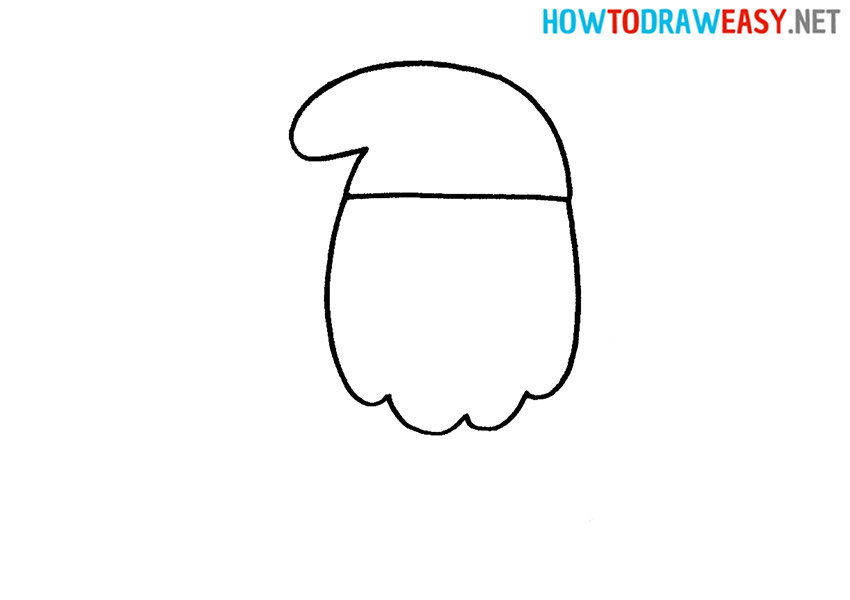
- Draw the outline of the beard.
Now we need to draw the outer contour of our gnome’s beard using semicircles.
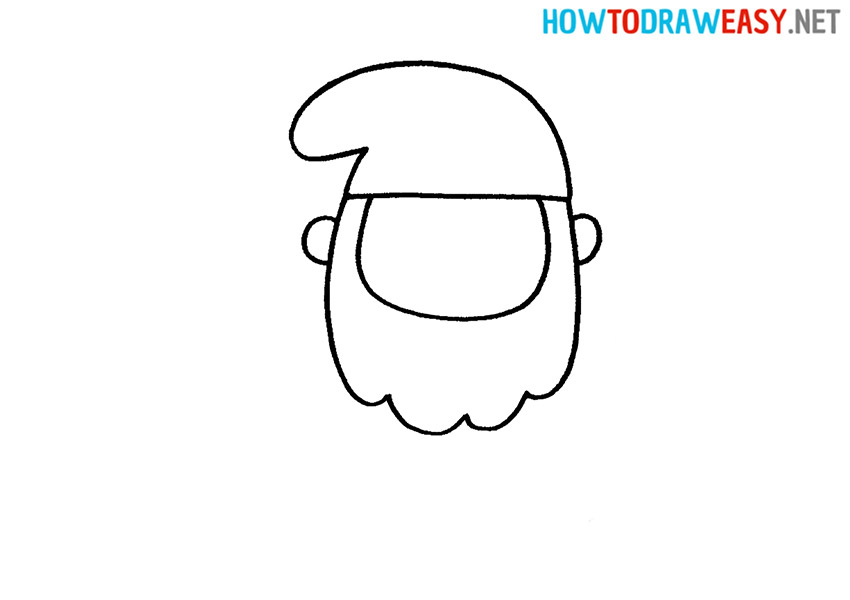
- Draw the ears.
Draw semicircular ears on the left and right, and add the outline of the face inside the beard.
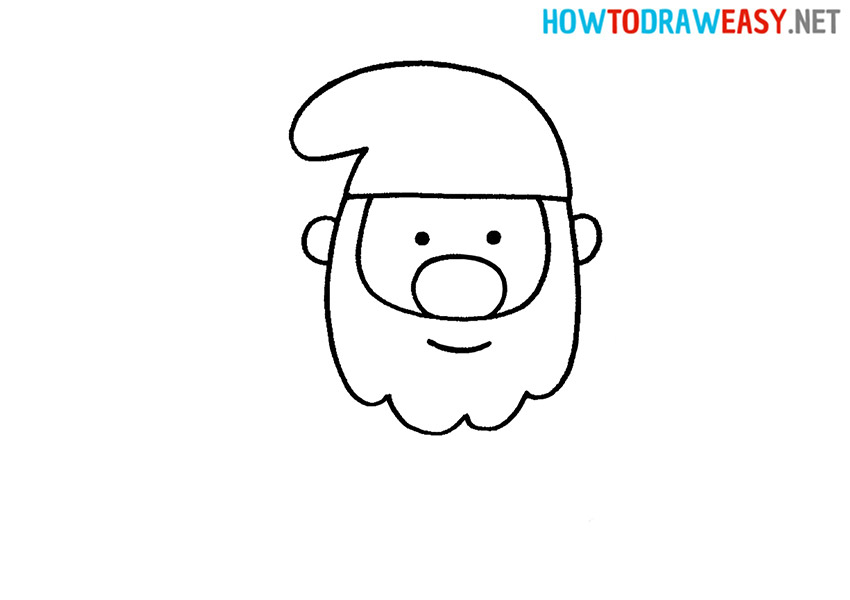
- Draw the face.
Now let’s draw an oval nose, and eyes in the form of dots and make a smile arc.
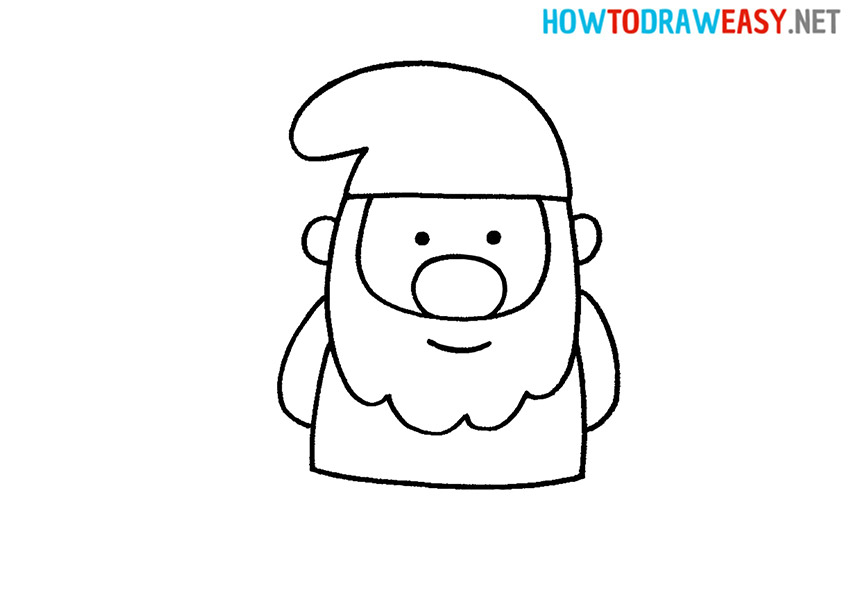
- Draw the body.
Gnomes are short, so the body should be drawn small.
- Add arms.
On the sides of the body, draw the arms using curved lines.
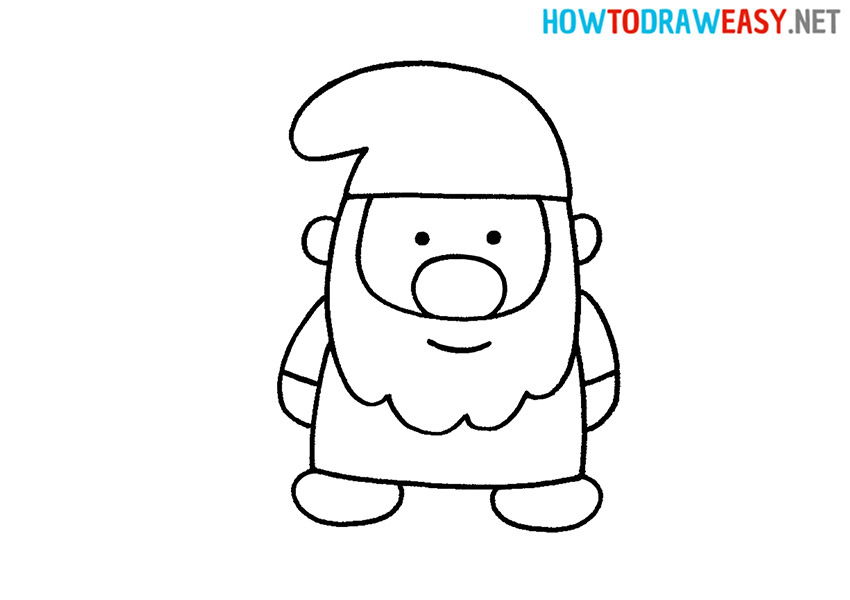
- Draw the hands and feet.
Draw the hands and add oval boots at the bottom.
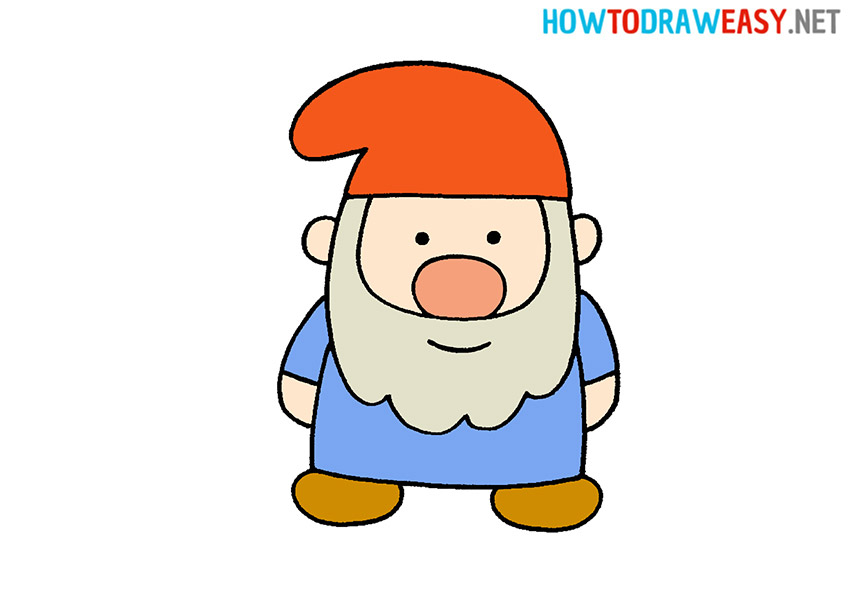
- Color your drawing.
Use your favorite coloring tools to add color to your drawing.


We hope you drew the perfect drawing of a cute gnome! Drawing with us is a fun process that will help you get better at drawing. We also suggest you draw an elf and a monster!