
How to Draw a Fridge for Kids
Let’s learn together how to draw a fridge for kids! It’s very easy if you draw along with our step by step drawing lessons for kids.


Hello friends! In this drawing guide, you will learn how to draw a fridge for kids. In every home, this electrical appliance is so natural in everyday life that before it was not even possible to imagine how to do without it. When we talk about a refrigerator, we imagine something rectangular that is easy to draw at first glance. But as practice shows, even imaginary simplicity has its own difficulties.
Go for it, using our step-by-step instructions for drawing a refrigerator, you are sure to achieve good results!
Time needed: 30 minutes
How to Draw a Fridge for Kids
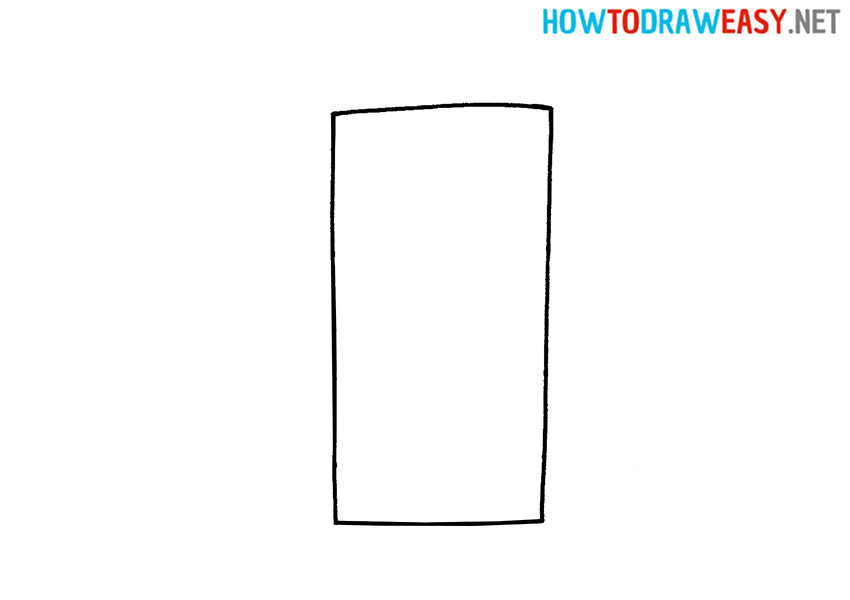
- Draw the outline.
Draw a vertical rectangle as if you were going to represent a door.
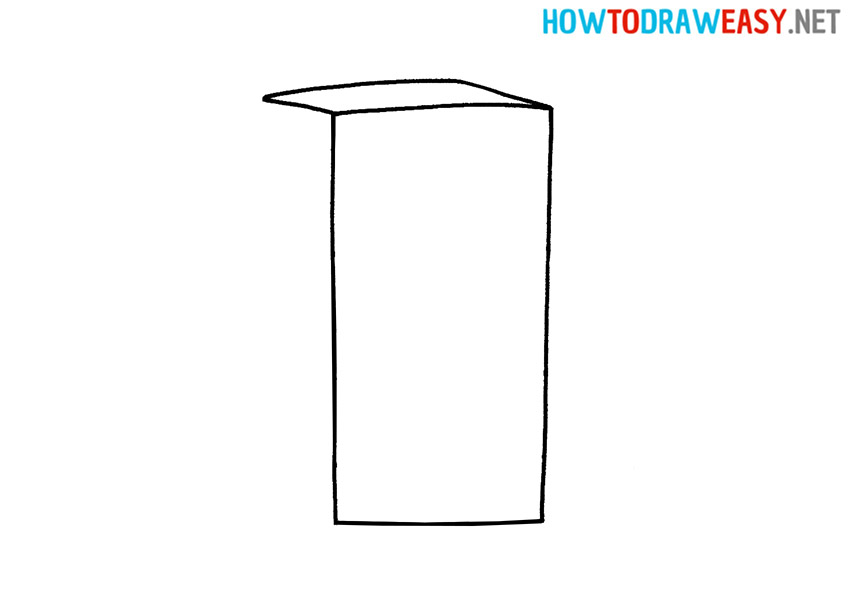
- Draw the top part.
To make the refrigerator not look flat, but have a three-dimensional appearance, draw two oblique lines from the corners of the rectangle and connect them with a straight line.
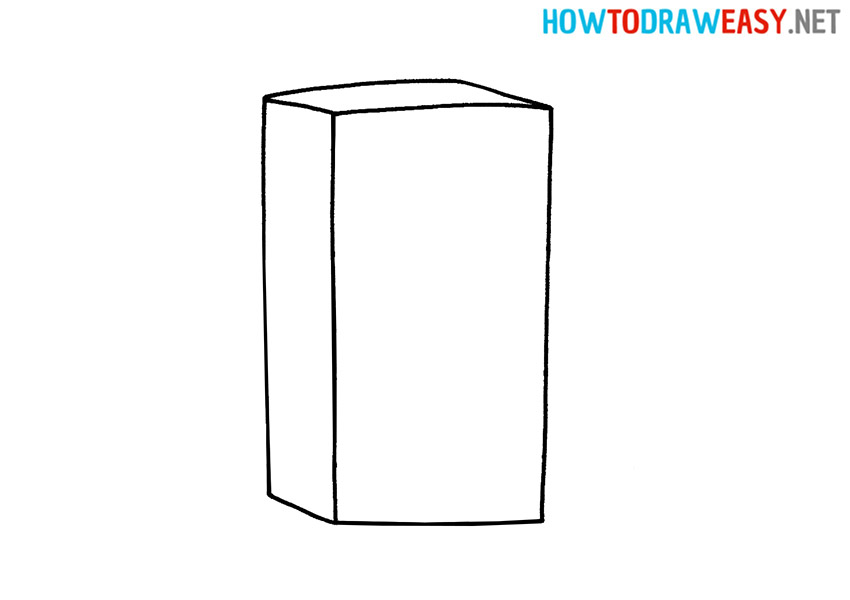
- Draw the side part.
From the upper left corner of the refrigerator, draw a line parallel to the base and connect with a rectangle. You should have a cube.
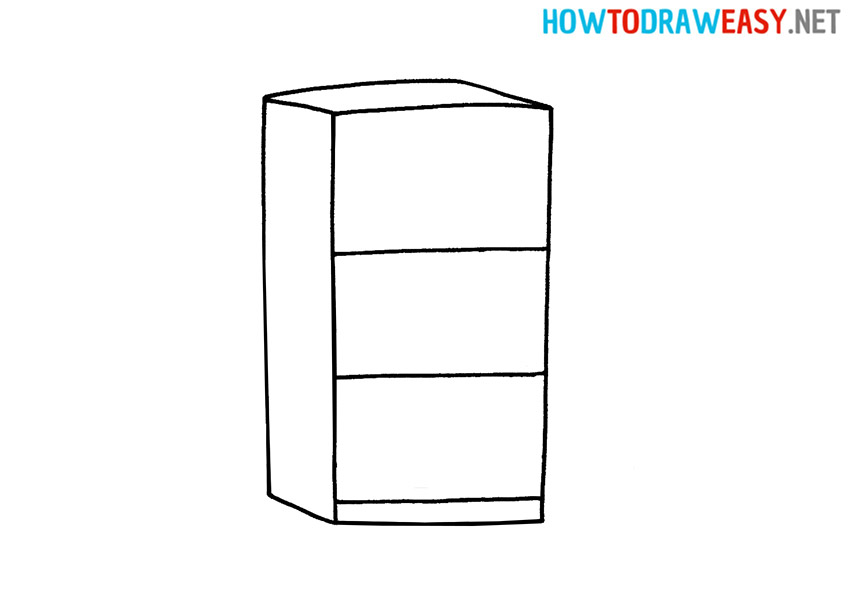
- Separations in the refrigerator.
To keep the refrigerator as realistic as possible, draw the storage chambers that hold the food. To do this, draw three verticals in a rectangle at the same distance from each other. Note that the last line should be just above the base, this is how you lay down the images of the lower storage compartment.
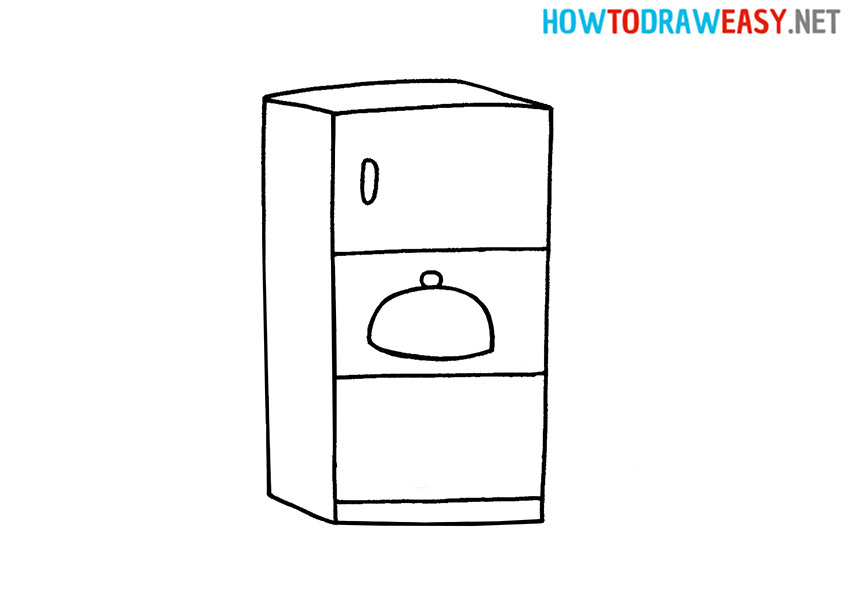
- Draw the freezer and cooking utensils.
To do this, draw an oval in the first resulting quadrangle. This way, you can easily grab the handle of the freezer. And in the second, reproduce the same oblong oval with a circle in the center at the top.
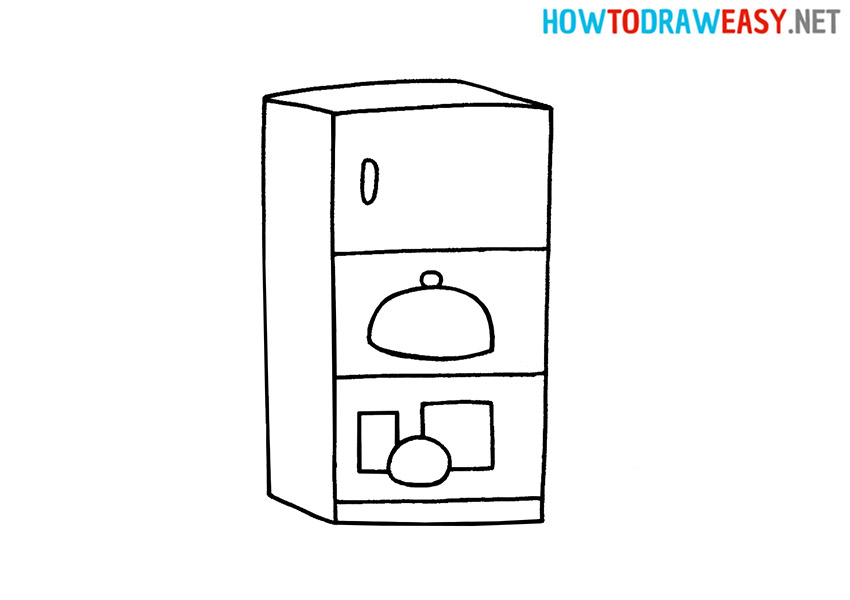
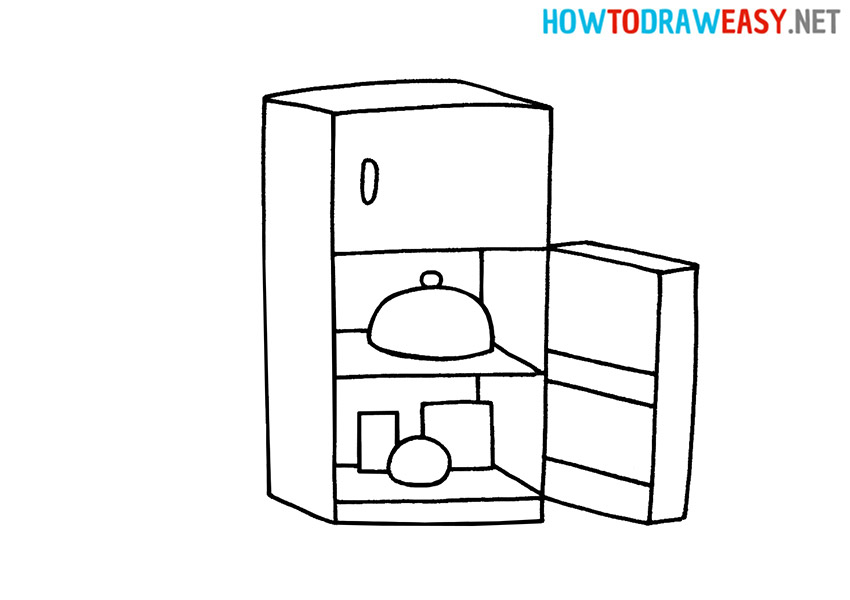
- Draw food containers.
Draw geometric shapes in the bottom compartment. First, draw a circle in the center, then a rectangle on the right, and do not draw the lower right corner, but hide it behind a circle, do the same with the left corner of the square. You now have the foreground and background of the image.
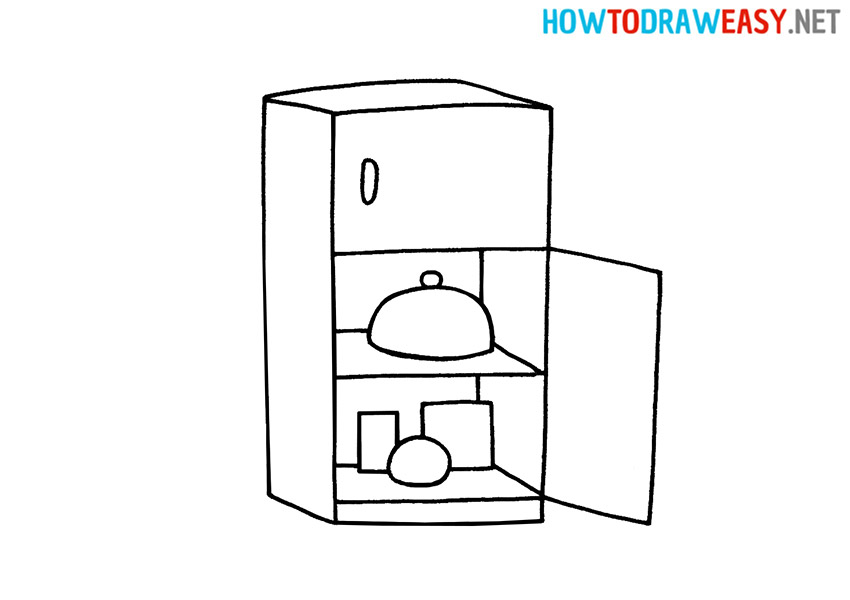
- Draw the back of the refrigerator shelf.
So that the contents of the shelves do not “hang in the air”, but withstand the additional volume. Draw parallel lines in each compartment.

- Draw the bases of the door.
Draw two slanted lines away from the lower right corners of the first and last quadrangles and connect them together. You will now have the front of the refrigerator door.
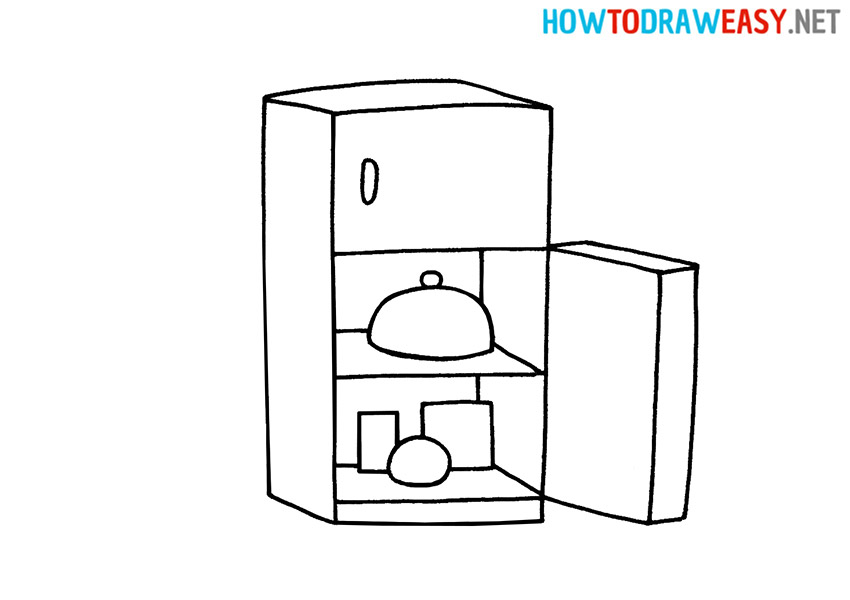
- Add volume to the door.
To keep the door from being flat, draw two parallels to the side and top of the base and connect them with three short lines.
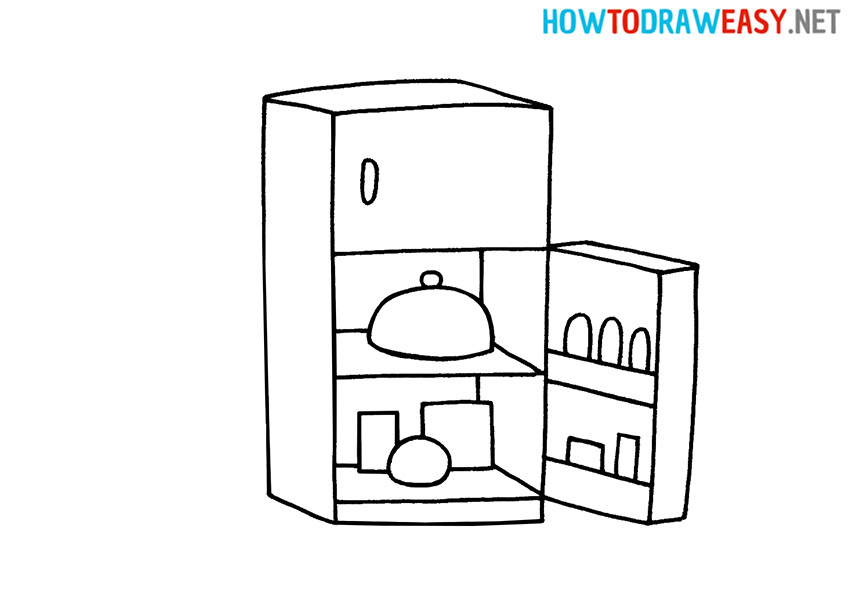
- Add side shelves on the door.
Draw narrow shelves on the side of the refrigerator door. Draw three parallel lines. Place two in the center and one at the bottom of the base.
- Draw the products.
Fill your refrigerator with your favorite geometric shapes.
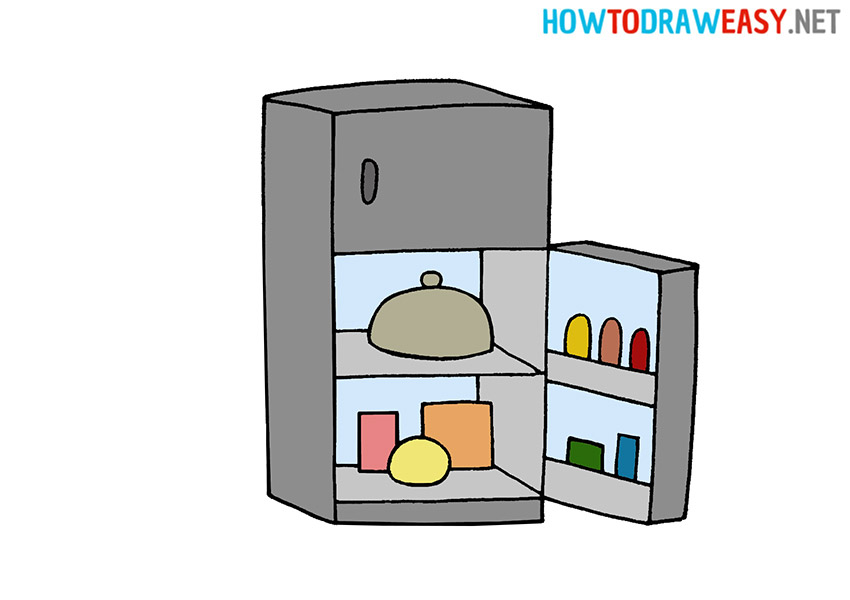
- Color the drawing.
Your drawing is ready, and now it remains to add colors to what you have drawn. Color using your favorite coloring tools.


It may seem that drawing is very difficult, but we will prove the opposite with our drawing lessons! Learn to draw with our drawing ideas. For example, try to draw a table, which, like a refrigerator, is an important element of the kitchen.