
How to Draw a Fork for Kids
Using this drawing lesson you will be able to draw a fork quite easily even for kids and anyone who does not have much experience in drawing.


Hello everyone and welcome to the tutorial in which you will learn how to draw a fork for kids. Yes, this is the simplest cutlery that is very easy to sketch by following this instruction. That is why drawing a fork is suitable for children and aspiring artists who have begun to master this art.
A fork is a very handy eating device that has been used by people for centuries. The very first fork was discovered more than 4000 years ago, since then ancient artists have depicted this cutlery on the walls.
However, not everyone in ancient times could afford this device, so they were used only by high-ranking personalities, nobility, commanders, and kings.
Drawing a fork is very simple, as we said—this is one of the simplest cutlery. To do this, you need to complete it in just 4 steps.
Time needed: 15 minutes
How to Draw a Fork for Kids
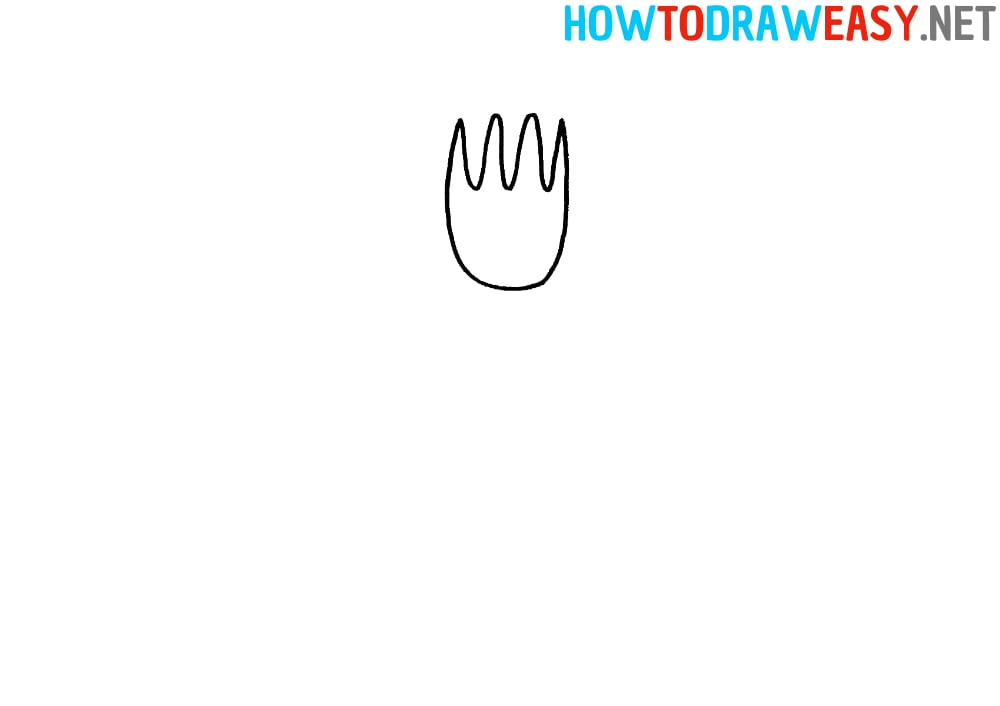
- Draw the tines.
First, draw 4 tines of the fork, and then connect everything with a common large shape at the bottom as in the example.
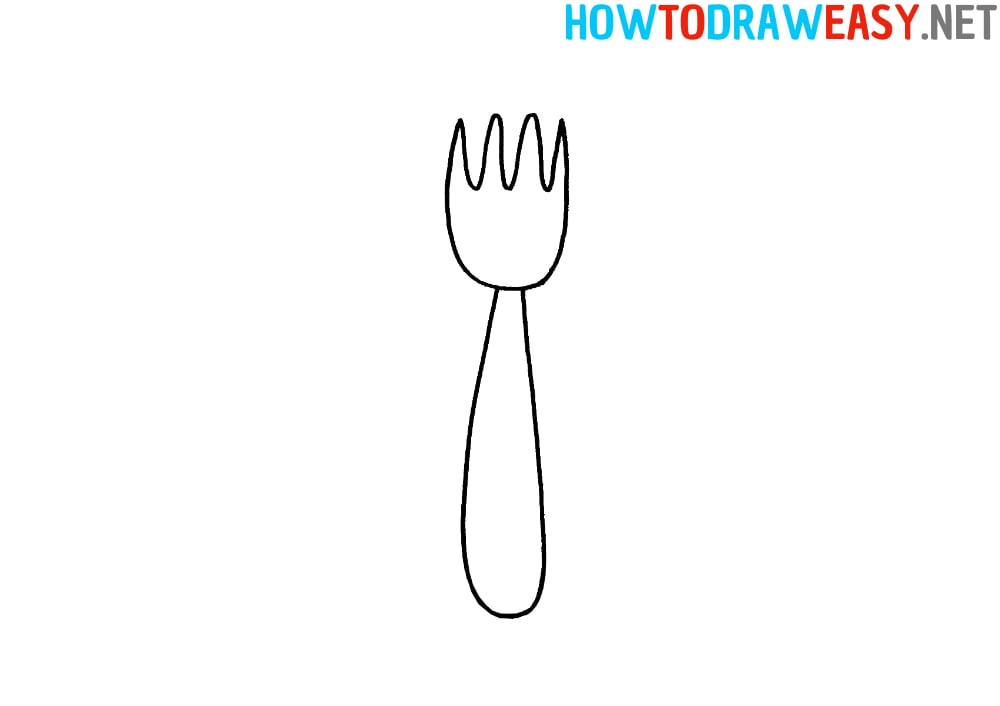
- Handle shape.
Now, draw two parallel, curved lines that connect at the very bottom to form the handle of the fork.
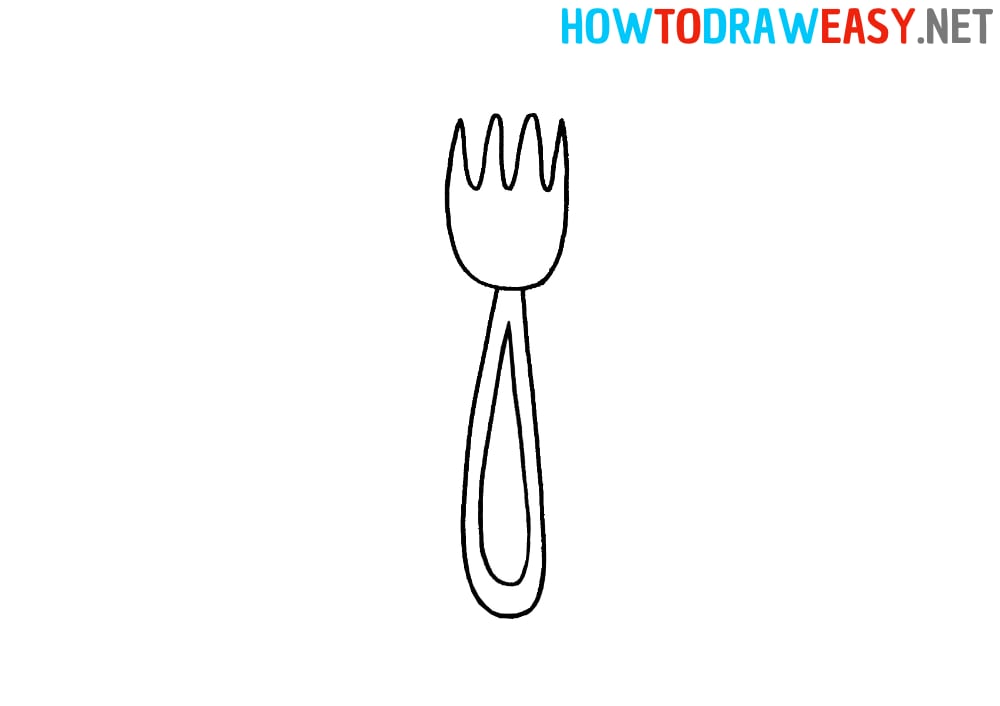
- Add details.
Now detail the fork handle with the same pattern as in the example.
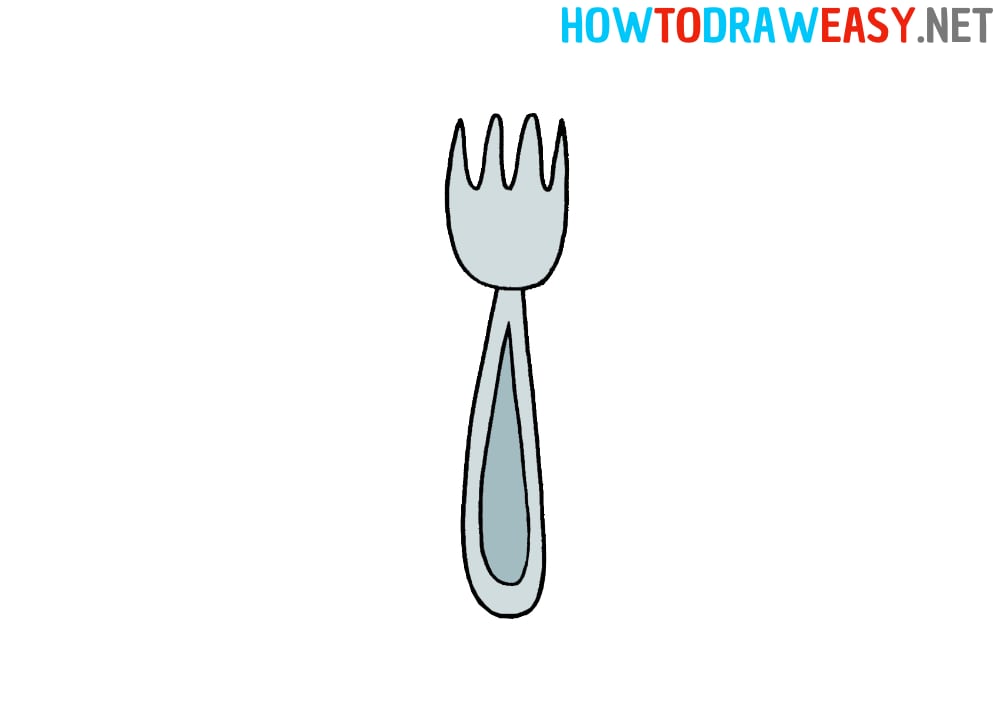
- Color the fork.
You can paint the fork either blue or gray. In addition to these colors, there are also different fork colors, so you can choose the shade for coloring the artwork yourself.


In addition to the fork, draw also the spoon! You will also find many other drawing lessons on our website, such as animals, cars, and so on.