
How to Draw a Fighter Jet for Kids
Looking for an idea for a fighter jet drawing? Here you will learn how to draw a fighter jet for kids easily and efficiently!


Hey! In this drawing guide, we will show you how to draw a fighter jet for kids. A fighter jet is a special military aircraft designed to prevent enemy air targets. The appearance of the first fighters dates back to the era of the First World War. Aircraft have different classifications—for example, by function, by mass. So, by weight, light, medium, and heavy fighters can be distinguished.
Pierre Spray, a renowned aeronautical engineer, and systems analyst, identified four factors that demonstrate the combat effectiveness of an aircraft and ensure its victory in aerial combat. First, you need to quickly spot the enemy. Secondly, to prevail over him in quantity. Thirdly, great maneuverability will be a winning option—both the car and the pilot. And, fourthly, you need to quickly defeat the enemy. According to Pierre Spray, these are the main ingredients for the success of a combat aircraft. Drawing a fighter plane is a fun activity that will appeal to both beginners and professionals. Let’s start!
Time needed: 30 minutes
How to Draw a Fighter Jet for Kids
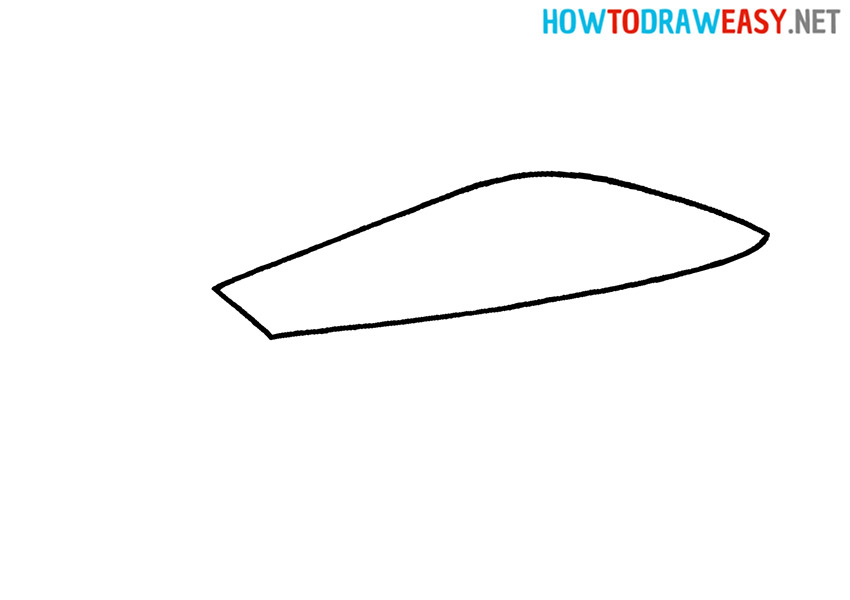
- Draw the base of the aircraft body.
The base of the plane is shaped like a wide fin of a fish. Draw the body with smooth lines.
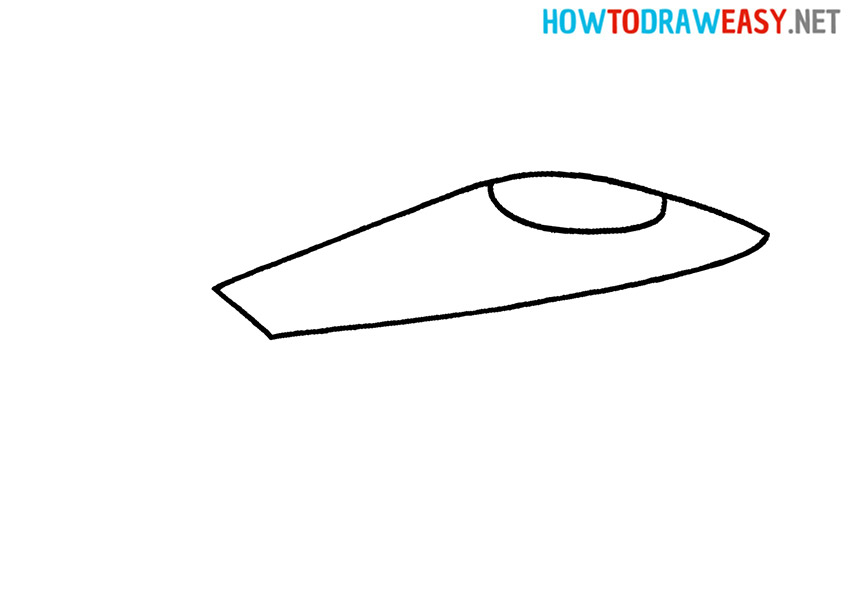
- Draw the cockpit window.
Add the arc of the aircraft cockpit.
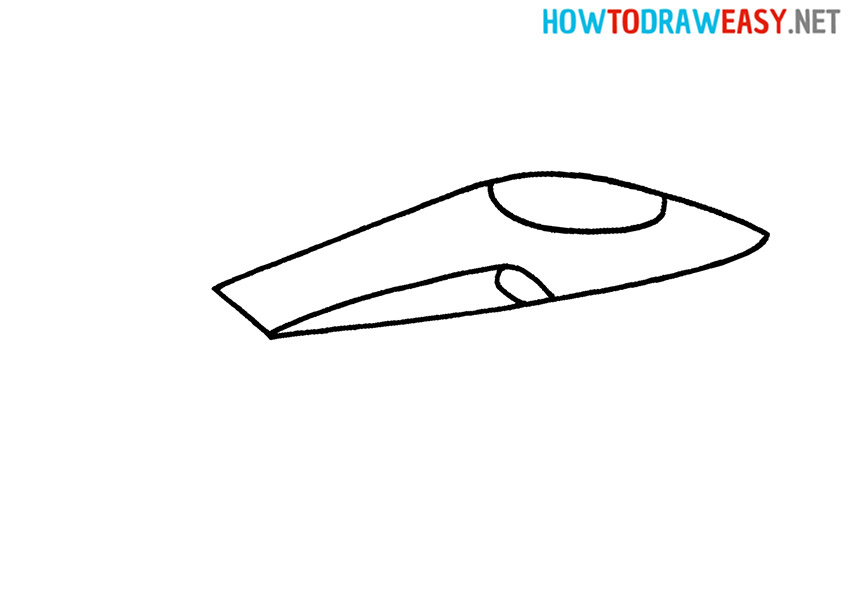
- Draw the air intake.
It looks like a straw. From the corner of the plane, draw a slightly curved line upward. Finish the part with a downward curve.
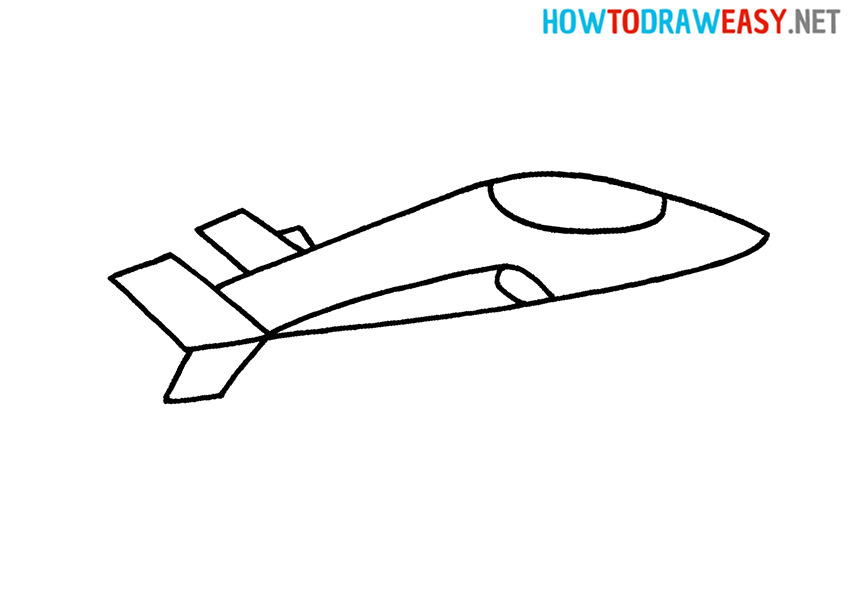
- Draw vertical stabilizers.
These parts of the fighter should be depicted in the form of quadrangles, differing from each other in size.

- Add horizontal stabilizers.
Next, you need to draw oblique quadrangles. Note that this layout is horizontal. The front of the gimbals is more visible than the back.
- Draw the wings.
The structure of the wing draws your attention to a geometric shape, such as a trapezoid.
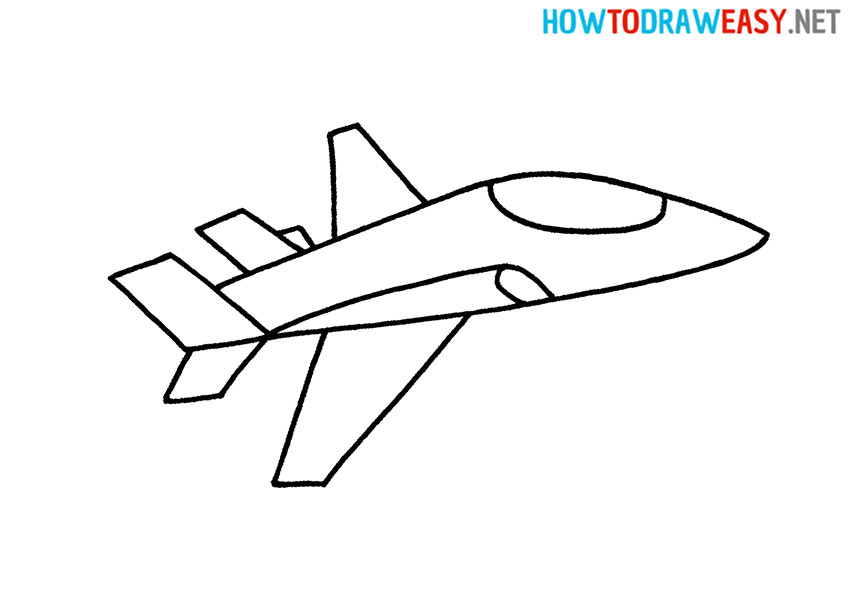
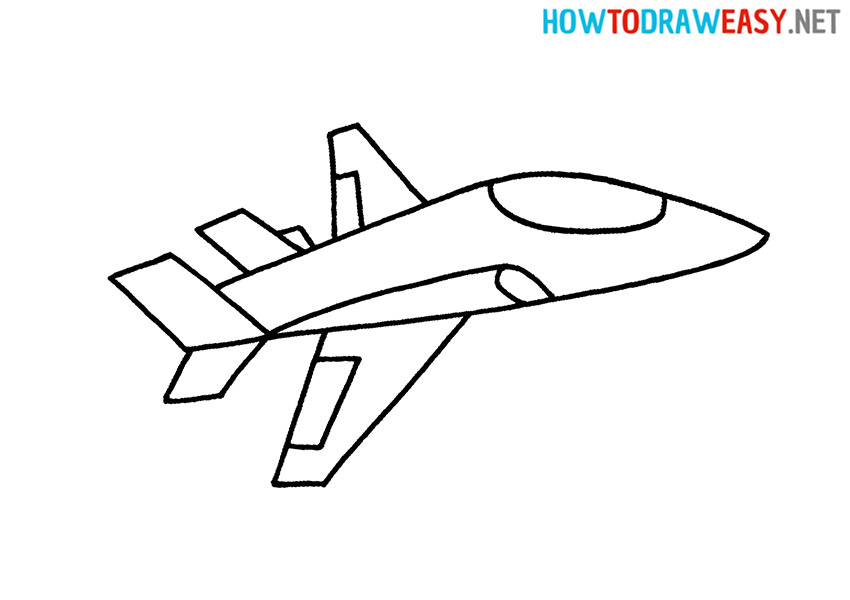
- Draw the flaps.
The pair of irregular rectangles represent the fighter’s flaps. Place them on the back of the wings.
- Color the drawing.
Color the body and wings of the fighter jet with gray shades, and shade over the window in blue.
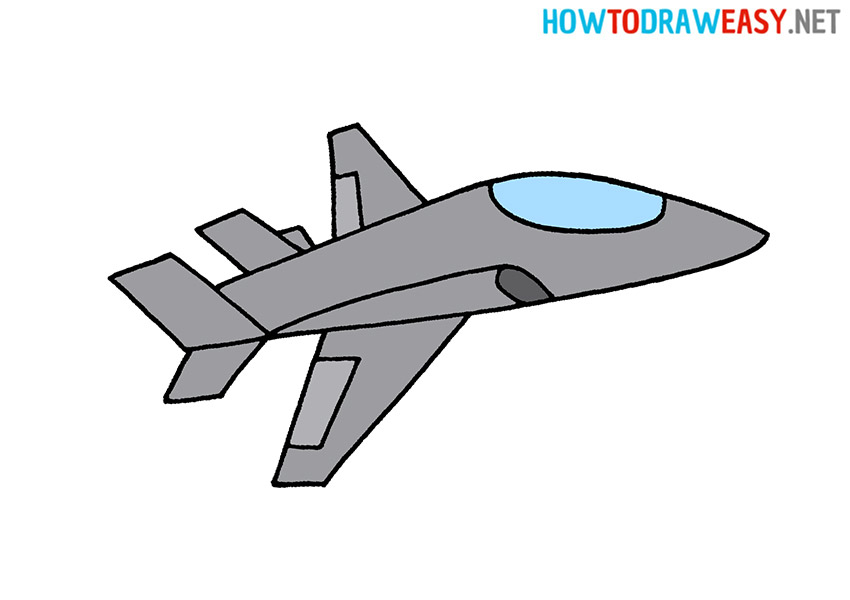


It’s great that you drew such a cool drawing! We hope that our drawing lessons for you are the start in your path as an artist, because drawing is always fun and interesting!