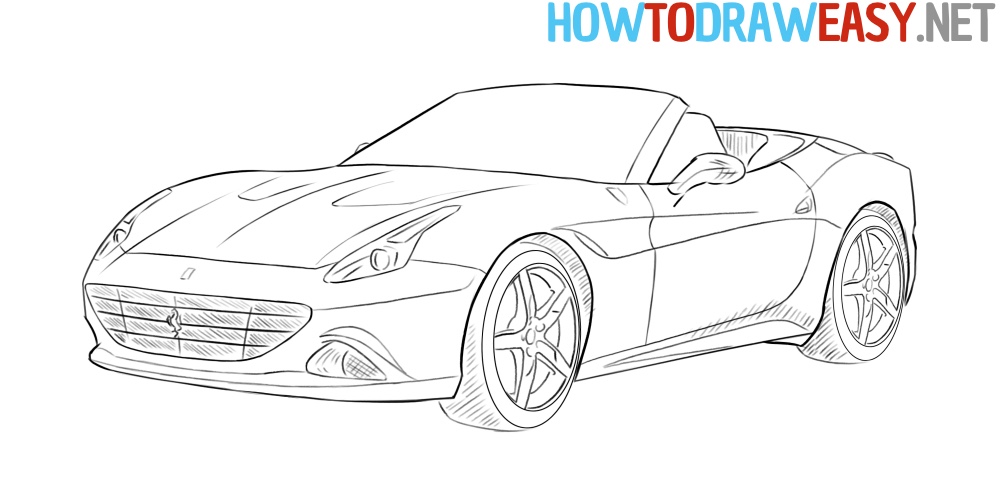
How to Draw a Ferrari Step by Step
In this drawing tutorial, you will learn how to draw a Ferrari step by step. This is a useful guide for drawing a sports car.


Welcome to the tutorial where you can learn how to draw a Ferrari step by step, let’s go! It is no surprise to anyone that Ferrari is an Italian brand that is a super popular brand that has specialized in the production of sports cars since 1947. It all started much earlier than this date, because initially Enzo Ferrari was the founder of the racing team, and already in 1947 he began to produce racing cars. The first model of this Italian brand is the Ferrari 125, which was created in 1946. For this drawing tutorial, we took a model called the California T, a coupe convertible, which, unlike the usual Ferrari California, has a turbo engine.
By the way, besides these models, we also have other drawing tutorials for other models of the Italian brand Ferrari. And also you can get acquainted with other sports cars, which are made step by step for the guests of howtodraweasy.net
Time needed: 45 minutes
How to Draw a Ferrari Step by Step
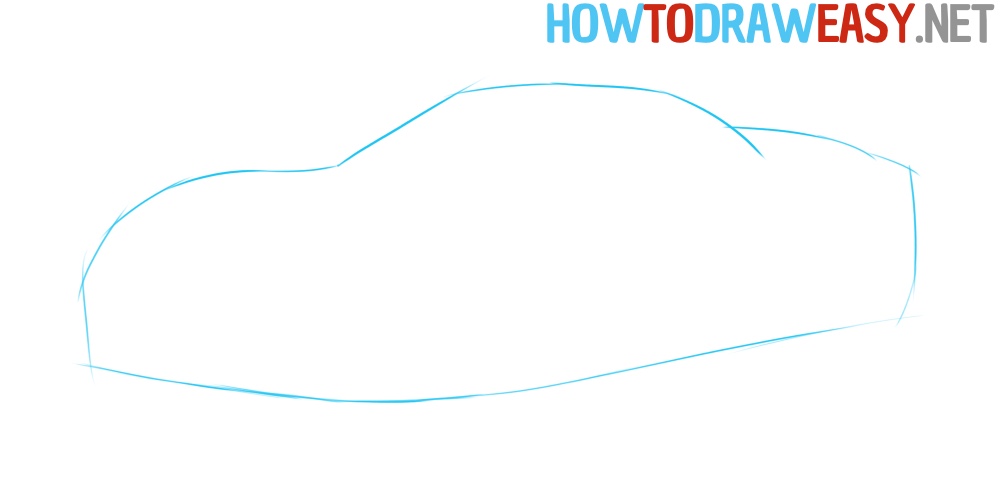
- Draw basic lines.
Start sketching your Ferrari by drawing baselines, which will help you add the rest of the car parts and parts even easier to your drawing.
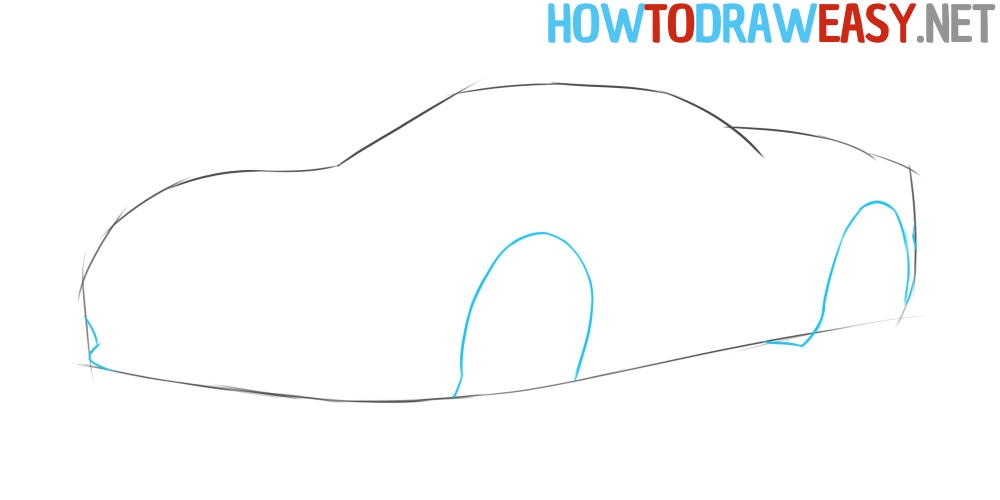
- Wheel arches.
On the baselines, now you need to add semicircular wheel arches, which should visually be at the correct distance from each other. The example also shows how to make shapes for the body.
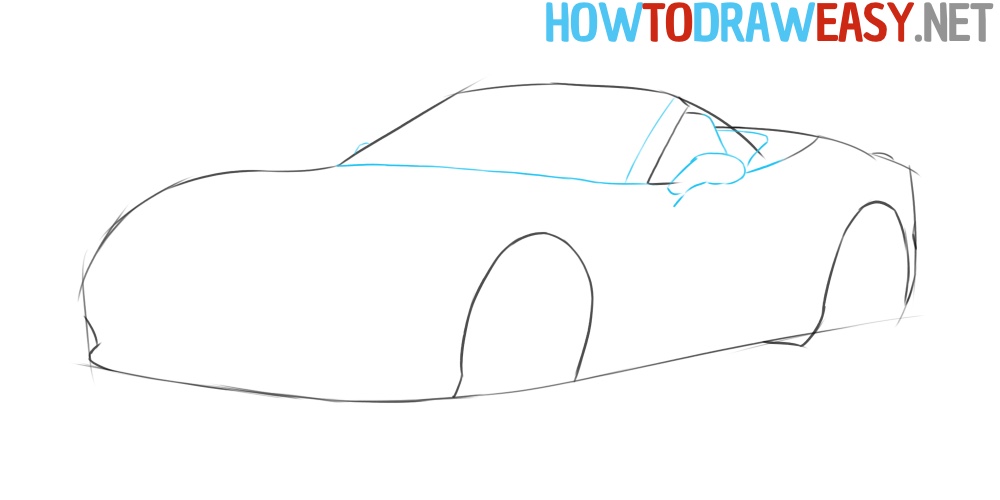
- Convertible roof shape.
Since our illustrate is a sketch of a convertible coupe, in this step you need to draw the lines of the upper part of the car, indicating the details and shapes of the upper part of the convertible.
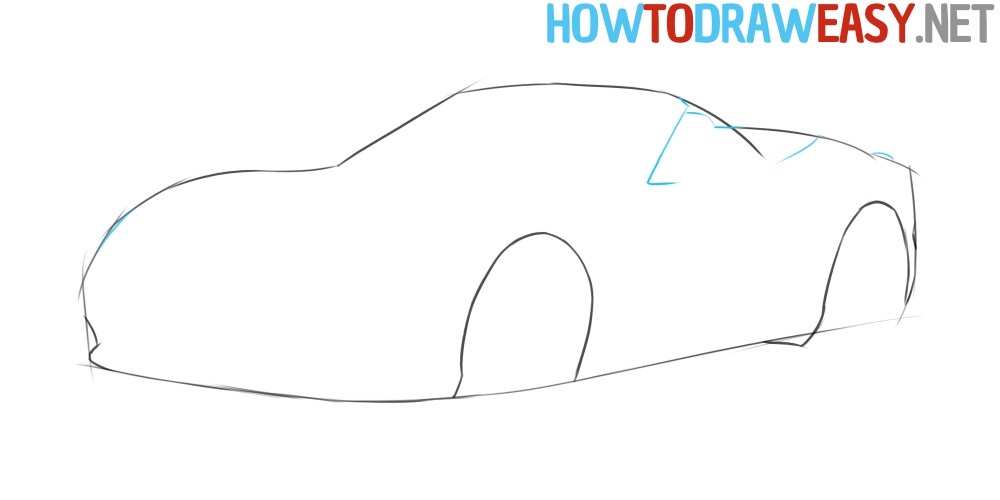
- Upper details.
Draw a rearview mirror, and besides it add the rest of the missing lines, which are shown in blue in the example.
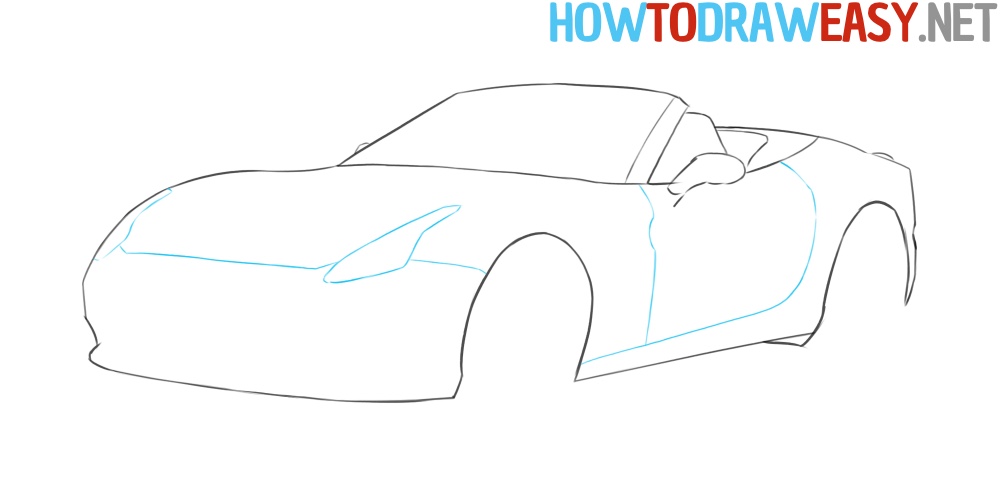
- Car body lines.
Start by drawing the lines of the car door, and try to repeat them from the example. After that draw the line of the hood of your Ferrari, and after that draw the shape of the Ferrari headlights.
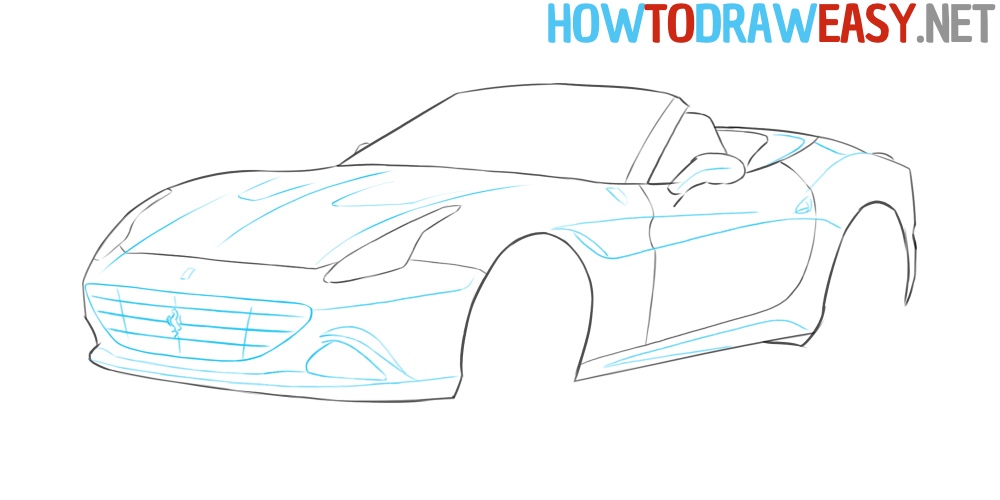
- Body design.
Now you need to add body design lines that give the car its main visual features. Start at the front, with the bumper and grille. Also don’t miss the fact that you need to paint the Ferrari logo on the radiator. After that, draw the rest of the lines that are on the hood, on the door, and so on.
- Draw the wheels.
In the arches of the car drawn earlier, draw the shapes of the wheels, which you need to try to depict as the most circular.
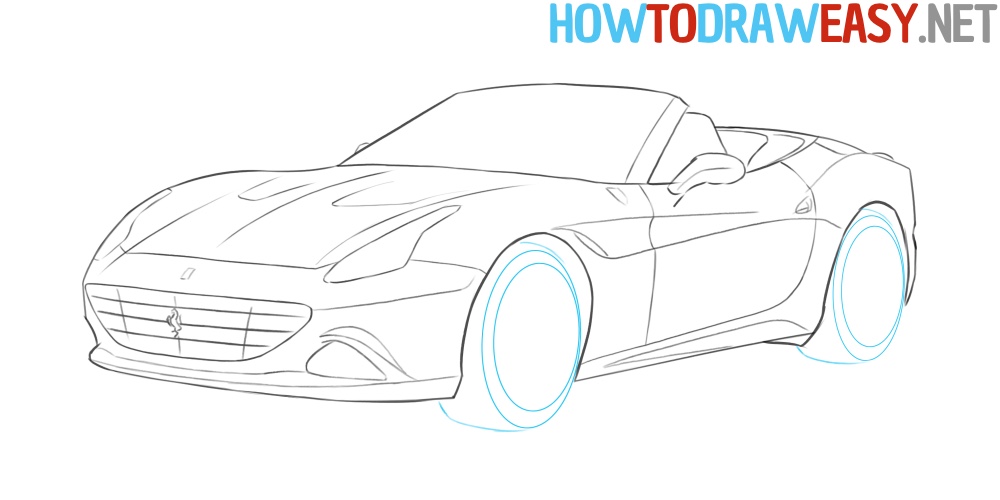
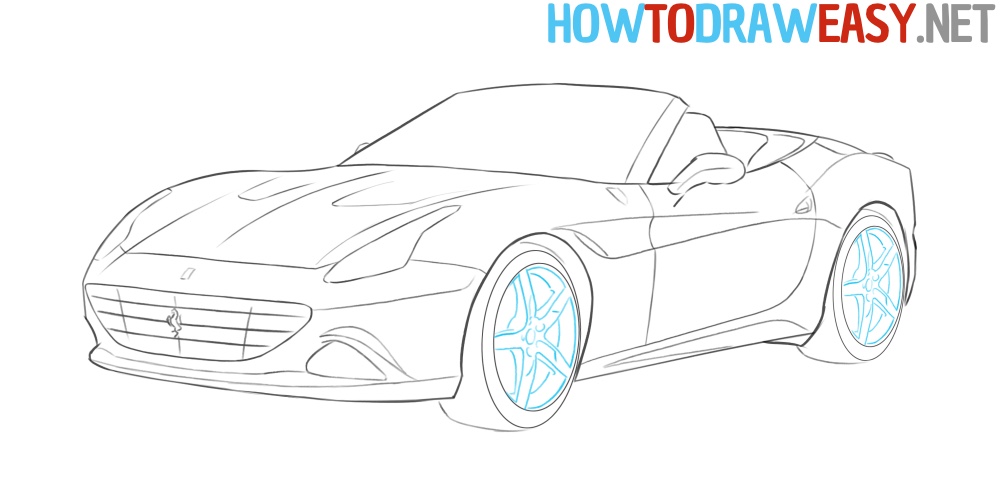
- Draw Ferrari rims.
So, you have already made the rounded shapes of the wheels, so now you need to draw car disks. Yes, it is difficult, but with practice, you will be able to draw these car rims with ease.
- Headlights and hatching.
So, you are at the finish line to complete the drawing of the Ferrari. First, sketch out the details of the headlights shown in the example. This is important to make the headlights look more realistic. And also for the detail of the sketch, add shading, which will accordingly be the shadows in your drawing.
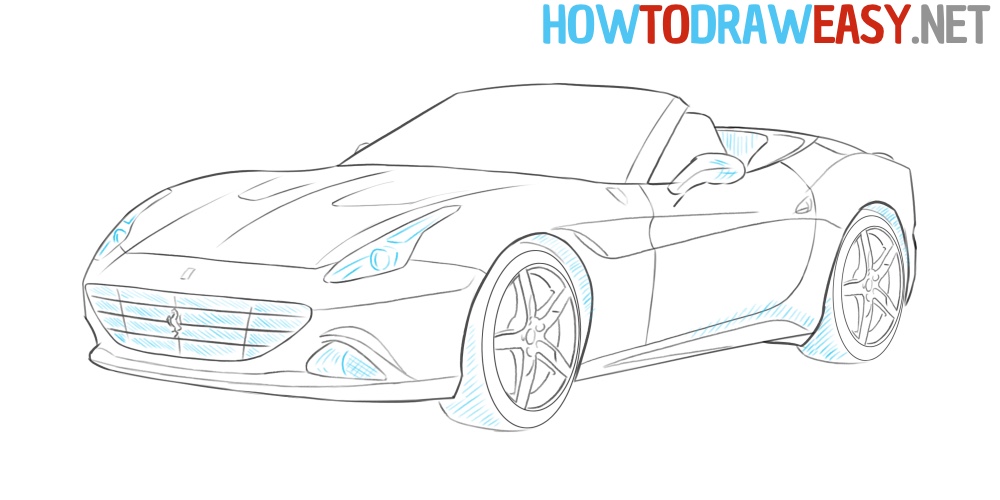
- Ferrari is ready!
Well, friends, we showed a step-by-step Ferrari drawing lesson, and from you, we are waiting for the results of your work, which you can publish on Pinterest and mark our profile there. If you want to color your drawing, then use your favorite coloring supplies and do it. Ferrari’s traditional color is red, but you can paint your work any color you like.