
How to Draw a Cherry for Kids
Create your super beautiful cherry drawing using this lesson which shows how to draw a cherry for kids.


Hello everybody! In this lesson, we will teach you how to draw a cherry for kids step by step. Cherry is the fruit of a woody plant with a rounded shape with a diameter of about 1 centimeter, with a sweet and sour taste.
The cherry drawing consists of two cherries, a stem, and a leaf. This tutorial is quite simple and perfect for artists with different drawing skills, as it consists of 6 elementary steps. In the process of drawing a cherry, simple lines and basic shapes are used.
Time needed: 20 minutes
How to Draw a Cherry for Kids
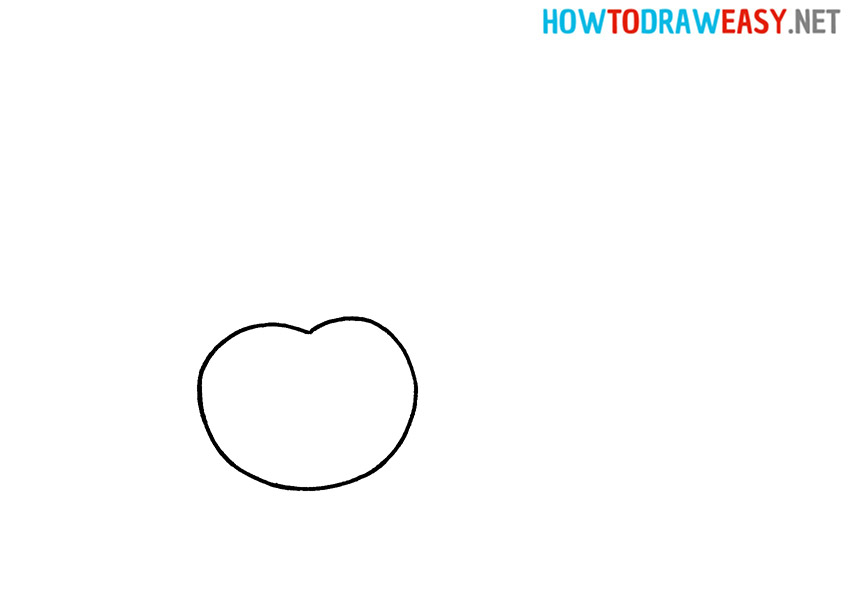
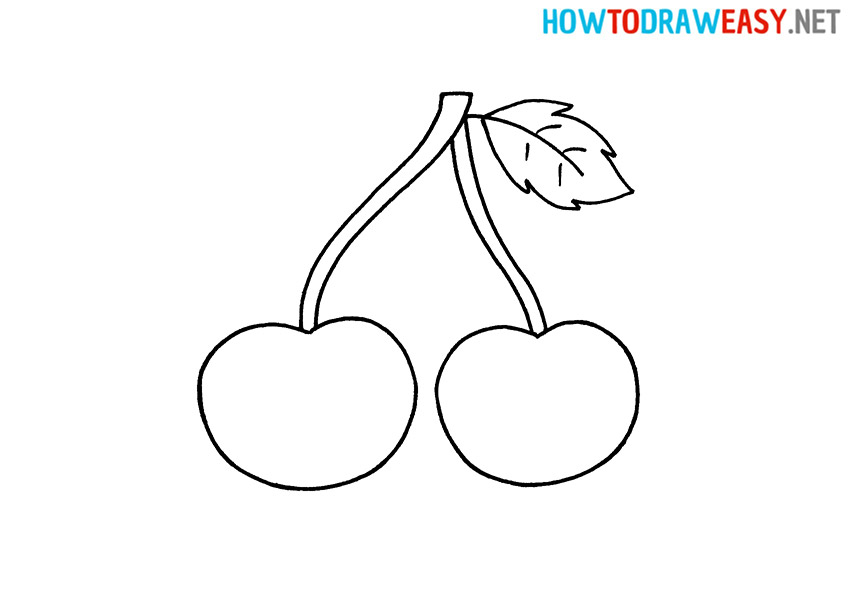
- Draw the base of the cherry.
We draw a cherry, which has a shape in the form of a heart, only with smoother lines /
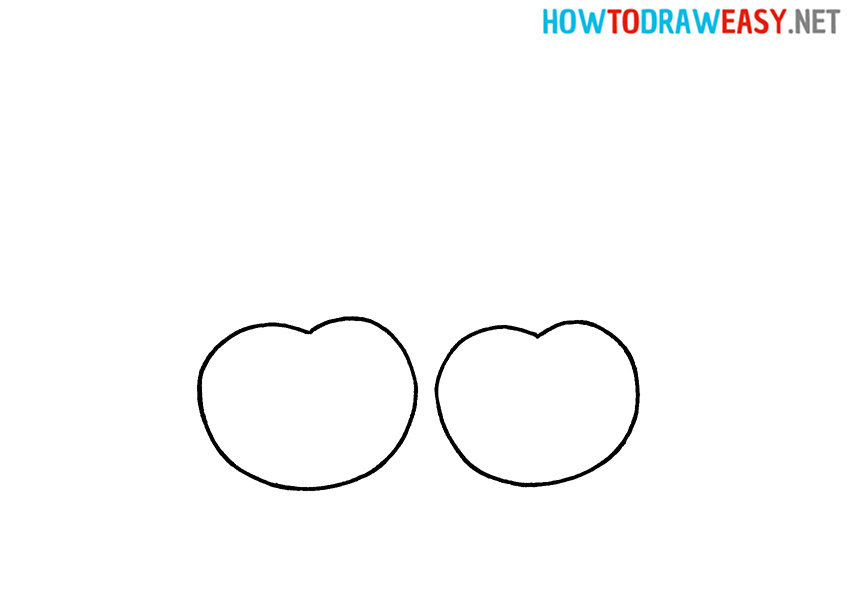
- Add the second cherry.
Draw the second cherry in the same way.
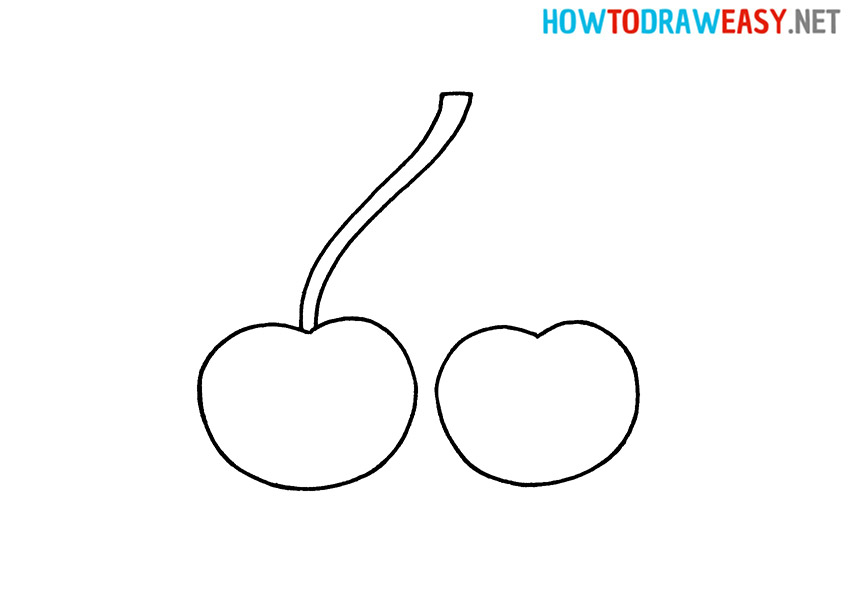
- Draw the stem.
From the middle of the first cherry you draw, draw up a thin, curved stem.
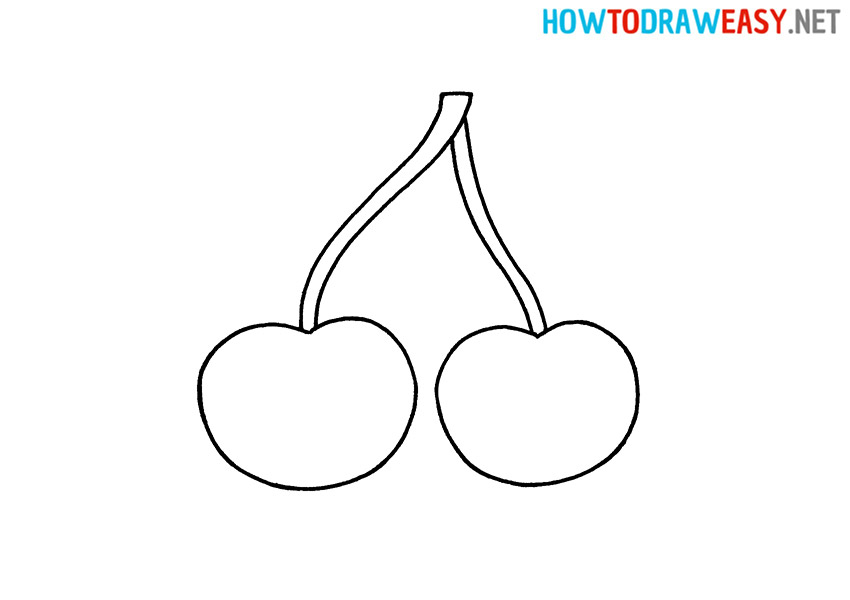
- Add the second stem.
Draw and connect the stems in the similar way.
- Draw the leaf.
At the top of the stem, draw a sharp-edged stem. In the process of drawing, follow the ready-made instructions.
- Color your drawing.
Color the cherries themselves dark red, the stems and leaves green.
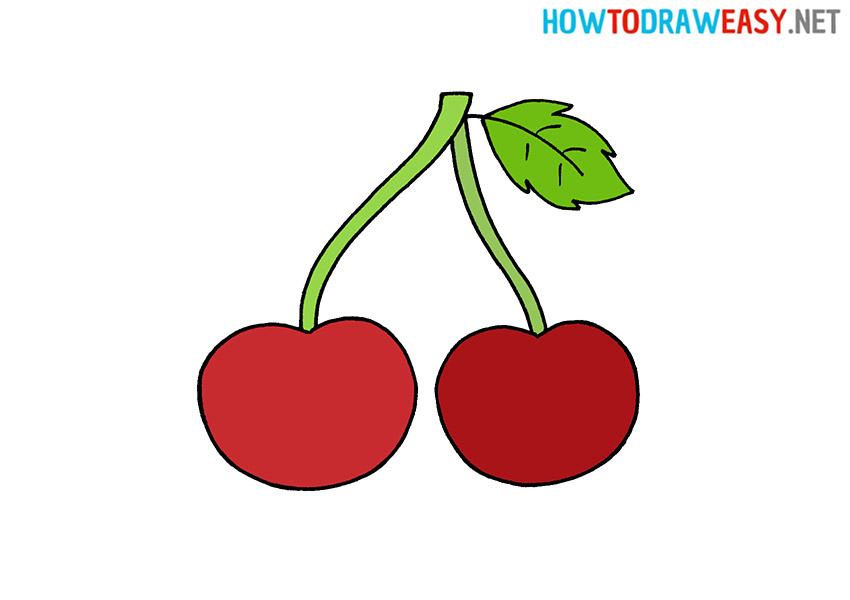


In this drawing lesson, we learned how to draw a cherry—a juicy and beautiful fruit that can be a great detail in any artwork. We studied the basic steps for creating a realistic image of a cherry: starting with building the main shapes and contours, then adding details and colors to the drawing.
Now you can use these skills to create your own drawings of cherries, as well as experiment with different materials and drawing techniques. Don’t be afraid to experiment and find your own unique style that will help express your creativity and imagination. Check other drawing tutorials on our website and continue learning to draw!