
How to Draw a Cap for Kids
If you want to learn how to draw a cap for kids, then this is the best place to learn it! Below, you can see detailed instructions and a step-by-step collage of this drawing.


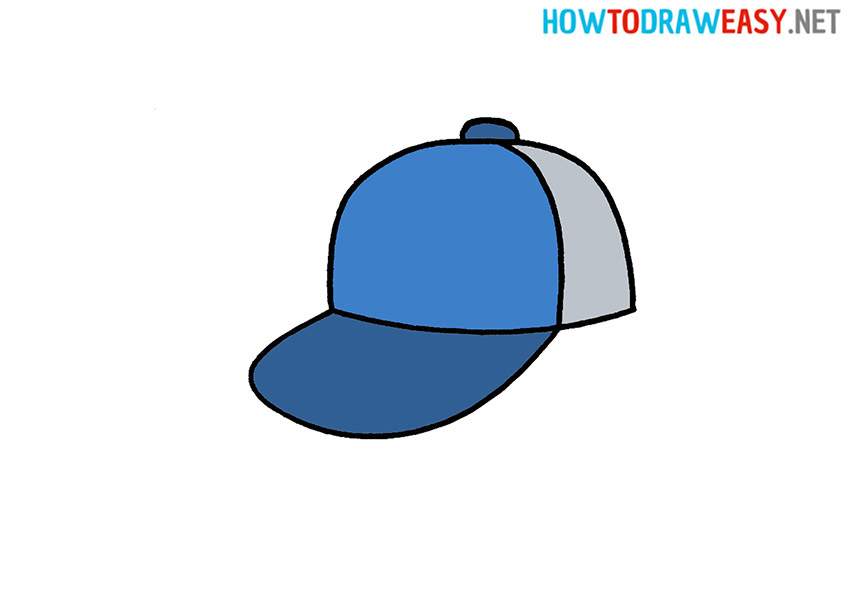
Hello everyone! In this drawing tutorial, you will learn how to draw a cap for kids. The cap is one of the most popular hats, especially among children and young people. This is the headdress that is most often used in the sun. Caps come in a variety of colors and sizes.
Often the caps have drawings or some kind of embroidery. In our case, let’s draw the simplest cap. If necessary, you can change the design yourself or add drawings. In order to draw the cap easily, you just need to follow the steps and description of this instruction. Well, let’s get down to drawing!
Time needed: 20 minutes
How to Draw a Cap for Kids
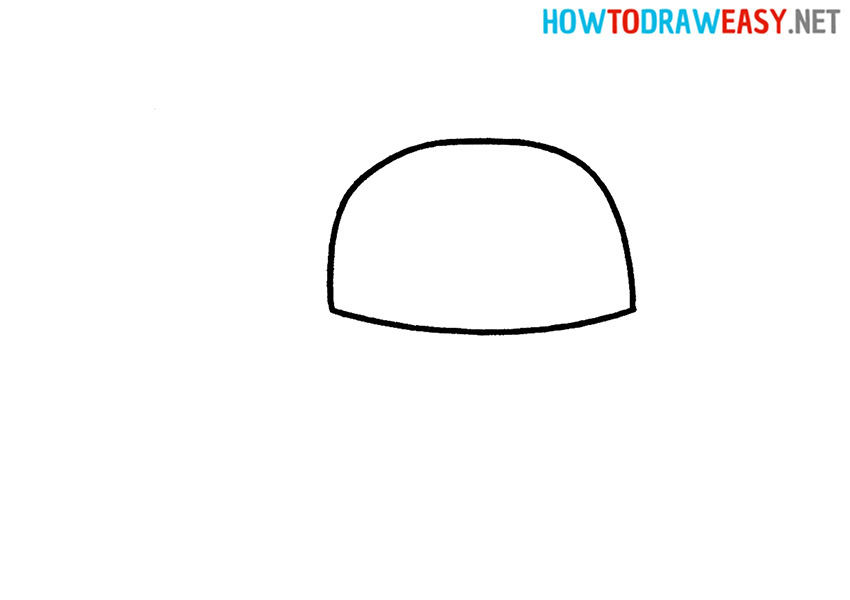
- Draw the top of the cap.
Let’s start with the top of the headgear. To do this, draw a small semicircle, and draw a slightly convex line at the bottom.
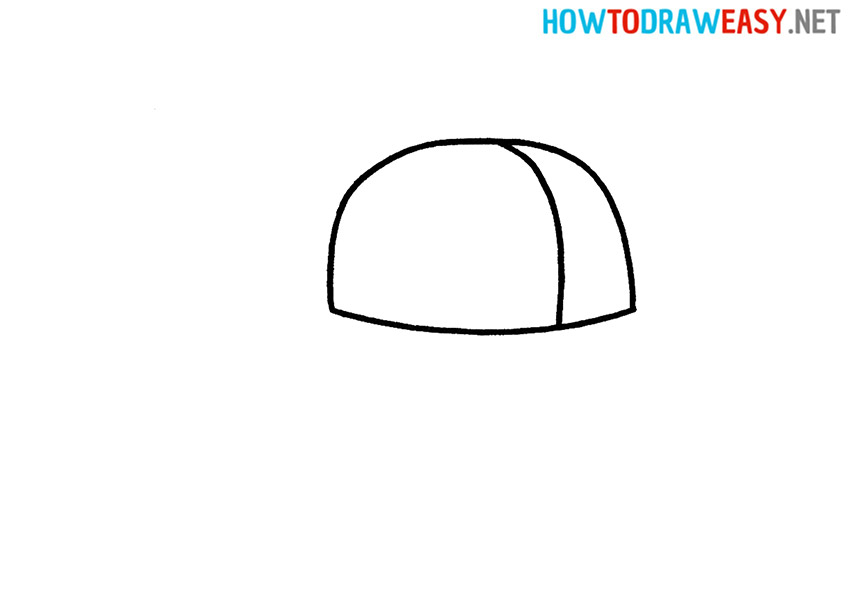
- Add crown stitches.
Divide the resulting shape with a curved line. Note that the left side should be much larger than the right.
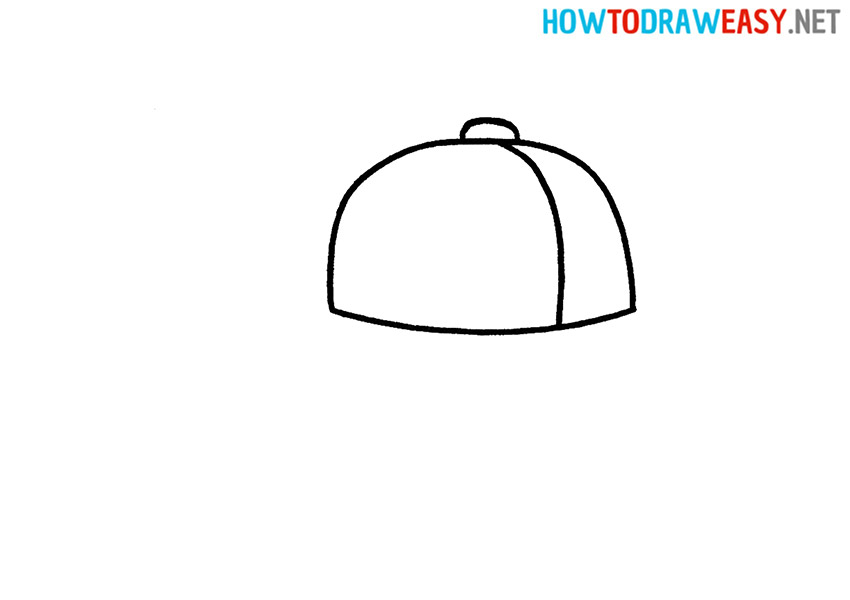
- Add top button.
Draw the small oval in the top middle.
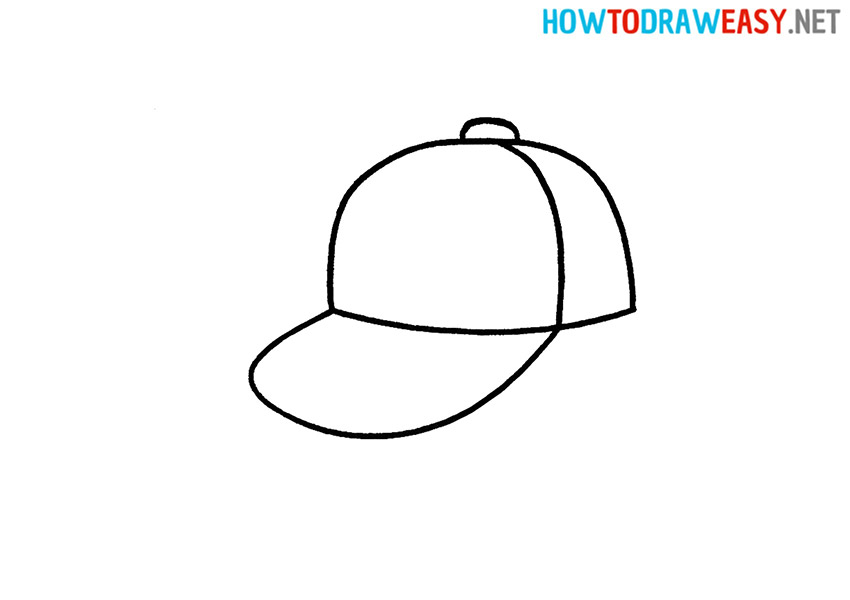
- Sketch the visor.
One of the final steps is to draw the visor of the cap. Refer to the sample instructions while drawing.
- Color the drawing.
We shaded our cap drawing using shades of blue, but you can use a different color. You can also draw some kind of pattern on the cap in the form of a logo.


Congratulations! Your cap drawing is ready! To draw even better, you need to practice more to gain experience. Here you can find many other drawing lessons on various topics, for example, you can draw animals, cars and much more.