
How to Draw a Camera for Kids
Would you like to draw a camera? Great, because here you will learn how to draw a camera easily enough even for kids and everyone who does not have enough experience in drawing.


Welcome everyone to our new drawing lesson! In this drawing tutorial, you will learn how to draw a camera for kids. This item is used to capture different moments in life. The popularity of cameras in our time is very high and for sure they are in every family. The camera allows you to save life’s moments in photo format, which can then be viewed at any time and shown to your friends.
We have compiled detailed and very simple instructions so that everyone can draw beautifully, this necessary item for many. Therefore, it will be interesting and simple to depict a children’s camera on paper. Do not hesitate and let’s get started!
Time needed: 30 minutes
How to Draw a Camera for Kids
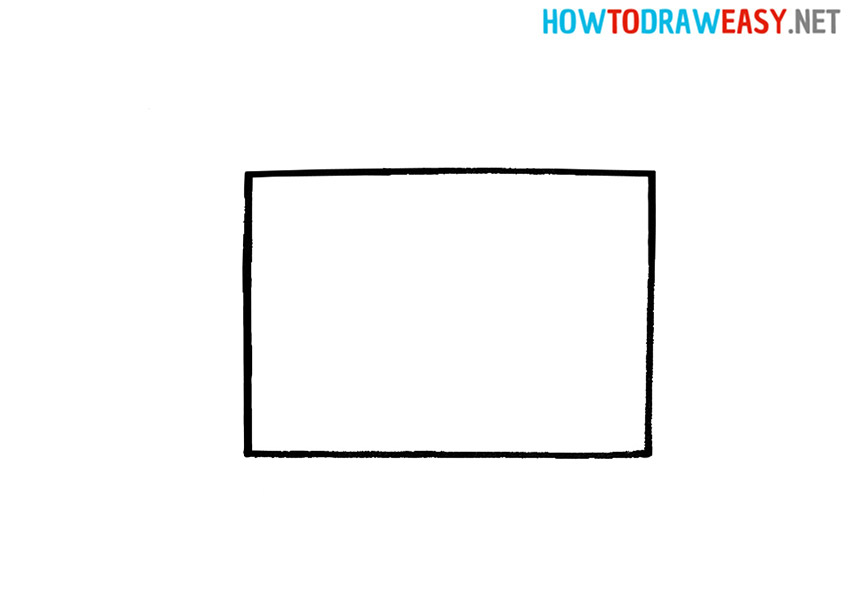
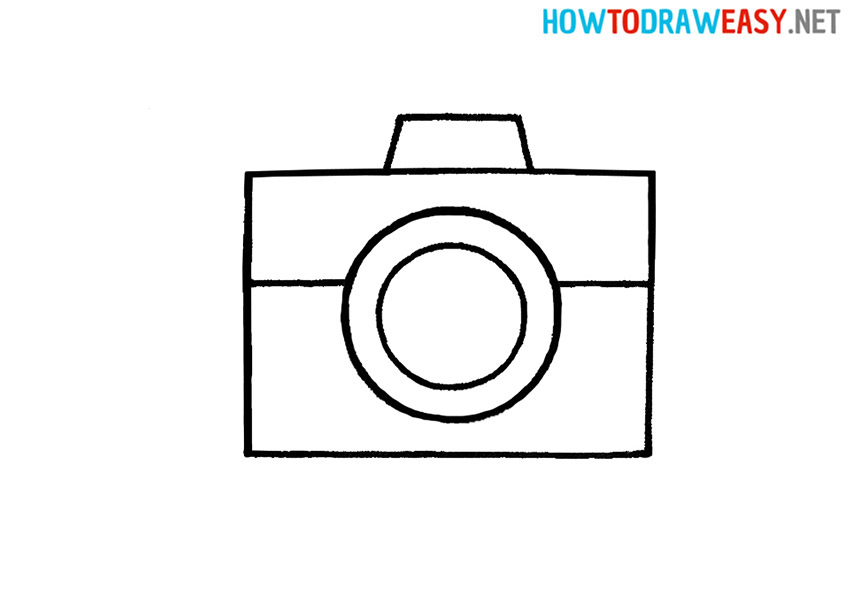
- Draw the base of the camera.
The shape of the camera is rectangular. Therefore, you first need to draw a large rectangle.
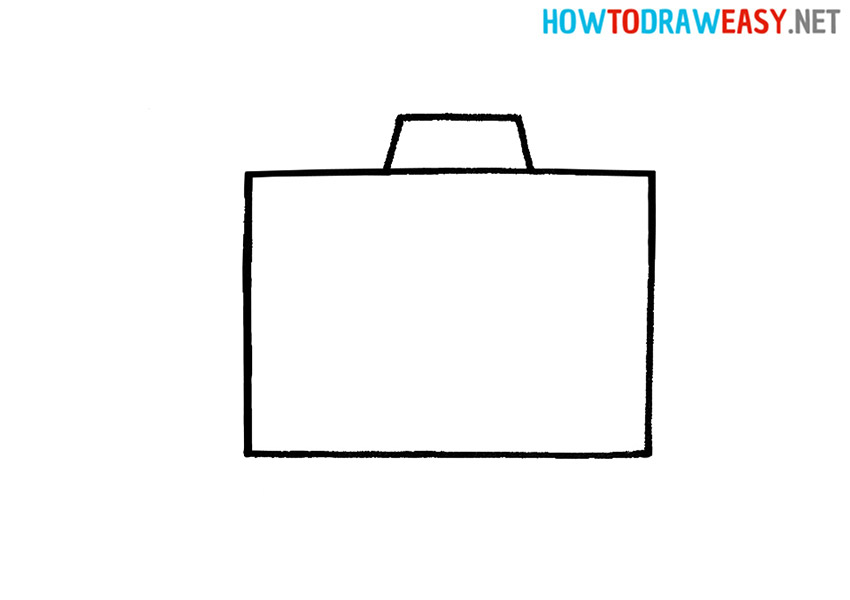
- Add the camera flash.
At the top in the middle of the camera, draw a trapezoidal camera flash.
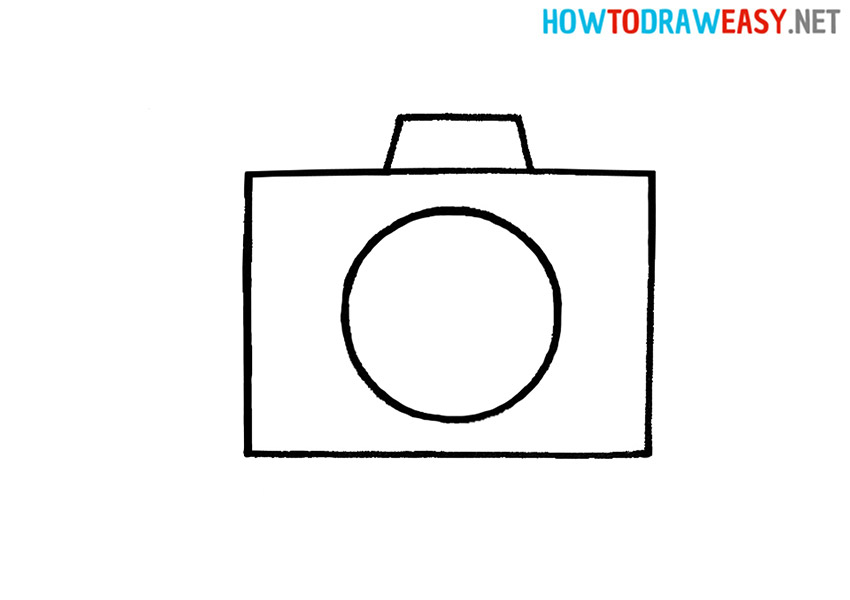
- Start drawing the lens.
Draw a large circle inside the large rectangle.
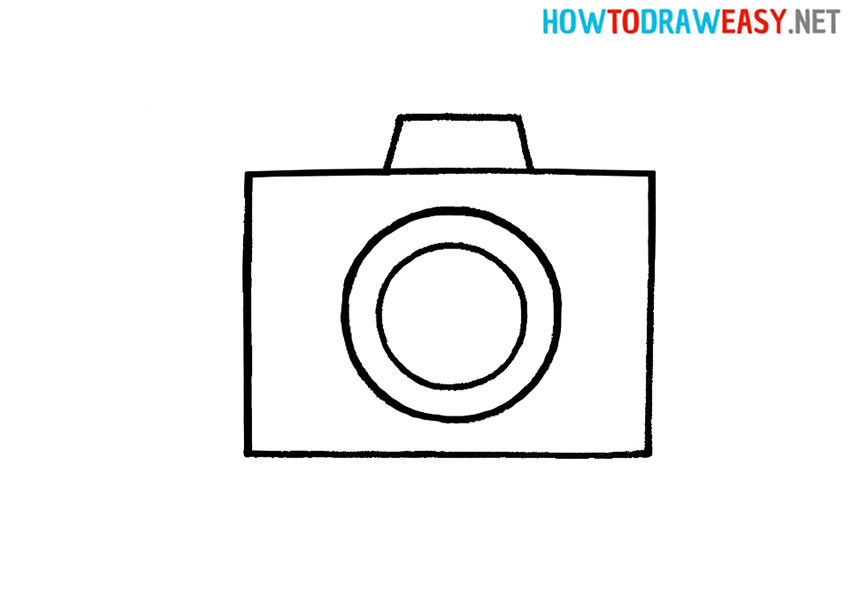
- Finish drawing the camera lens.
Inside the circle we drew earlier, draw a smaller circle. There should be a small distance between the circles.
- Detail the camera.
Add the horizontal line. Make the top smaller and the bottom larger.
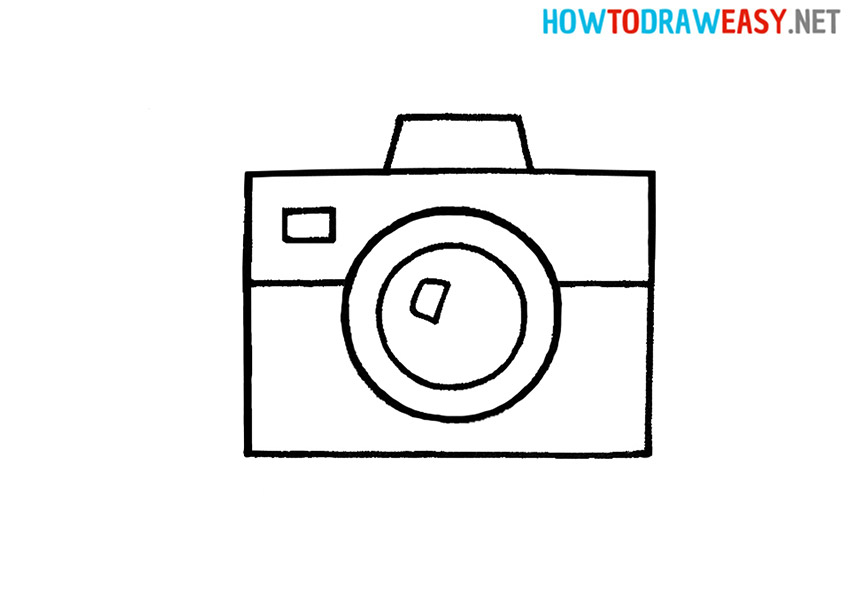
- Add details.
In the upper left corner, draw a small rectangle. And draw a small square flare inside the lens.
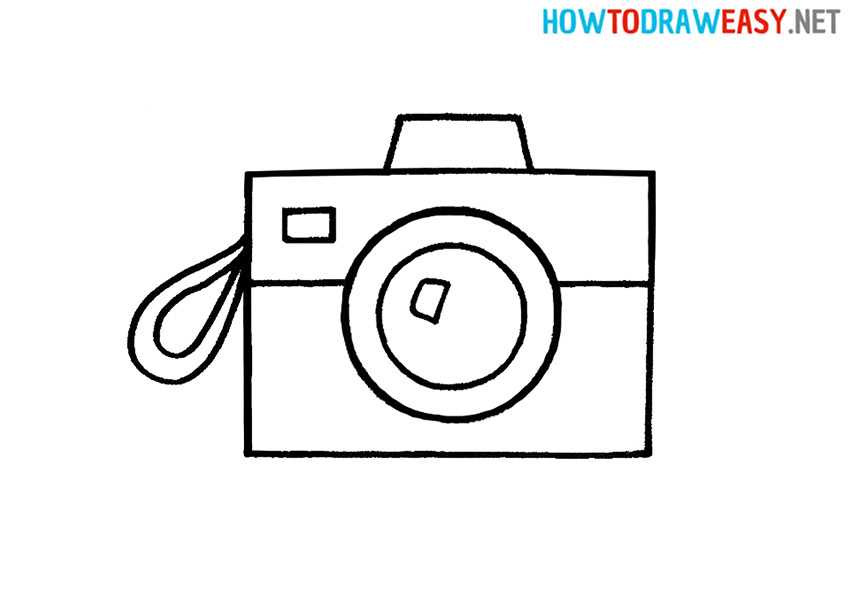
- Draw the strap.
The strap is needed to comfortably hold the camera in your hand. Draw the belt in two semicircles as shown in the instructions.
- Color the drawing.
Color the top of the camera a metallic grey, and paint the bottom a shade of brown.
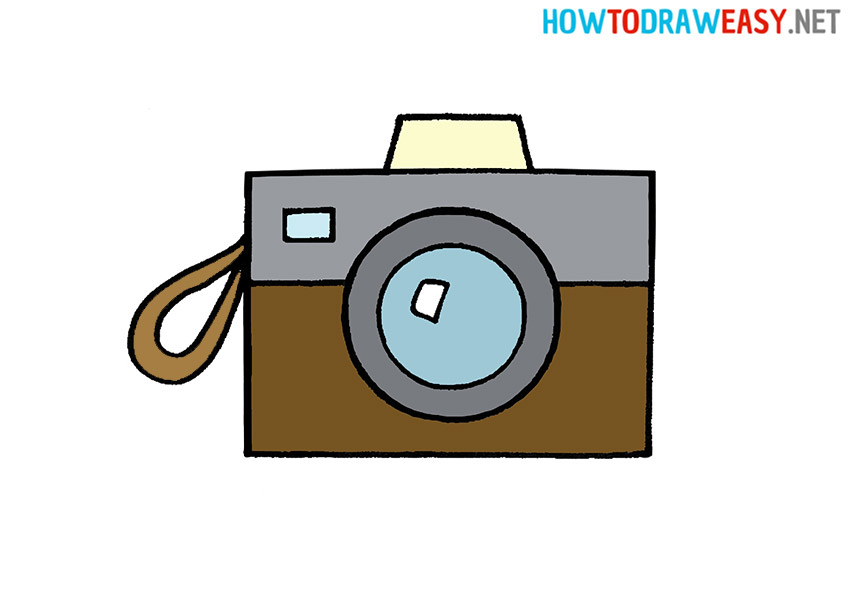


Your amazing camera drawing is ready! Congratulations on this! We hope that our drawing lessons help you in mastering new skills in drawing. We are waiting for you at other step-by-step drawing lessons.