
How to Draw a Camel for Kids
In this easy drawing tutorial, you can learn how to draw a camel for kids step by step and quickly.


Hello everybody! In this drawing lesson, we suggest learning how to draw a camel for kids. Drawing a camel will not be difficult, since in the drawing process you can rely on the instruction, which consists of 9 simple steps.
A camel is a very large, tall, and strong animal that can go without food and water for a long time. And its fur allows you to regulate body temperature in hot weather because the main habitat is a desert area. Therefore, such features of the animal’s body allow you to lie down in the hot sand up to 60 degrees. Now let’s move on to drawing a cute camel.
Time needed: 20 minutes
How to Draw a Camel for Kids
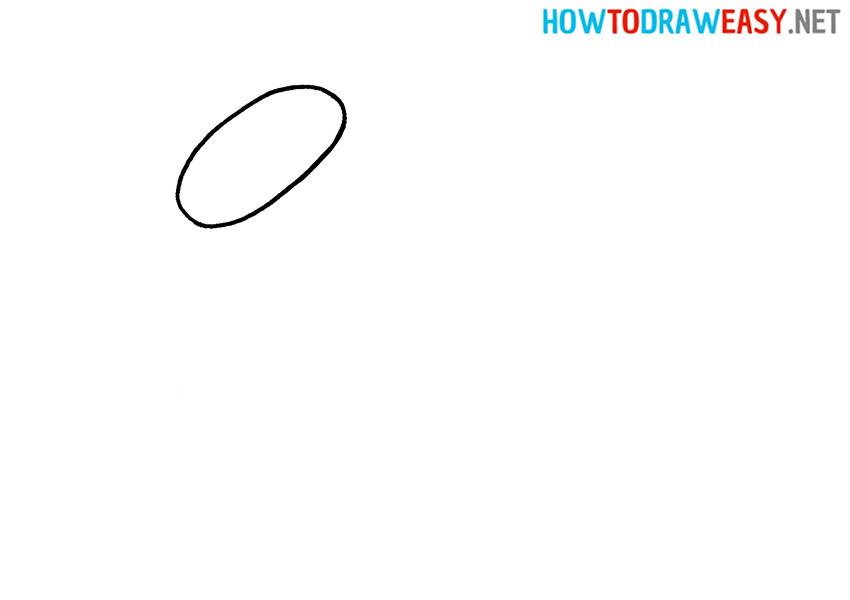
- Draw the head.
Let’s start drawing the camel from the head. The head of the animal must be drawn in the form of a slightly inclined oval.
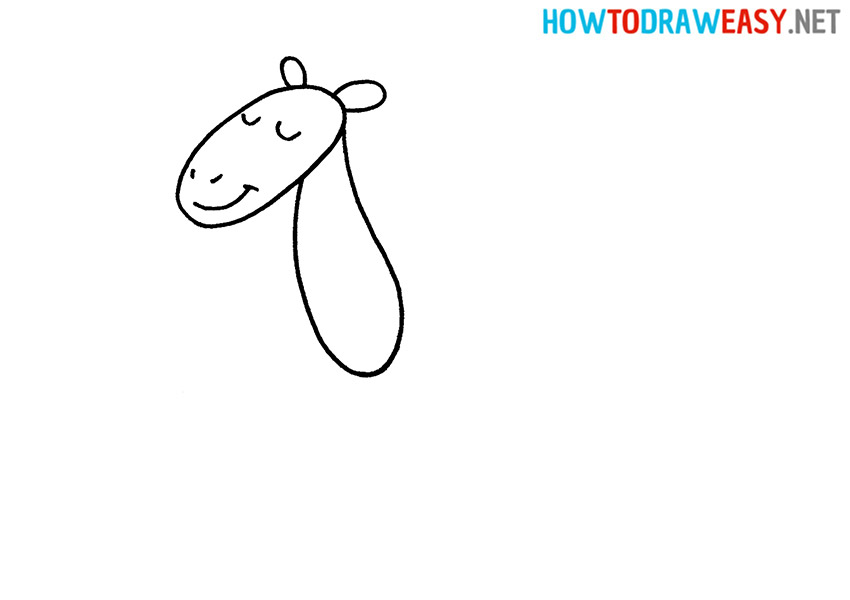
- Draw the face and ears.
Next, you need to draw closed eyes, nostrils, and a smile. Draw 2 small ears on the head.

- Draw the neck.
The camel’s neck must be drawn in the form of a long oval.
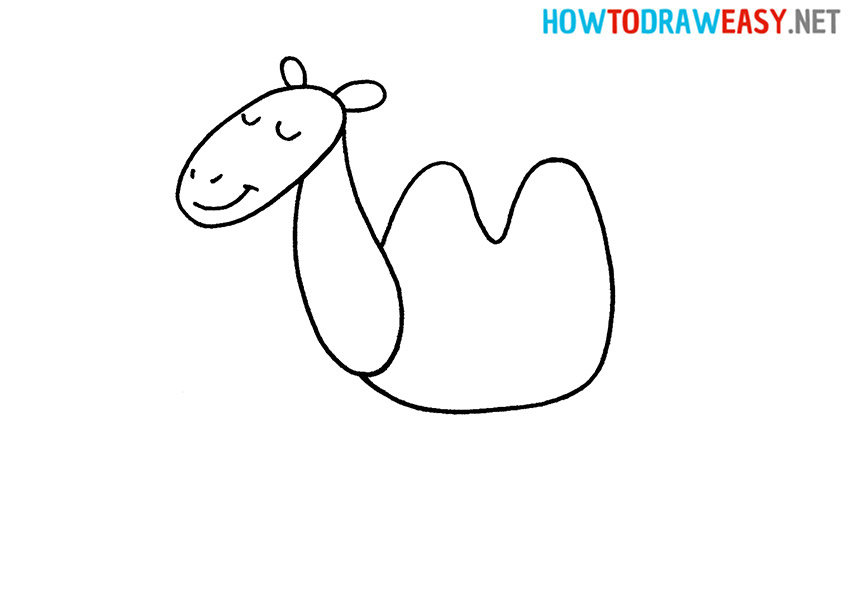
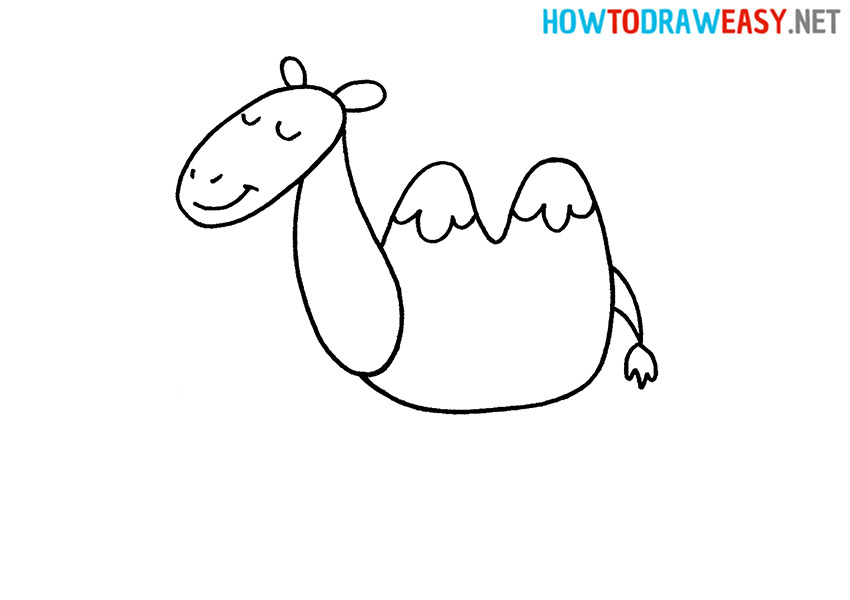
- Draw the body.
The camel’s body has a very unusual, beautiful shape in the form of two humps. In the process of drawing the body, follow the instructions.
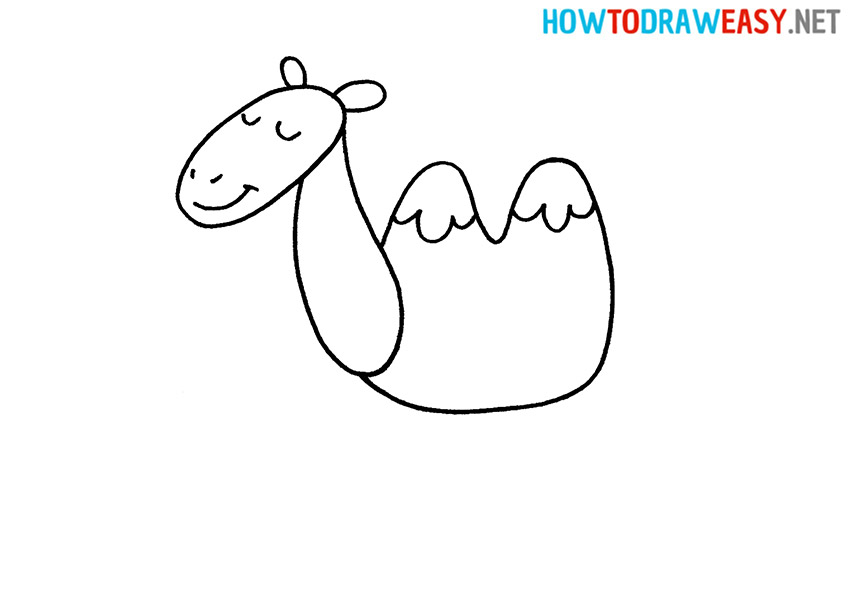
- Detail the humps.
In the upper parts of the humps, draw the characteristic flecks of the coat.
- Add the tail.
Draw a small tail at the back of the body.
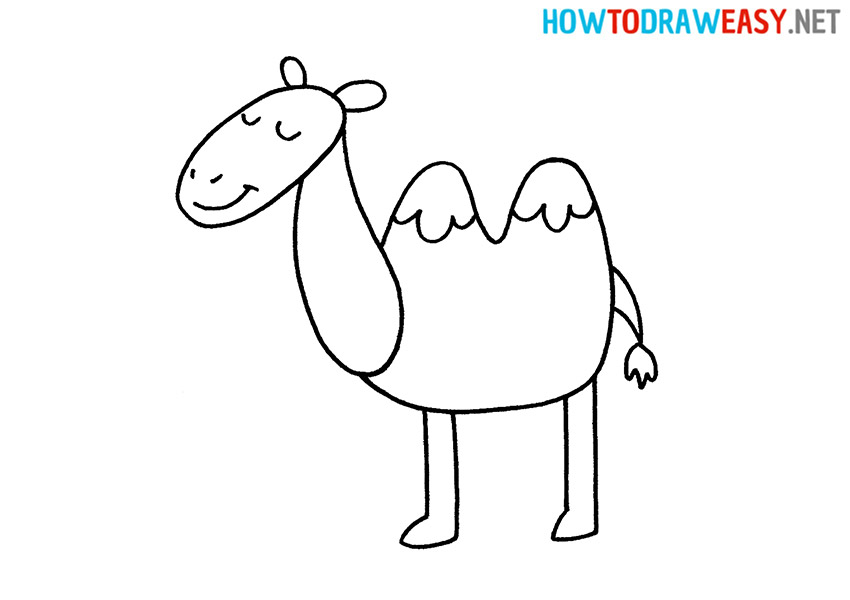
- Start drawing the legs.
Draw the two side legs in the form of long rectangles with small hooves at the bottom.
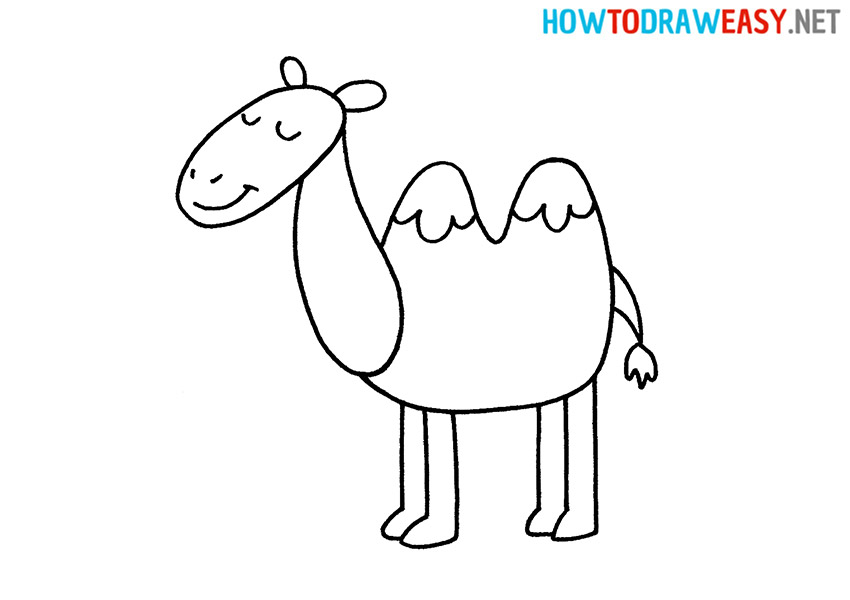
- Add two more legs.
Draw two more legs in the same way.
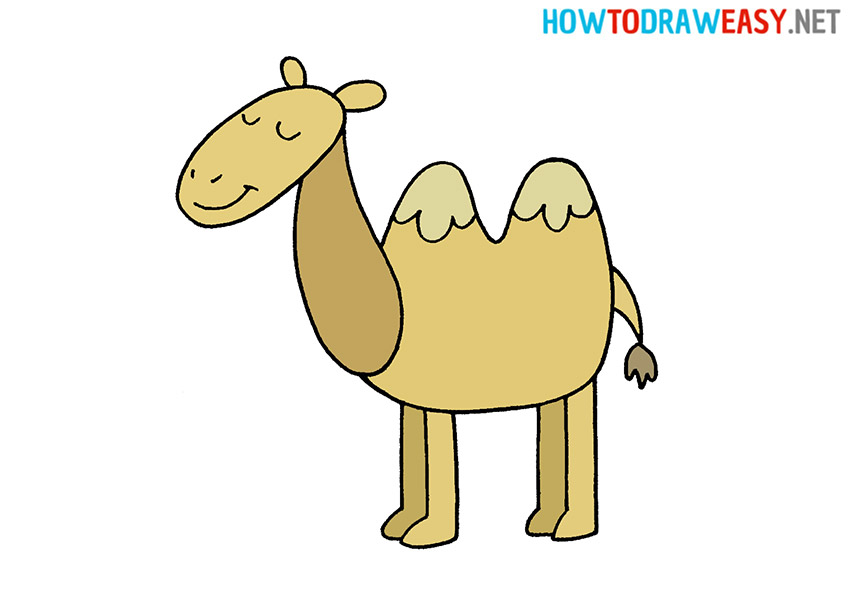
- Color the drawing.
Use shades of beige, brown, and sand to color your beautiful camel drawing.


In this drawing lesson, we have learned step-by-step how to draw a camel. We started with simple shapes and outlines, then added details and textures to create a more realistic artwork.
Now you can use these skills to create your own drawings of camels and other animals, as well as experiment with different styles and drawing techniques. Don’t forget to continue practicing and honing your skills to become a better artist. On our website, you can find many other ideas for drawing animals.