
How to Draw a Cake
Here you will learn how to draw a cake easily step by step. We are glad to have you in this step-by-step cake drawing tutorial.


Welcome to the cake drawing tutorial! Today we will be drawing a cake that is a perfect option even for beginner artists. I am confident that each one of you will be able to tackle this easy and understandable step-by-step guides. Above, you have already seen a collage, but that is not enough to study cake drawing in detail. Below, you will find detailed instructions on how to draw a cake.
We will focus on simple shapes and elements to create a beautiful and appetizing look for our cake. This lesson is ideal for those who are just starting their creative journey, as it does not require any specific drawing skills.
Feel free to ask questions and make comments—this lesson is designed for your enjoyment and learning. Ultimately, the goal of this lesson is to inspire you, give you confidence, and show that drawing a cake can be easy and achievable for everyone.
So, let’s embark on our creative journey and draw this delicious celebration cake together!
Time needed: 20 minutes
How to Draw a Cake Step by Step
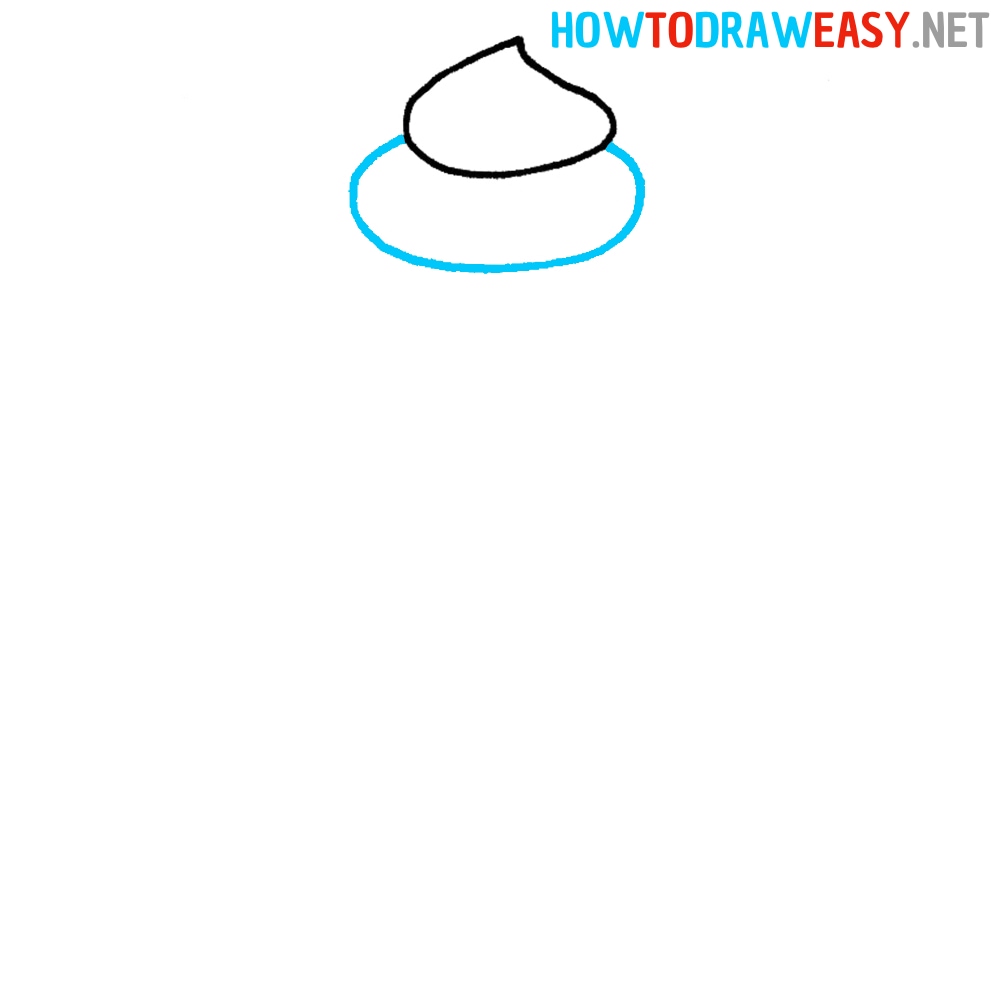
- Draw the top.
Start by drawing the top of your cake. Begin by drawing whipped cream, as shown in the example.

- Draw the bottom of the cream.
Complete the whipped cream by adding the second part.
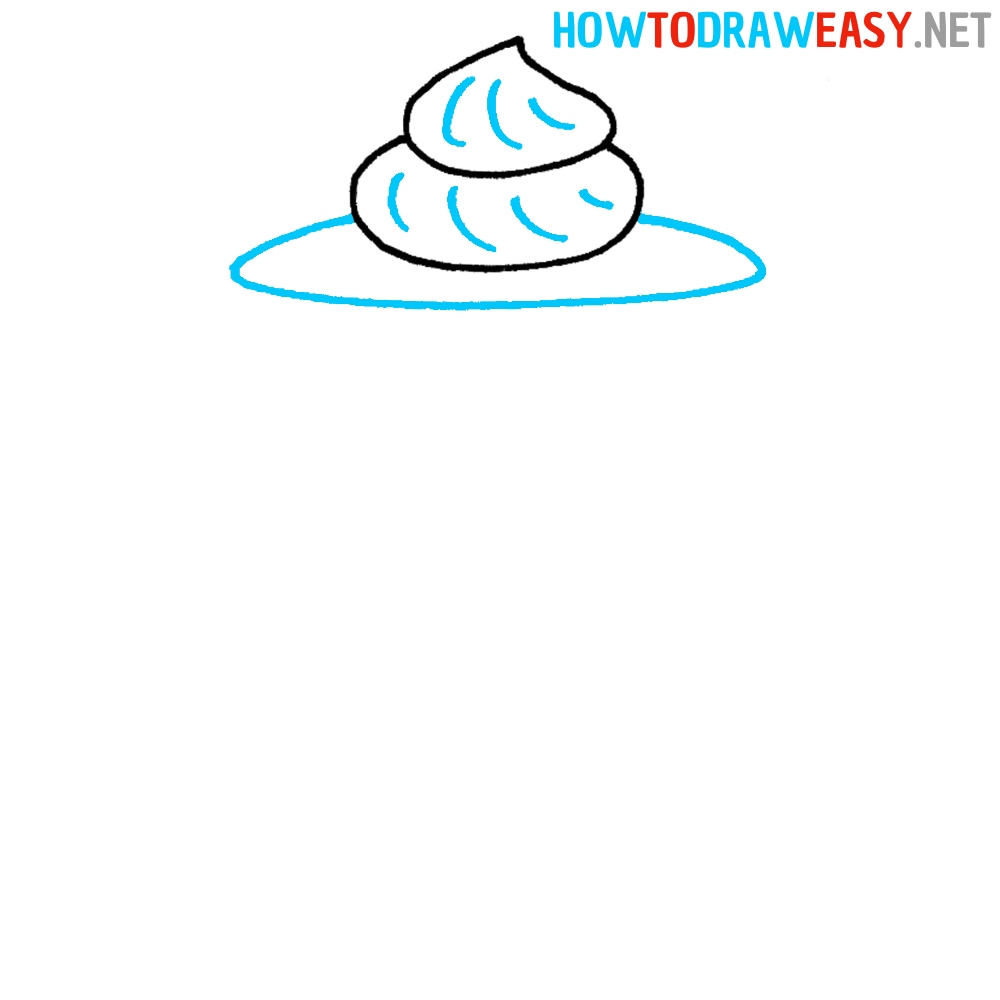
- Add the details.
Use curved lines to add detail to the top of your cake, then draw the top surface of the cake using an oval shape.
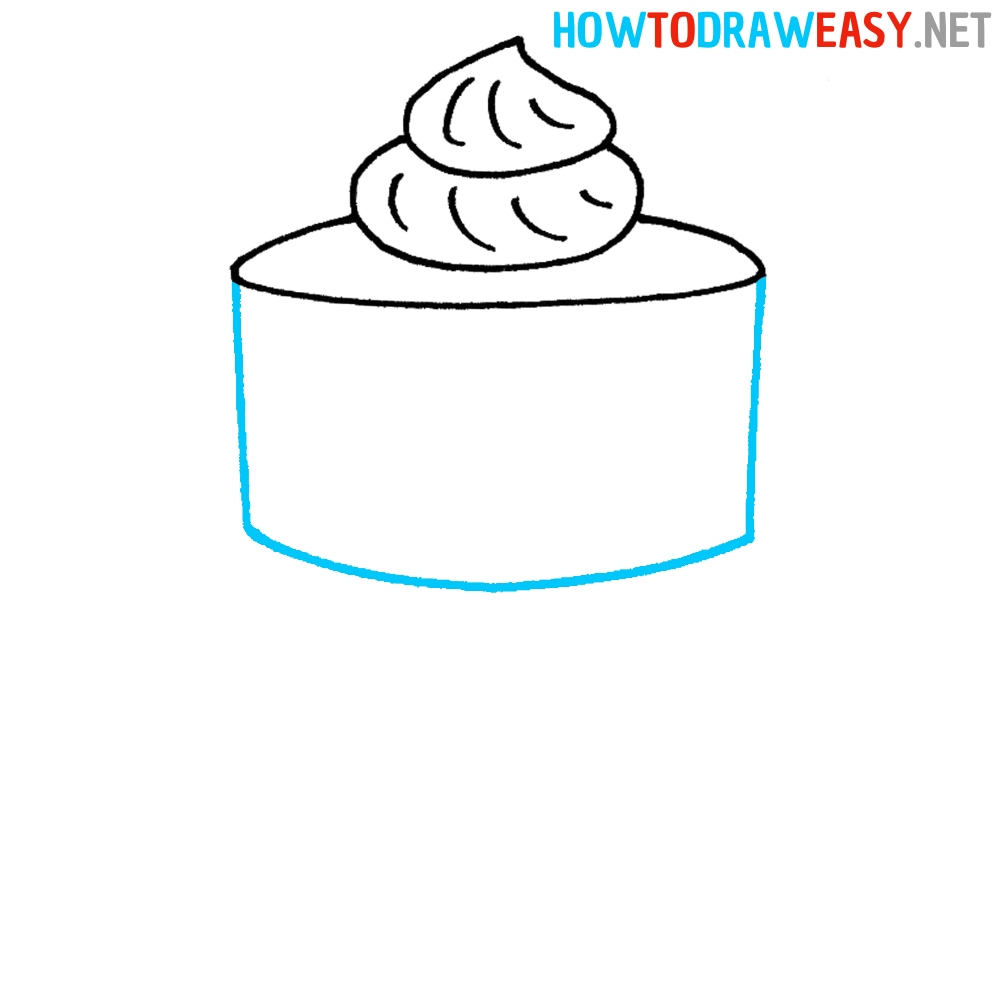
- Draw the first tier.
Now, you need to draw the first tier of your cake. Draw the side parts using straight lines, then add the bottom using a curved line.
- Add the top of the second tier.
Draw the top surface of the second tier as shown in the step.
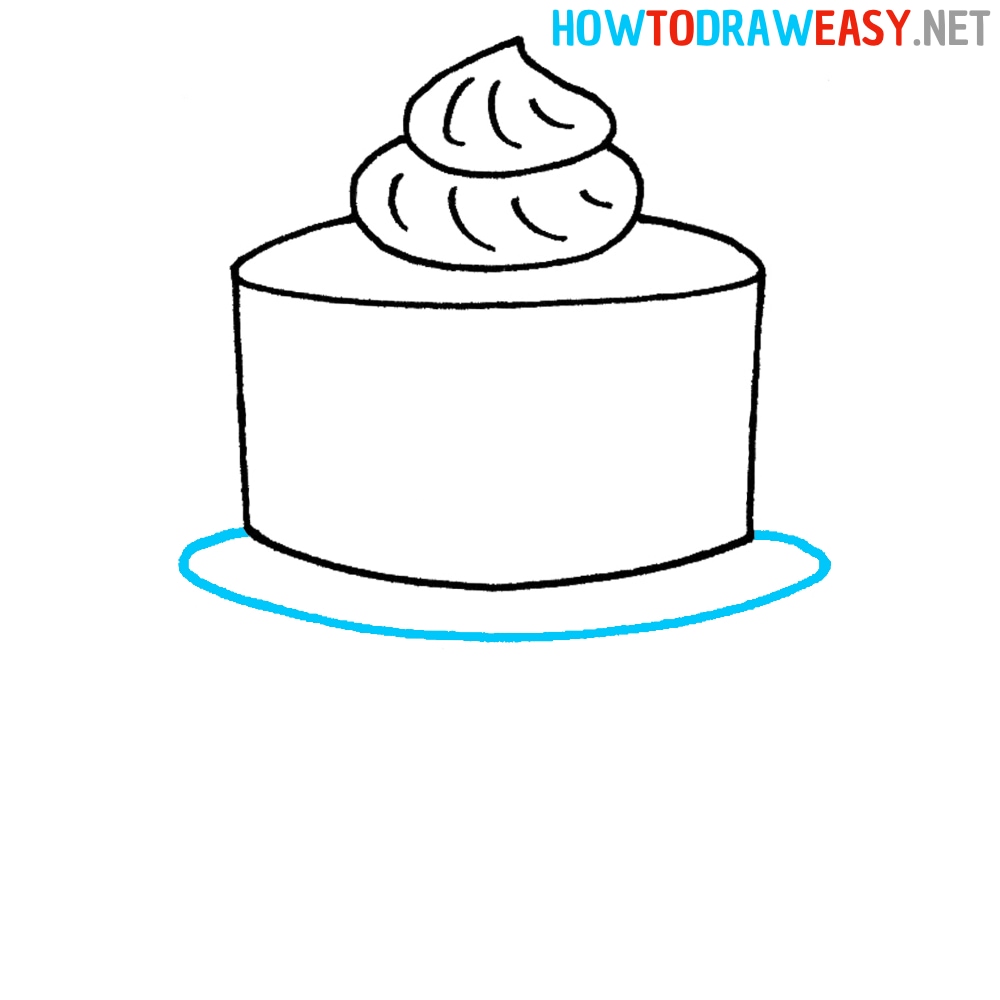
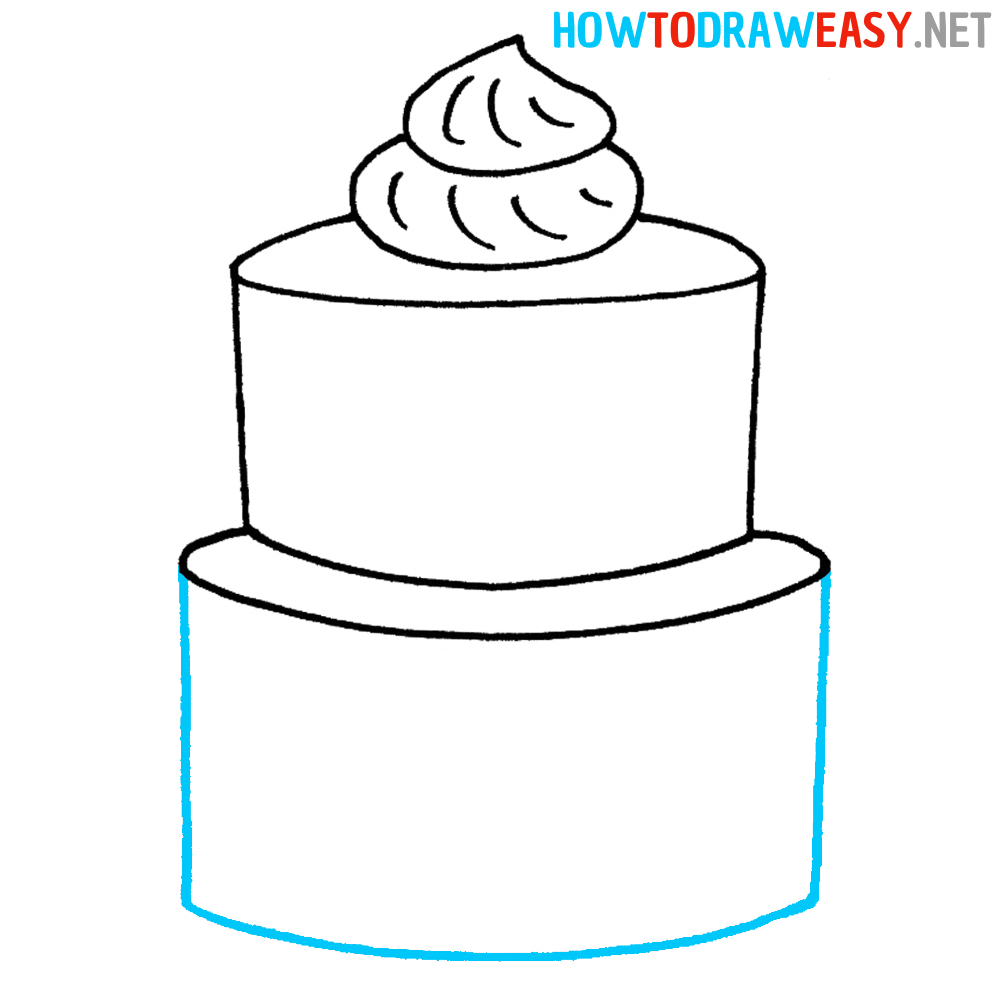
- Draw the second tier.
Now, you need to draw the second and larger tier of your cake. Start with drawing the side walls of the cake, then add the bottom line.
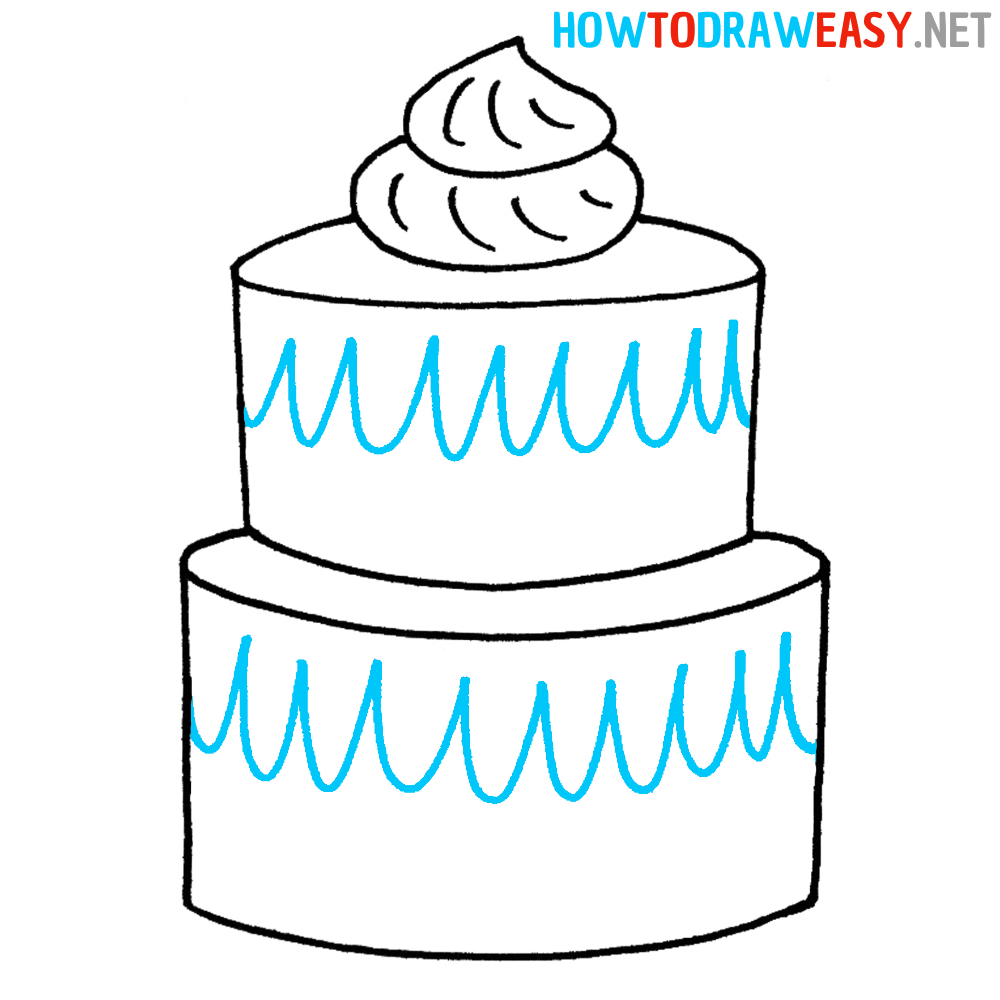
- Draw the cake decoration.
Use wavy lines to draw the icing surface of the cake.
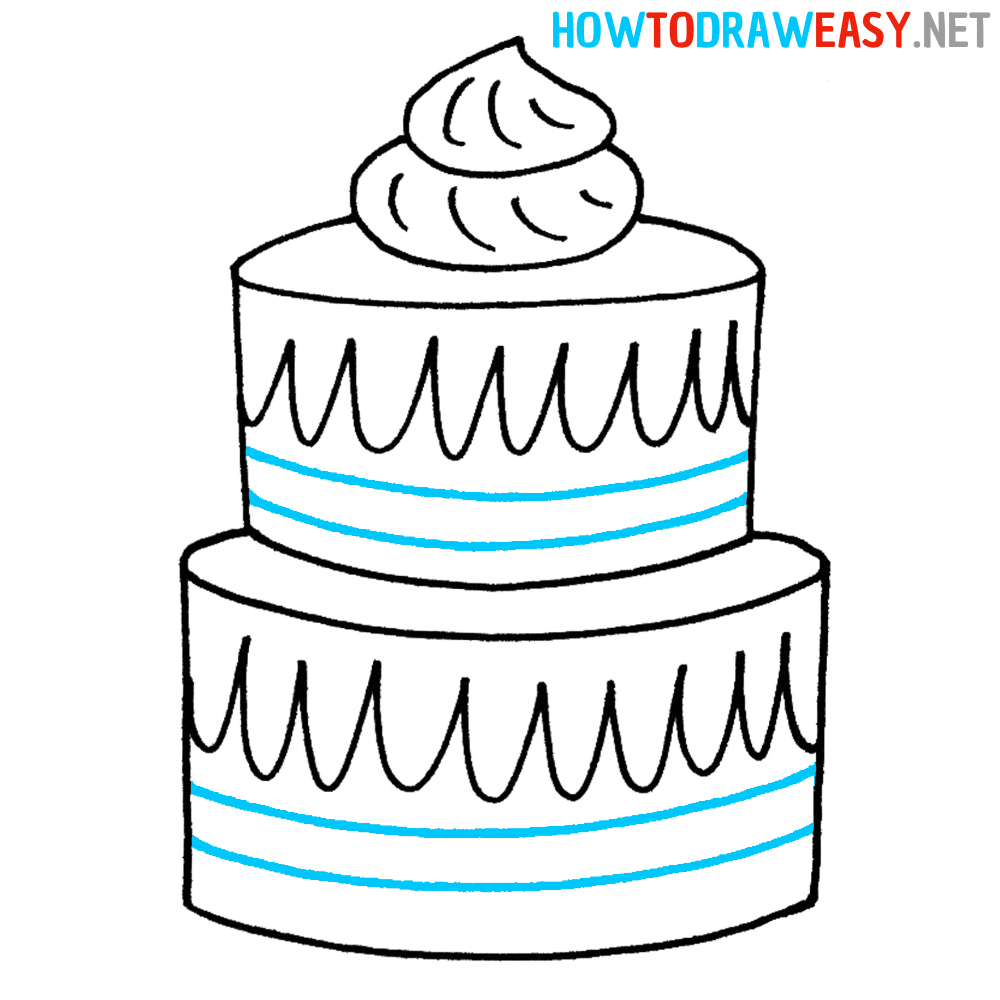
- Add ribbons to the cake.
Draw the frosted ribbons on the cake using curved lines, as shown in the example.
- Color the cake.
Take your favorite coloring tools and add colors to your cake drawing. You can color your cake in any colors you prefer. You can make it chocolate-colored, pink, lime, or any other color you like.
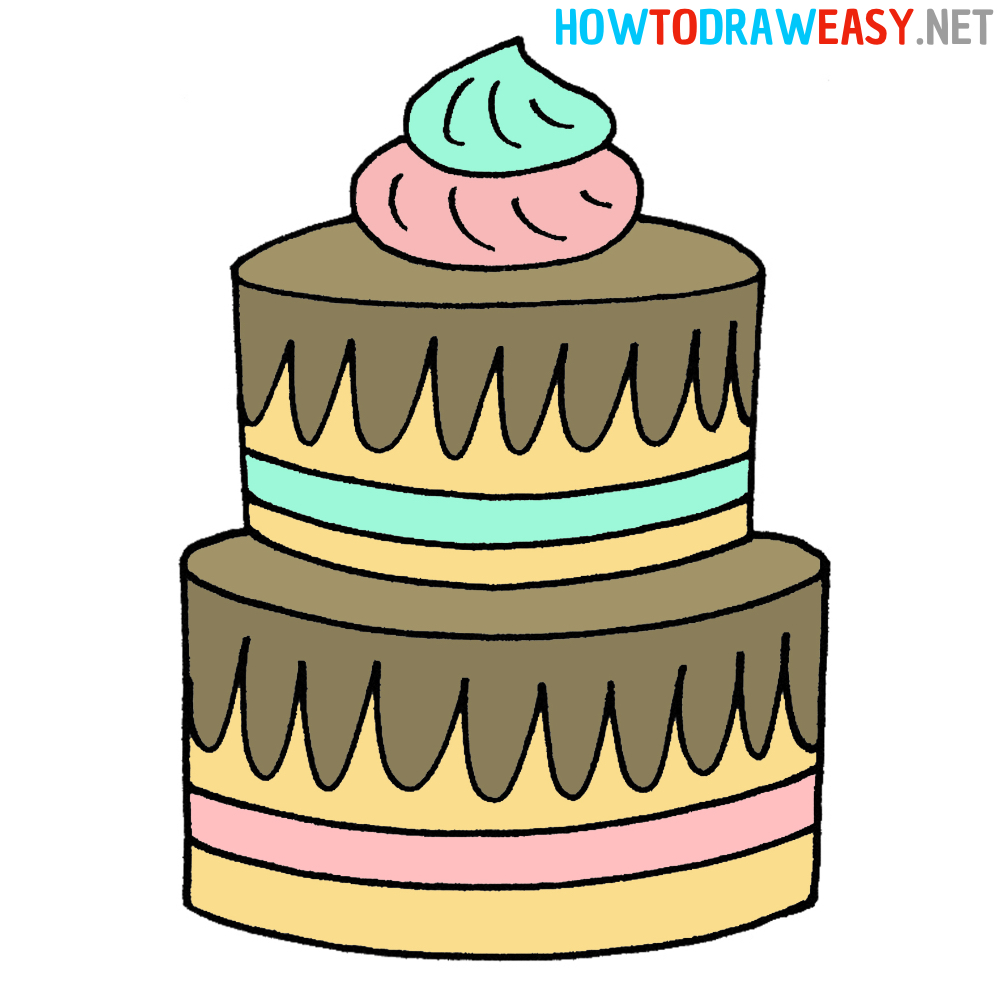


Congratulations! You have successfully completed the cake drawing lesson. Your artwork looks delightful and appetizing. I am confident that you did a brilliant job with this task!
Thank you for joining this lesson, and I hope to see you again in our other step-by-step drawing lessons. Good luck with your artistry, and keep enjoying the process of drawing!