
How to Draw Bread for Kids
Use this drawing lesson for kids to learn how to draw bread step by step. Scroll down below to see the collage and steps with detailed instructions.


In this elementary drawing guide, you will learn how to draw bread for kids. At first glance, bread is the most common that we can find on the dinner table of almost every family. It is a familiar and indispensable food for many people around the world. But what if you try to draw it?
We have presented the easiest and most affordable way to draw bread for a novice artist, and you are unlikely to encounter difficulties while drawing bread using this tutorial. And besides, after completing this lesson, you can try and learn something new for yourself and try to draw other drawings, which are presented with step-by-step instructions on our website.
But this instruction is also very important in order to learn how to make objects more voluminous, i.e., add width, length, and height to them. This will make your drawing look complex, realistic, and interesting.
Time needed: 45 minutes
How to Draw Bread for Kids
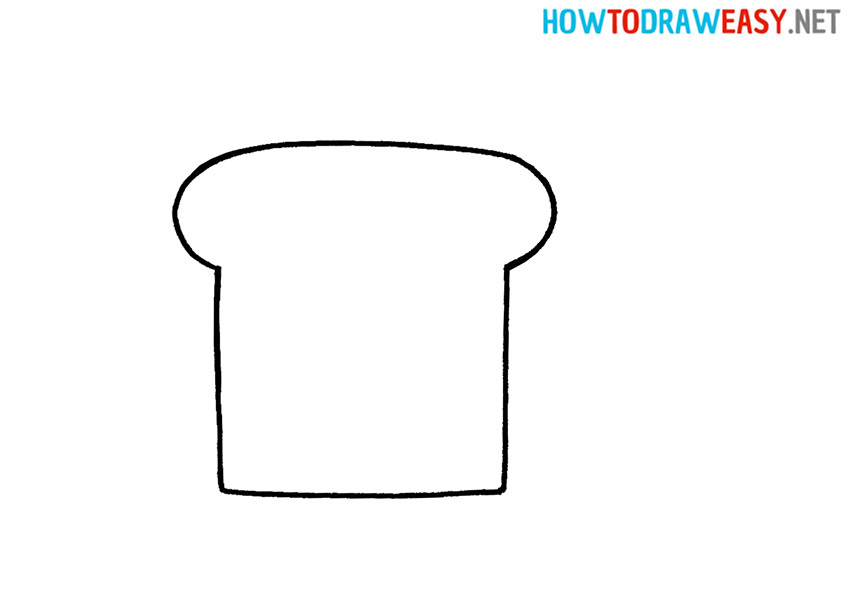
- Draw the front.
Draw the front of the bread on a piece of paper. In shape, it should resemble a mushroom with a large stem, or just a slice of classic toast bread.
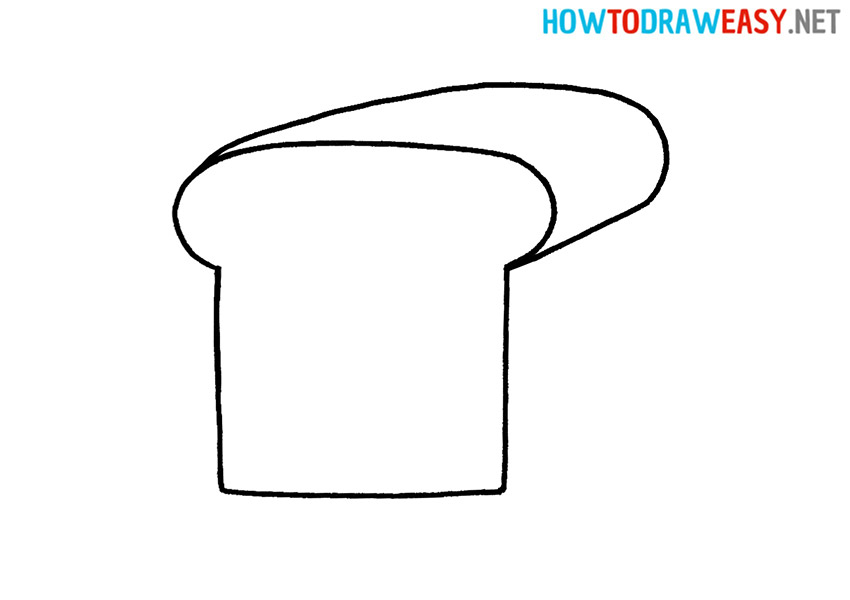
- Object dimension and top
To prevent our bread from appearing flat, we need to draw its dimension. To do this, extend the top.
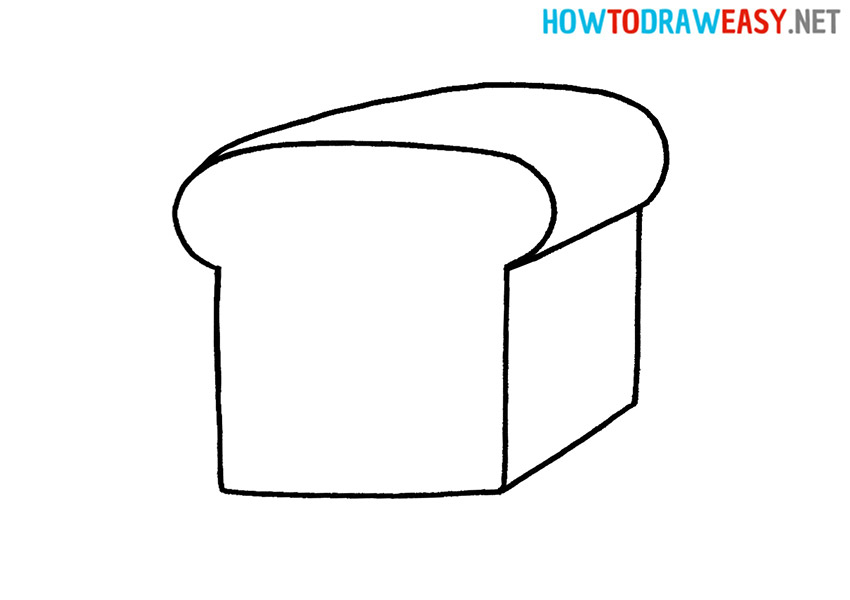
- Connects the top to the base.
To do this, draw the right angle. The shape of the back of the bread should resemble a square.
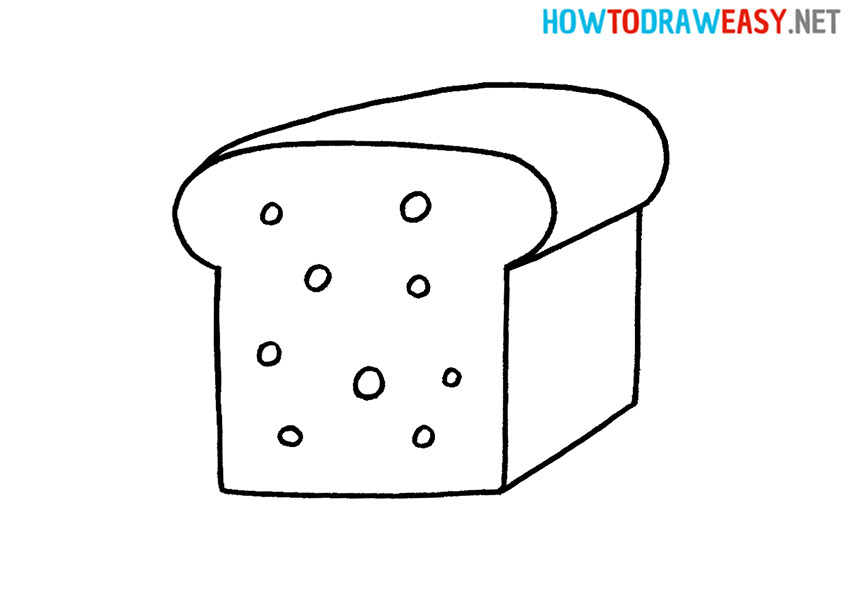
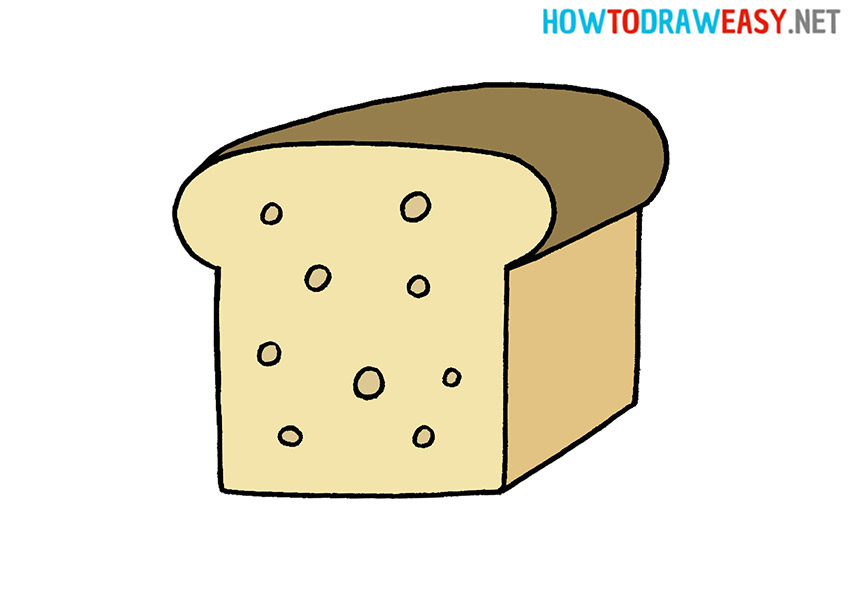
- Texture the bread.
To make our bread look more realistic, we will draw a mug on its front part. This will add a bubbly bread texture to it. Note that all circles should be of different shapes and at different distances from each other.
- Color the drawing of the bread.
Erase all unnecessary lines from the bread drawing and trace with a marker or ink. You can repeat colors as in our example, or use different colors.


Finish! If you have gone through all the stages and reached the end, then you have succeeded! We hope you enjoyed our tutorial on how to draw bread step by step, because we are very happy when we help you draw what you need!
You can share our artwork with your friends on social networks and see our other lessons. We are waiting for you again on our website!