
How to Draw a Braid
In this easy step-by-step drawing tutorial, you will learn how to draw a braid. This is a simple drawing lesson suitable for beginners and kids. Below, you will see a collage and detailed instructions for drawing.


Welcome to the braided hair drawing lesson! Braids are magical hair elements that captivate with their elegance and beauty. But did you know that you can create a beautiful braid on paper too? Learn how to draw a braid step by step with our easy drawing lesson.
But where do we begin? Let’s start with the basics—simple lines and shapes. In our lesson, we will gradually build up the details, add dimension, and create the illusion of a real braid. You will be amazed at how simple and accessible this task can be when you have a reliable guide like us showing you the way.
Weave your magical braid on paper, enhancing your creative skills and bringing your ideas to life. Allow your imagination to flourish and add uniqueness to your drawing. Don’t be afraid to experiment with different embellishments for your braid. This lesson provides you with a foundation on which you can recreate braids in any style and with various elements.
We invite you to dive into this captivating lesson and enjoy the process of creating a beautiful braid. You will be pleasantly surprised at how easily you can bring your ideas to fruition on the canvas. Are you ready to begin? Immerse yourself in the world of beauty and creativity with this simple and comprehensible braided hair drawing lesson!
Time needed: 20 minutes
How to Draw a Braid Step by Step
- Start drawing.
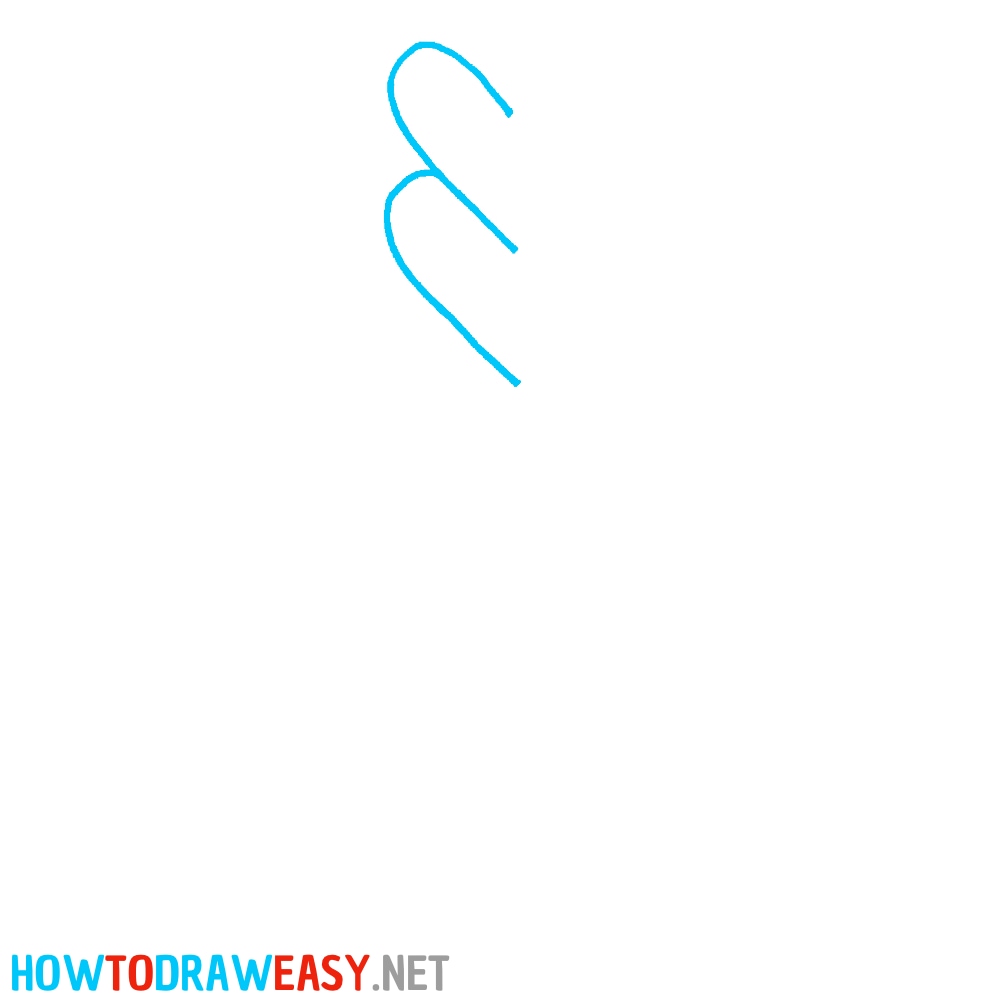
Begin shaping the braid from the upper left section. Using the example from the step, draw the first two shapes for the top section of the braid. Use two curly lines as shown.
- Draw the second part.
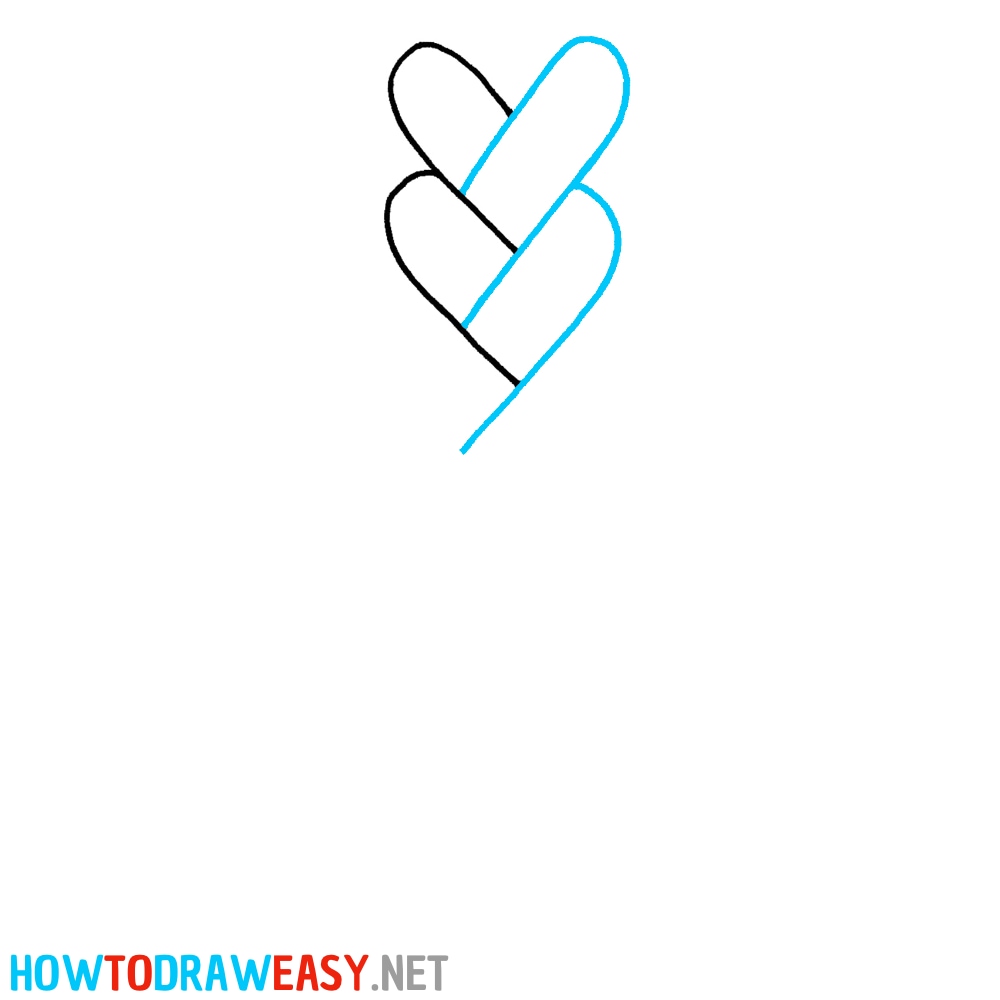
Now, you need to depict the second half of the top section of the braid.
- Add the next sections.
Outline the left side of the bottom section of the braid as shown. Use rounded shapes followed by straight lines.

- Add the half.
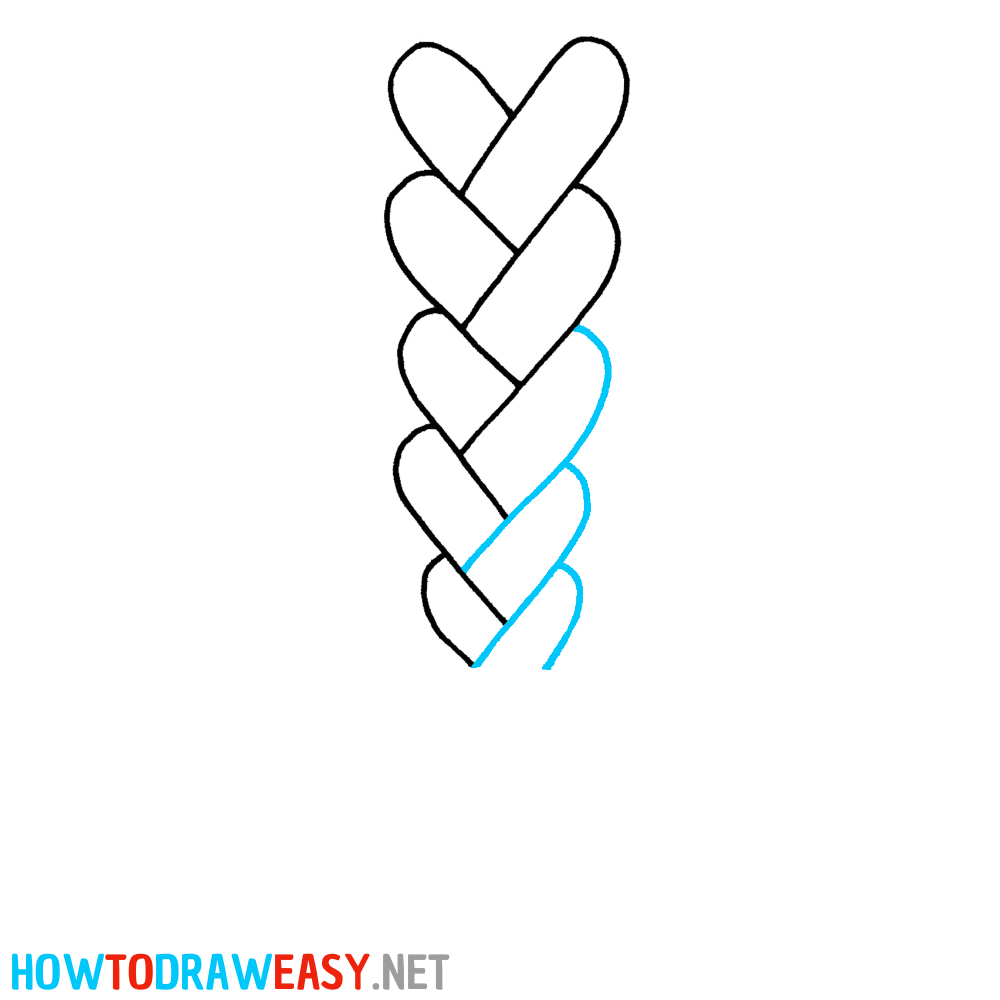
Now, you need to draw the second half of the bottom section of your braid. Draw these three sections as shown in the example.
- Texture the hair.
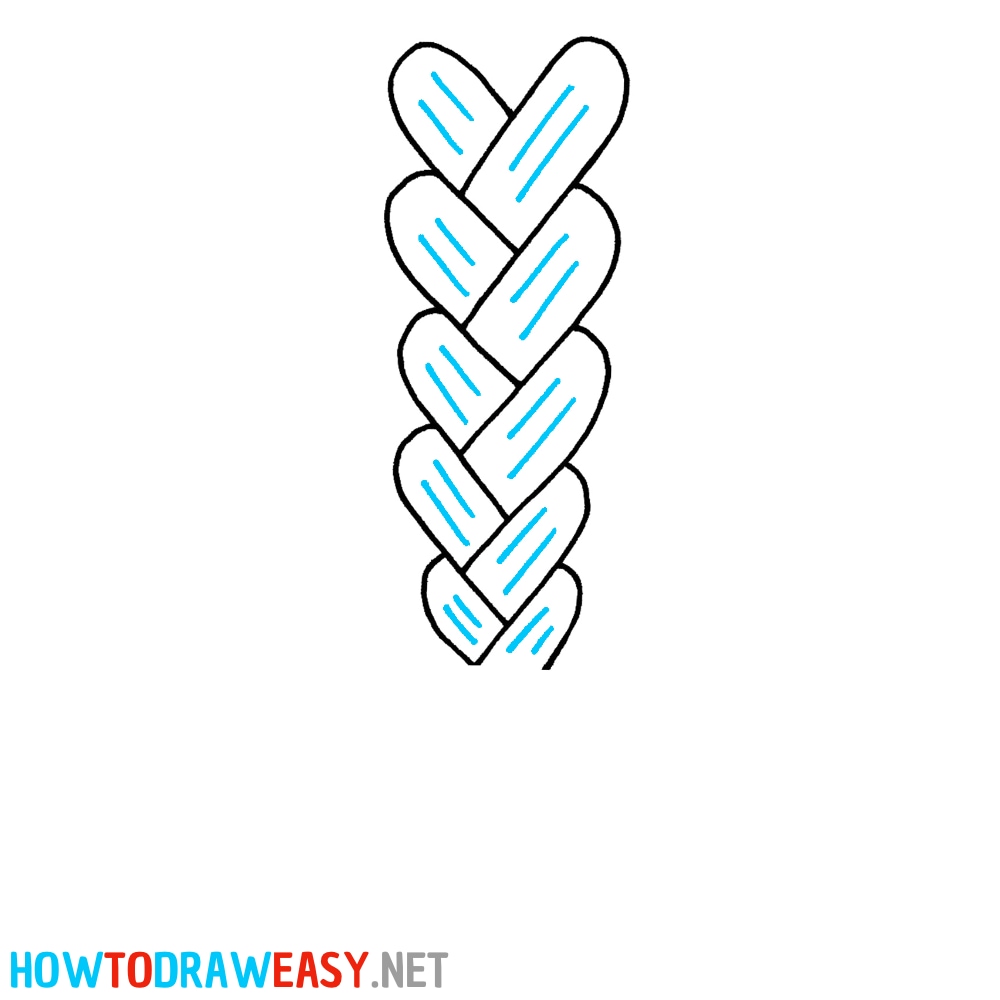
To add texture to the hair in your braid, use simple short straight lines.
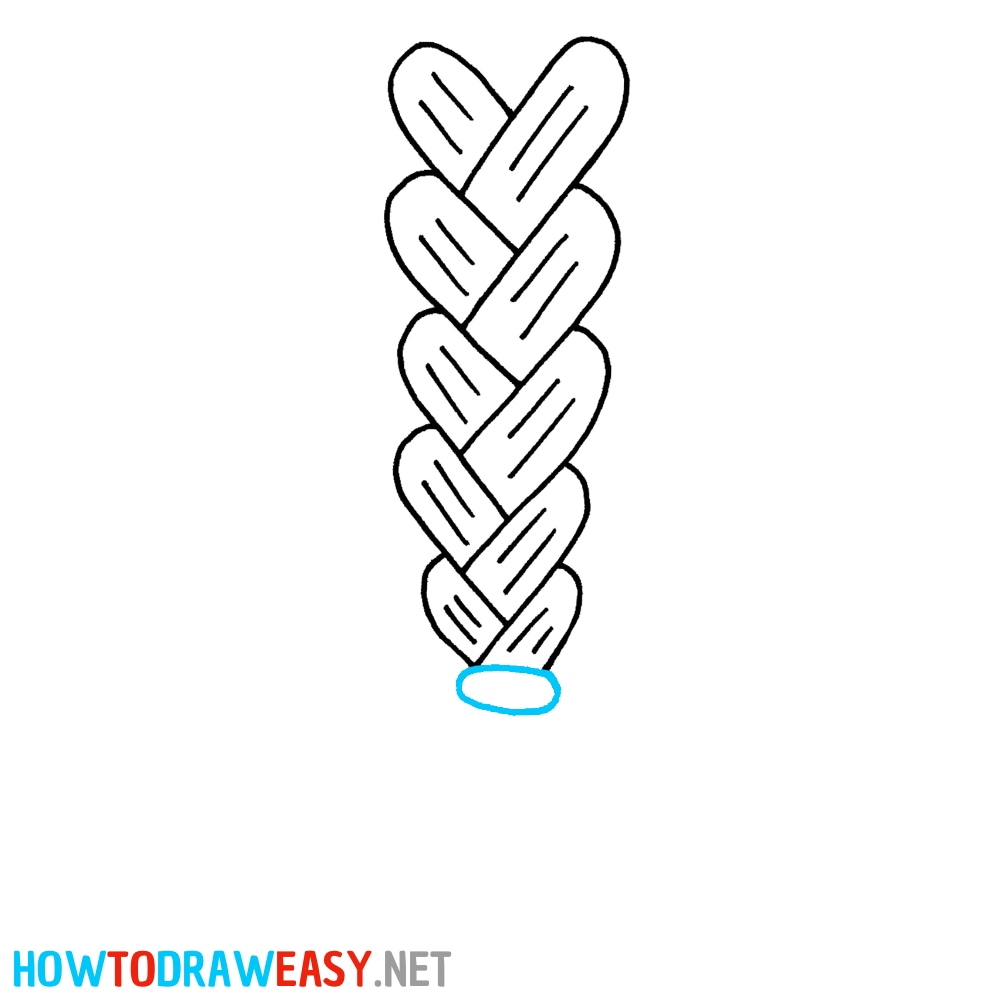
- Draw the hair tie.
At the bottom of the hair, depict the oval-shaped hair tie used to secure the hair.
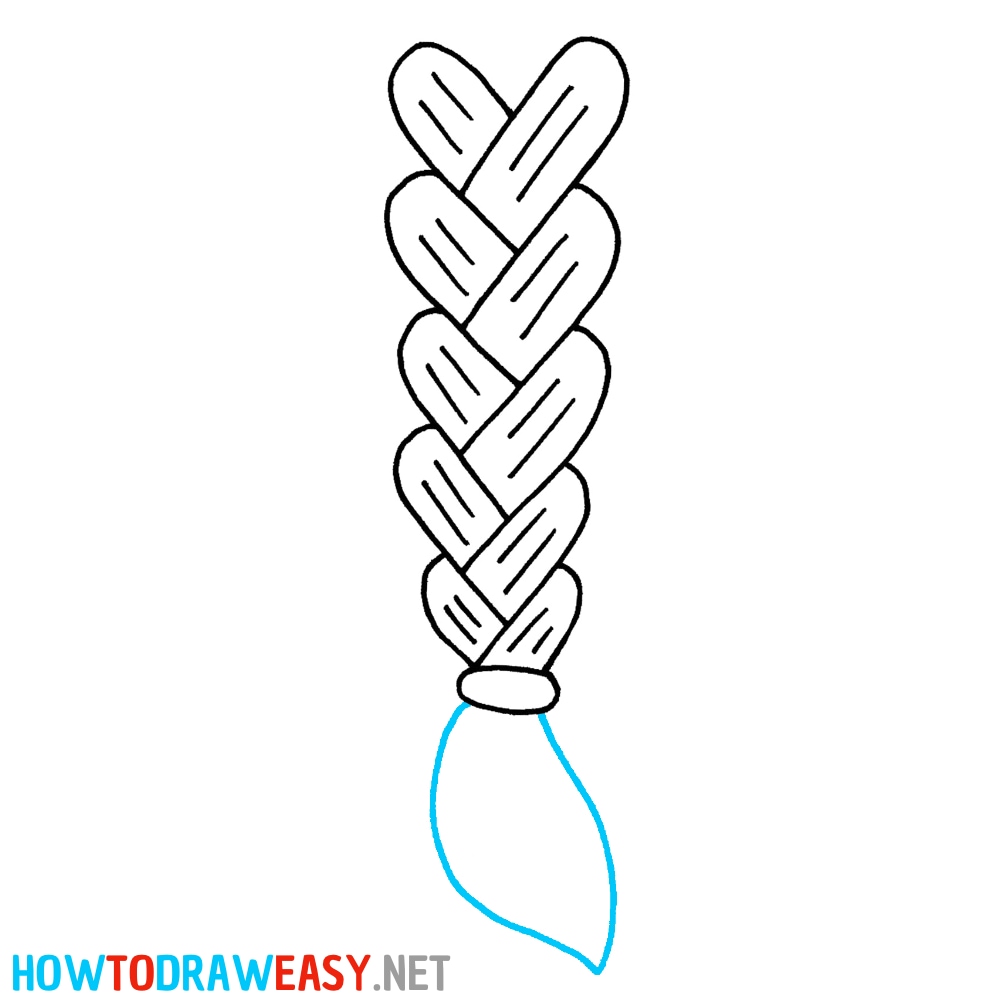
- Draw the hair tail.
Just below the hair tie, you need to draw the tail.
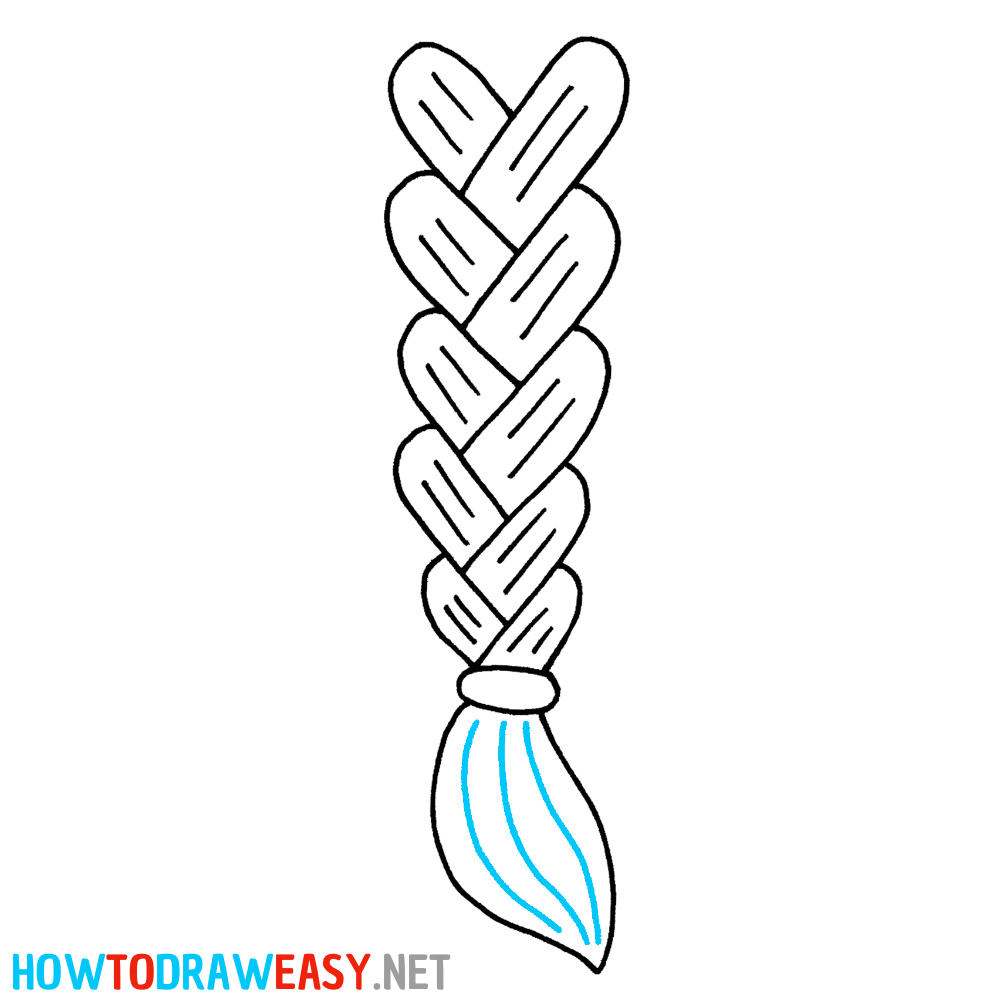
- Add the texture.
Use a few curved lines to draw the texture of the hair on the tail.
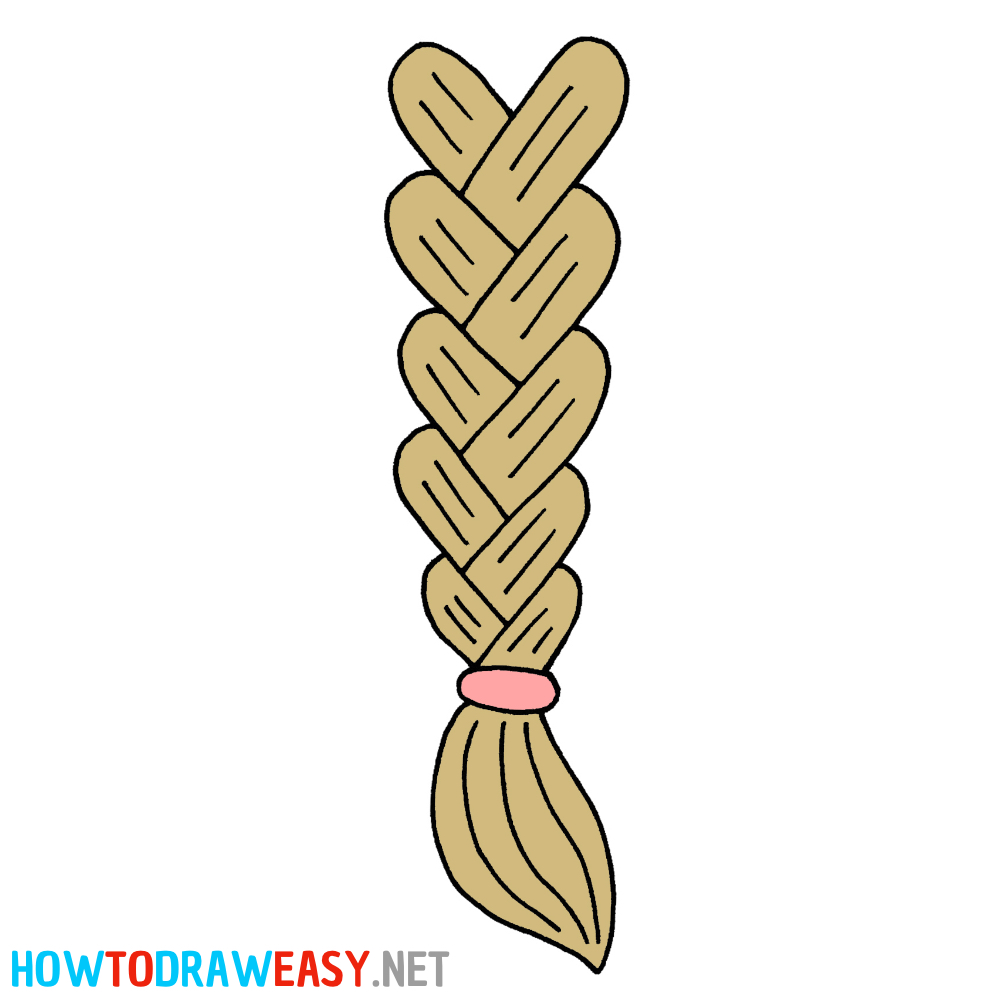
- Color your drawing.
Trace the outline of the sketch using a marker, then color your drawing.


We’re glad you joined our lesson. We hope this lesson has inspired you to reach new creative heights and unlocked new possibilities for your art. Furthermore, we look forward to seeing you in our other drawing lessons. Keep drawing with inspiration and joy!