
How to Draw a Bow and Arrow for Kids
Learn how to draw a bow and arrow for kids step by step with this easy drawing tutorial for all. Scroll down below for a step-by-step collage and drawing instructions.
Hello everyone! In this tutorial, you will learn how to draw a bow and arrow for kids. From ancient times to the end of the Middle Ages, bows were the main throwing weapons. Until the Middle Ages, the bow and arrow were the most popular weapons, especially for hunting. Nowadays, bow and arrow are used in the main sport. The drawing has an average level of difficulty, but if you follow the step-by-step instructions and a detailed description, then an arrow and a bow are easy to draw.
Time needed: 20 minutes
How to Draw a Bow and Arrow for Kids
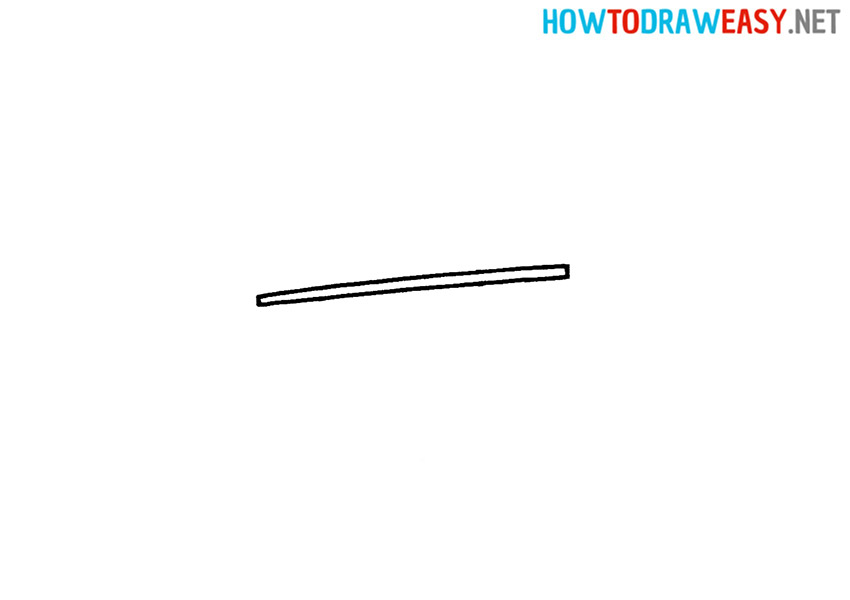
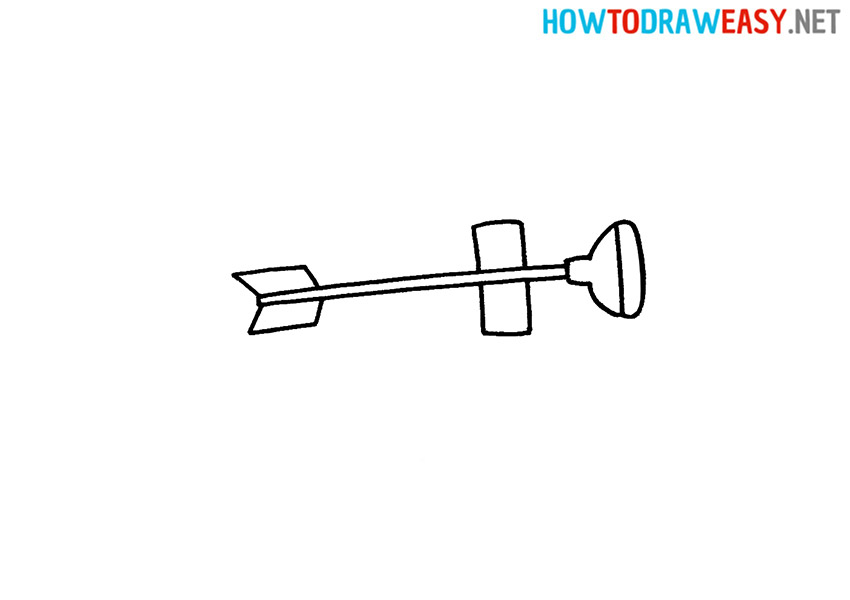
- Draw the base of the arrow.
First, you need to draw the outline of the arrow in the form of a narrow, slightly tilted rectangle.
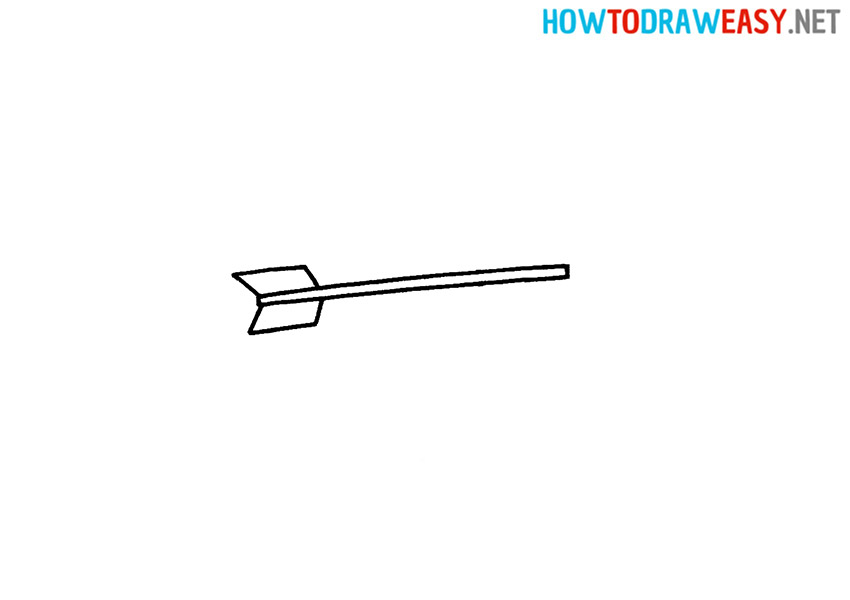
- Draw the feathers.
To do this, at the end of the rectangle draw it on both sides with parallelograms.
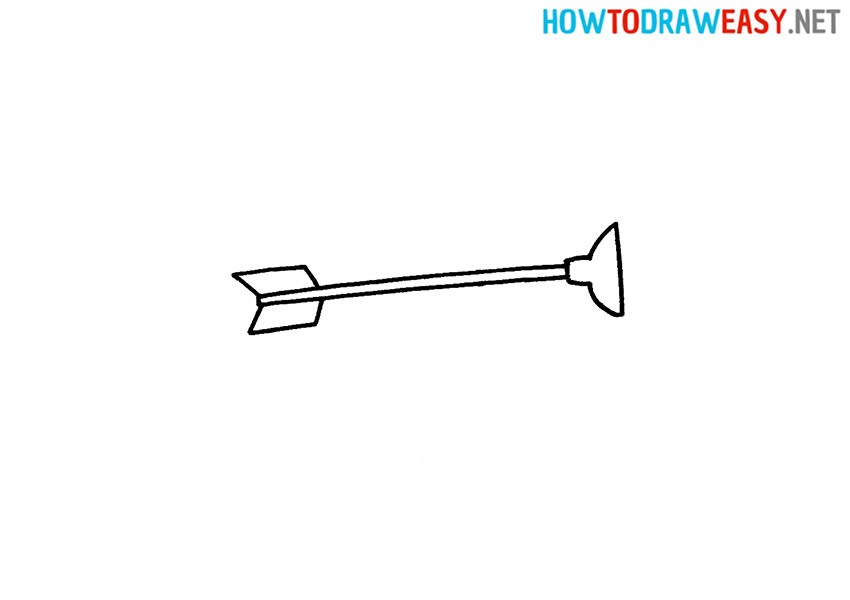
- Start drawing the tip.
In our drawing, the tip will not be sharp, but in the form of a plunger. On the opposite side, start drawing the tip of the arrow.
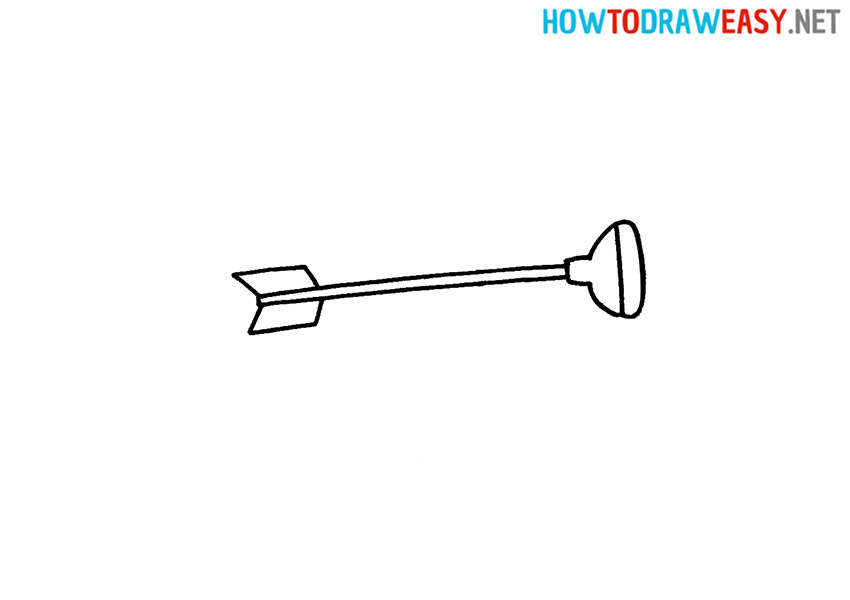
- Finish drawing the tip.
To do this, draw a semi-oval shape at the end of the arrow.
- Draw a arrow shelf.
Then draw a rectangle in the background, towards the end of the arrow.
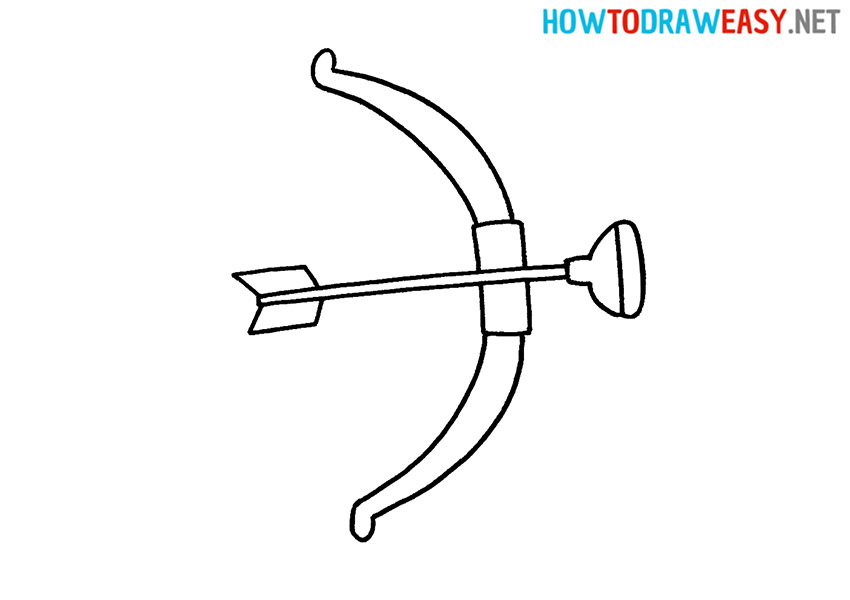
- Draw the upper limb.
To do this, add two curved shapes on either side of the previously drawn rectangle, as shown in the instructions.
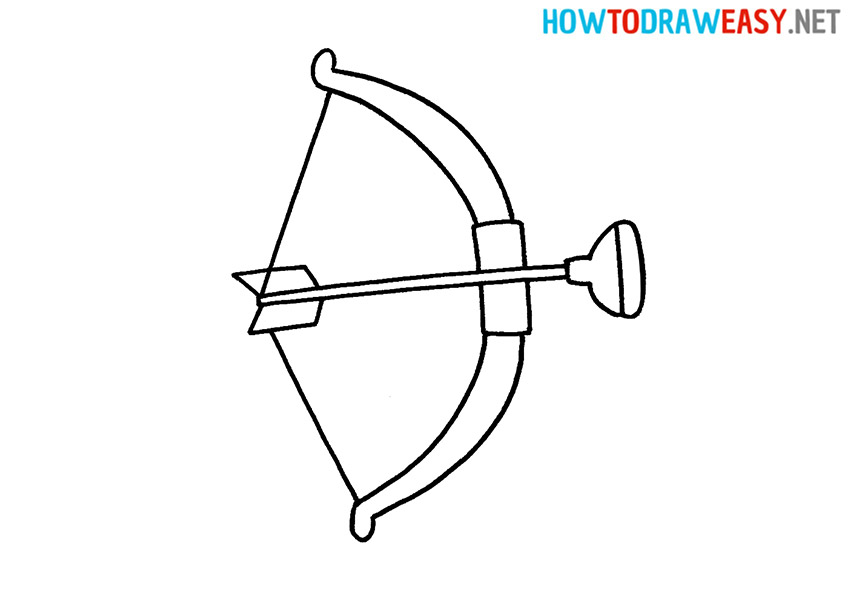
- Draw a bowstring.
Draw lines from the two edges of the bow that meet at the tip of the arrow.
- Color the drawing.
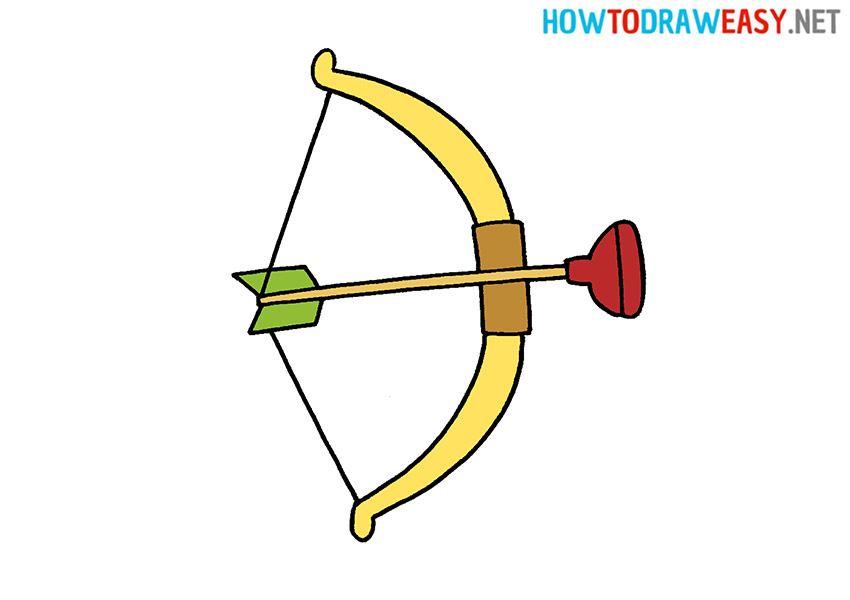

We hope that this was a useful and informative lesson for you. Be sure to show your new drawing to friends and family. We also recommend that you familiarize yourself with other drawing lessons for kids.