
How to Draw a Bottle for Kids
Would you like to draw a bottle? In this lesson you will learn how to draw a bottle very easy for kids and beginners, and even for those who have never drawn before!


In this step-by-step guide, you will learn how to draw a bottle for kids. According to historians, the first glass items were created in Ancient Egypt. These were vials and bottles that were meant for liquids, incense, and face paints. The bottles were made in various shapes, round, oval, tall, and small. The bottles were made in animal and human forms.
Egyptian craftsmen made bottles from heated glass; for this, the softened glass was wound on a metal rod. The Egyptians first polished the resulting glass material, and then added details and decor. The production of glassware moved to a new level when the glass blowing tube was invented in Babylon in the 1st century BC. Already after many years, furnaces were invented in which glass was made using more advanced technologies, which are more similar to the methods of modern production. We hope these were useful facts for you. Enjoy drawing!
Time needed: 25 minutes
How to Draw a Bottle for Kids
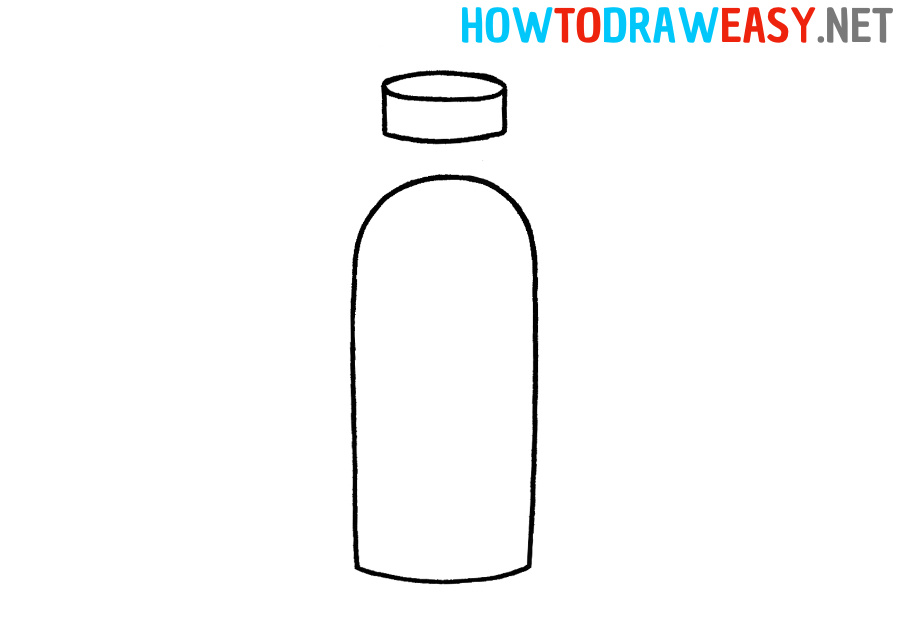
- Shape the body.
Start by drawing the general body of the bottle.

- Draw the ring of the bottle.
Now draw the bottle ring in the same way as shown. Try to draw it symmetrically to the body of the bottle.

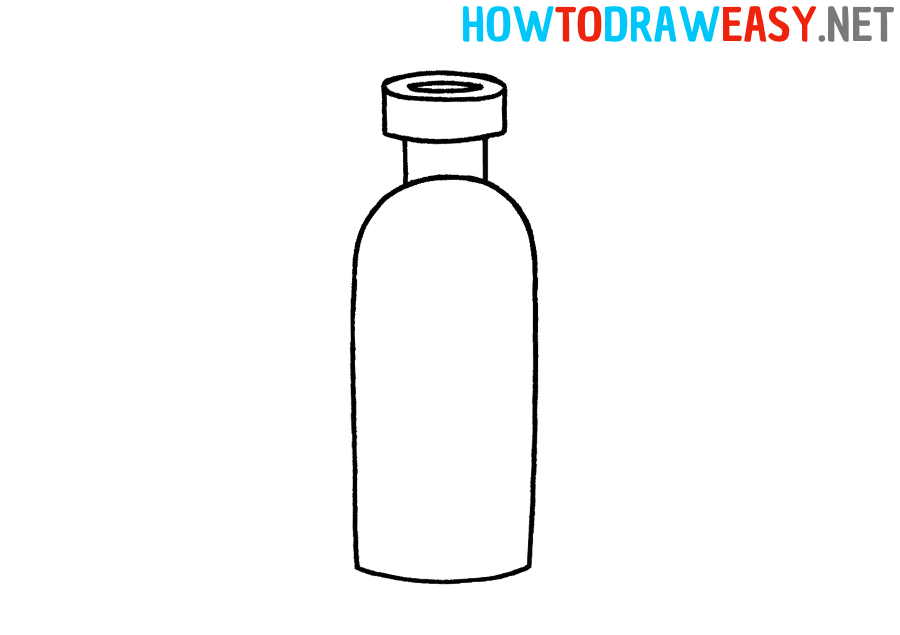
- Add the finish.
Now draw the finish of the bottle by adding two parallel lines under the bottle ring, then connecting them with a curved line.
- Draw the neck.
Now you need to draw the neck of the bottle, which is drawn using two parallel lines that connect the finish of the bottle to the body of the bottle. And also draw the orifice of the bottle.
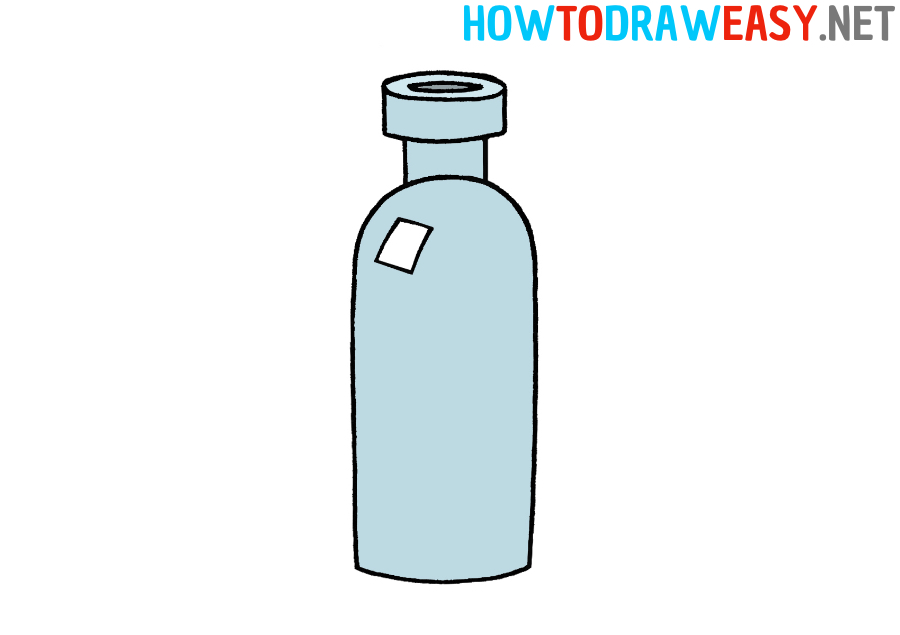
- Add details.
Draw a glitter on the bottle in the same way as shown in the example.

- Color the artwork.
Now you just have to color the glass bottle in the desired color, for example, in blue, gray, or purple.


If you have already drawn this bottle drawing, then we are very happy! We hope that with us, you will learn how to draw not only a bottle, but also various characters and animals.