
How to Draw a Boat
Looking for a drawing idea for a boat? In this easy drawing tutorial, you will learn how to draw a boat step by step.


Welcome to the wooden boat drawing lesson! Learn how to draw a boat step by step with our easy drawing tutorial. I hope you will enjoy every step of this lesson.
In this lesson, we will master the steps of creating a picturesque depiction of a wooden boat. We will explore the shape and proportions of the boat, learn about the curves and elements that make it recognizable and appealing. Don’t be afraid to experiment with different techniques and materials to convey the characteristics of wooden texture. Use soft and delicate lines to highlight the details and create a sense of volume.
Get your pencils, markers, or brushes ready and let’s dive into the atmosphere of creating a realistic and beautiful drawing of a wooden boat.
We are confident that this wooden boat drawing lesson will be an exciting journey and help you acquire new drawing skills. Good luck with your drawing!
Time needed: 20 minutes
How to Draw a Boat Step by Step
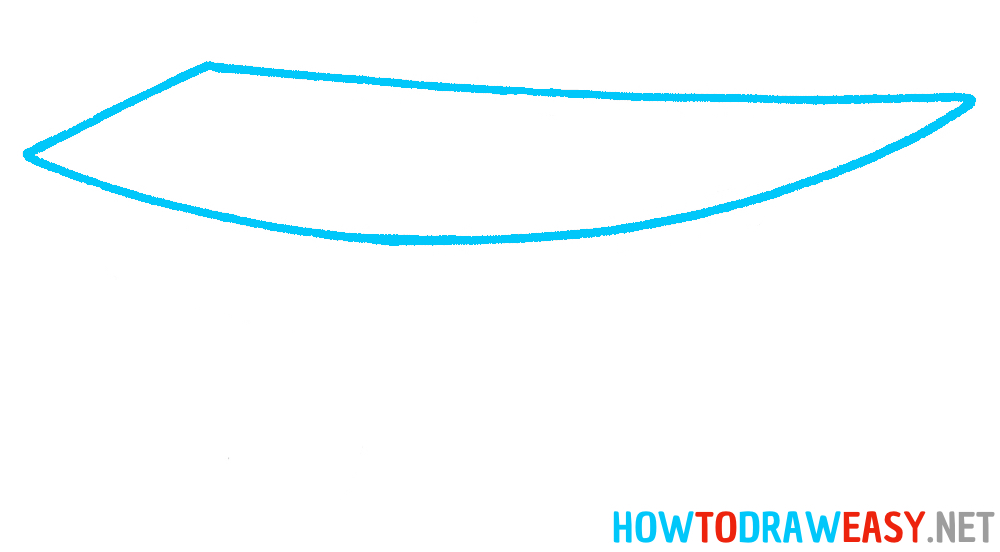
- Outline the top.
Begin by drawing the upper triangular shape of the boat. Use two curved lines and one straight line for this.
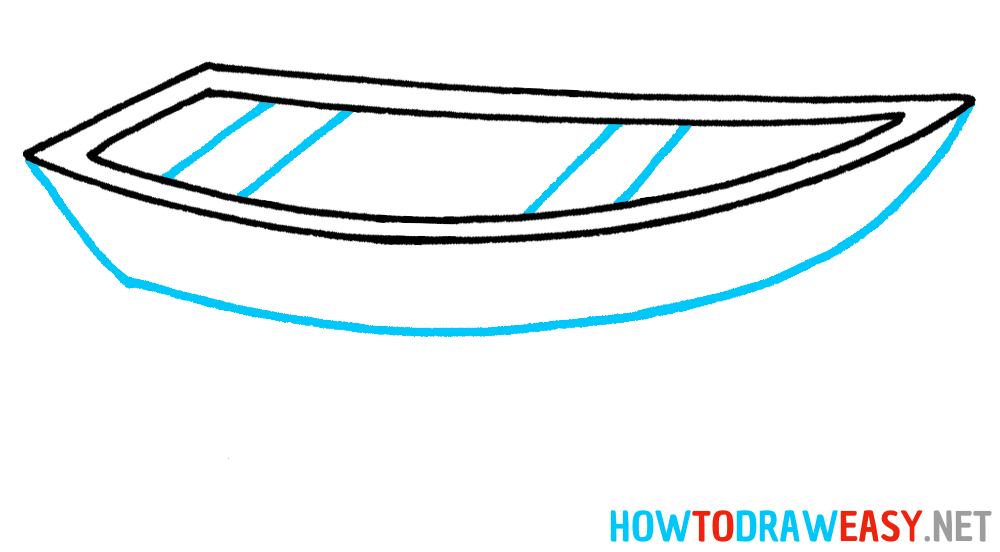
- Add the details.
Now draw the inner lines of the boat, detailing the sides.

- Draw the hull.
Outline the hull of your boat using curved lines, then use straight lines to depict the seats in the boat.
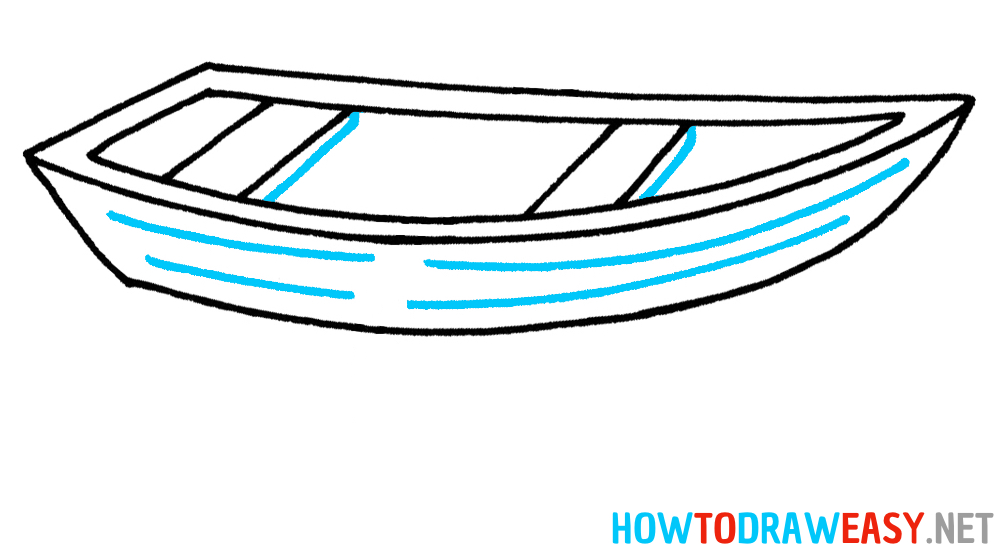
- Texture the boat.
Use several curved lines to draw the wood texture on the boat’s hull. Then, add depth to the boat’s seating using straight lines, as shown in the example.
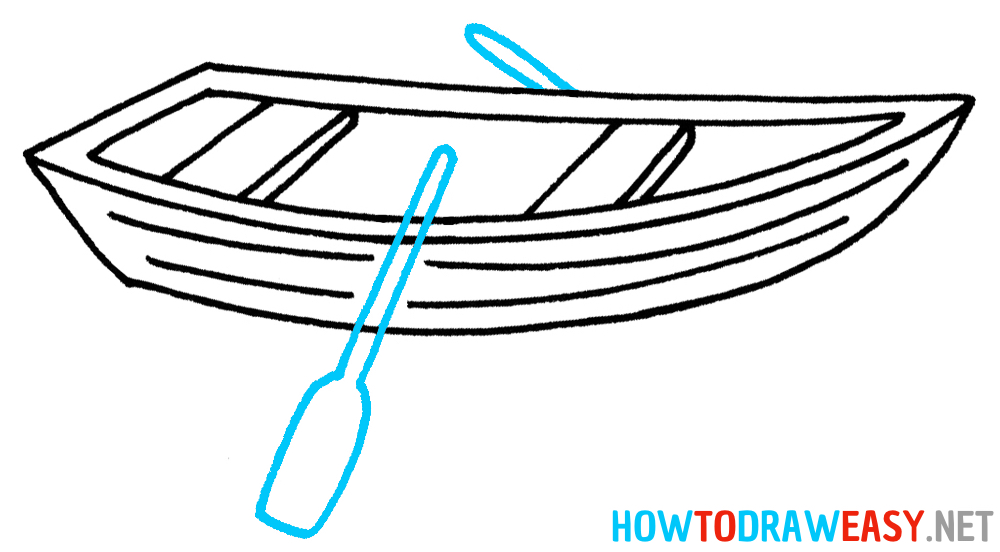
- Draw the oars.
Now, you need to depict two boat oars. Draw these boat details using the example from the step.
- Color the boat.
Take a marker and trace the outlines of your boat sketch for crisp. Then, take your coloring tools and add color to your drawing of the wooden boat.


We’re glad you joined this drawing lesson and completed drawing the boat! Now you have the foundations and skills to create beautiful boat illustrations. Don’t forget to experiment with details and textures to add realism and expressiveness to your artwork. Practice and continue to develop your art. We look forward to seeing you in our future step-by-step drawing lessons on our website.