
How to Draw a Bird Easy
Here you will learn how to draw a bird easily, even for beginners who are trying to draw for the first time. Scroll down the page to see the collage and step-by-step instructions.


Hi all! In this lesson, we will tell you how to draw a bird easy. As you know, one of the main features of a bird is its cover, consisting of feathers. The cover protects the bird from temperature extremes, which may be unsafe for it, and also plays an important role in flight. As a rule, the feather cover of a bird is quite thick, and it needs careful care.
Birds reportedly spend about 9% of their time cleaning their feathers each day. It is they who create the lifting force, and give the birds the opportunity to soar in the sky.
Drawing a bird is not as difficult as it might seem at first glance. Thanks to our step-by-step instructions, you will get a high-quality drawing. Let’s start!
Time needed: 20 minutes
How to Draw a Bird Easy
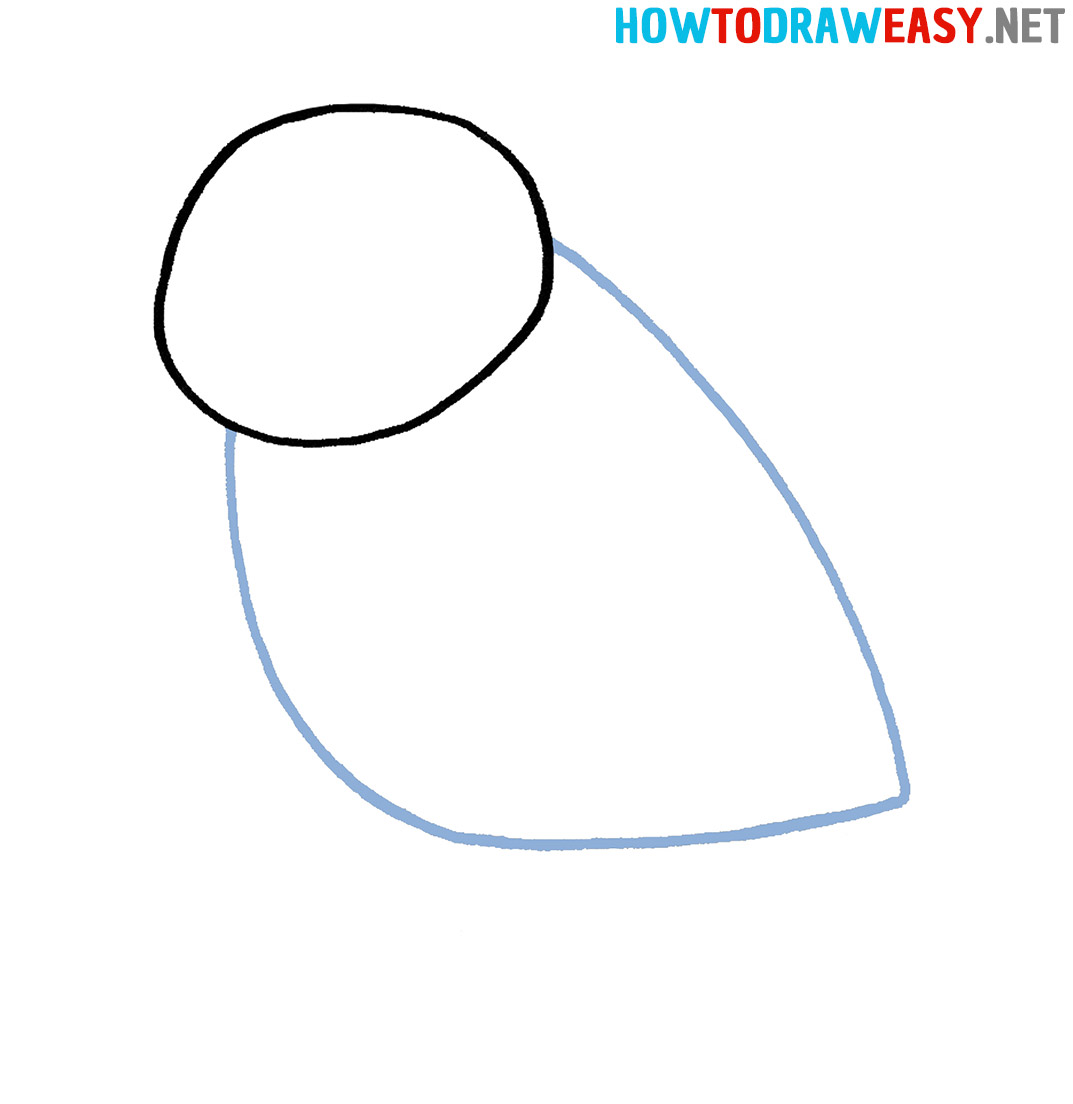
- Draw the head.
Draw an oval shape on a piece of paper.

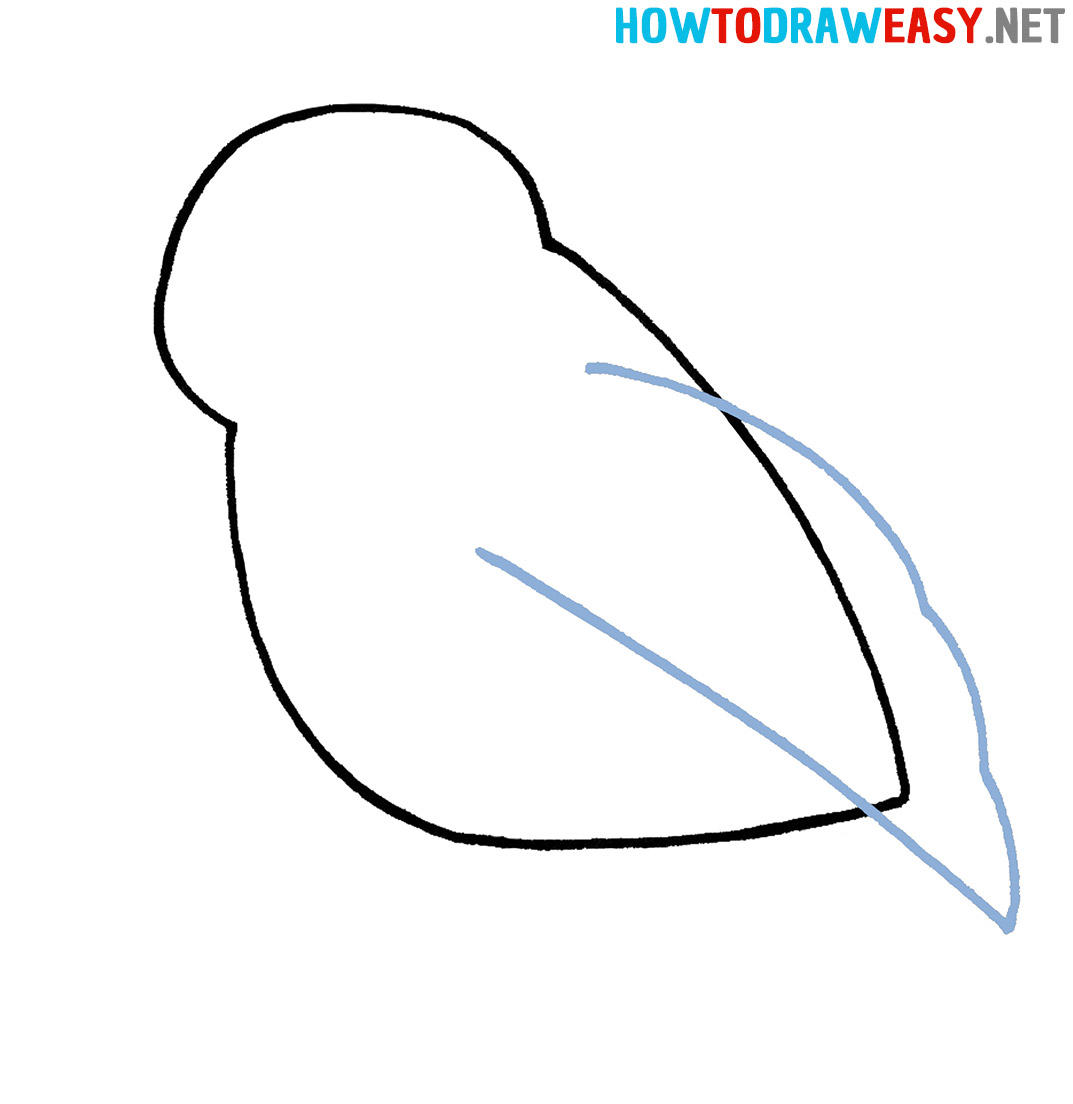
- Draw the body.
The bird’s body has a leaf-like shape. Draw two curved lines from the head downwards and tie them together, forming a pointed end.
- Draw the wing.
Now you can start creating the wing. Please note that one of the sides of the wing has a wavy line.
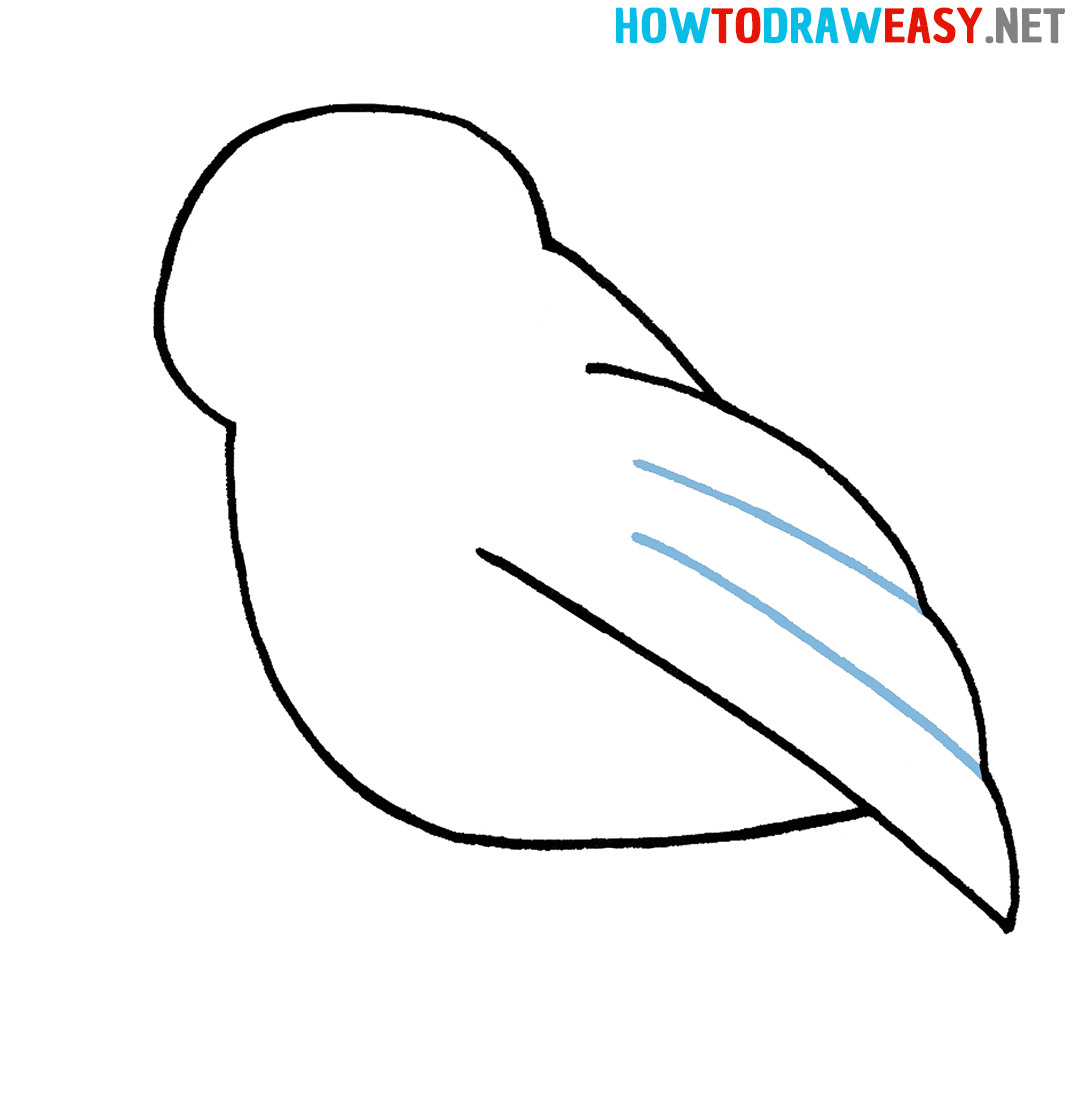
- Sketch the feathers.
On the wing itself, add two long lines delimiting the arcs, and thus get the plumage.
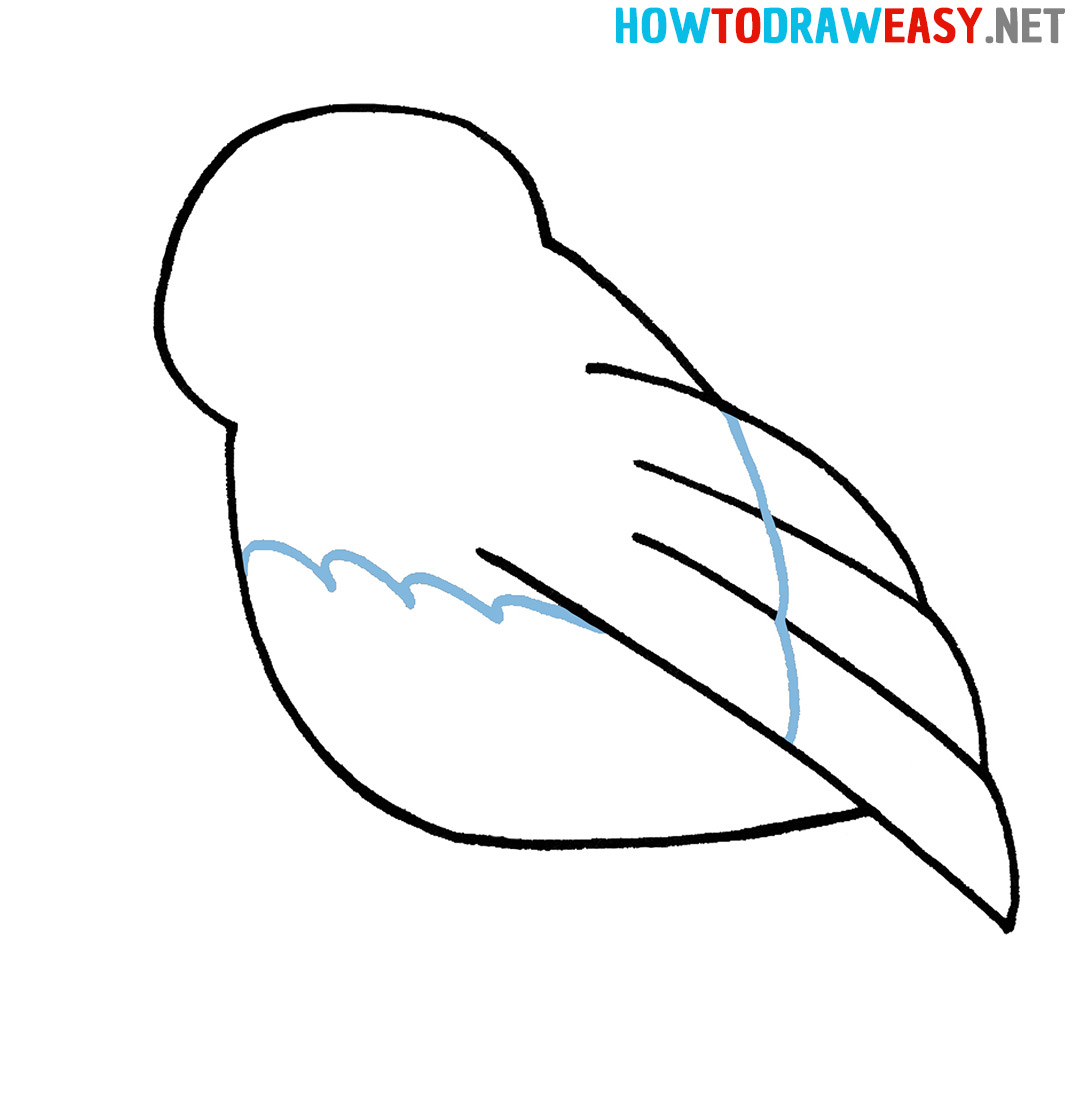
- Add more plumage.
Draw a curved vertical line in the middle of the wing. Then draw a horizontal wavy line on the bird’s chest.
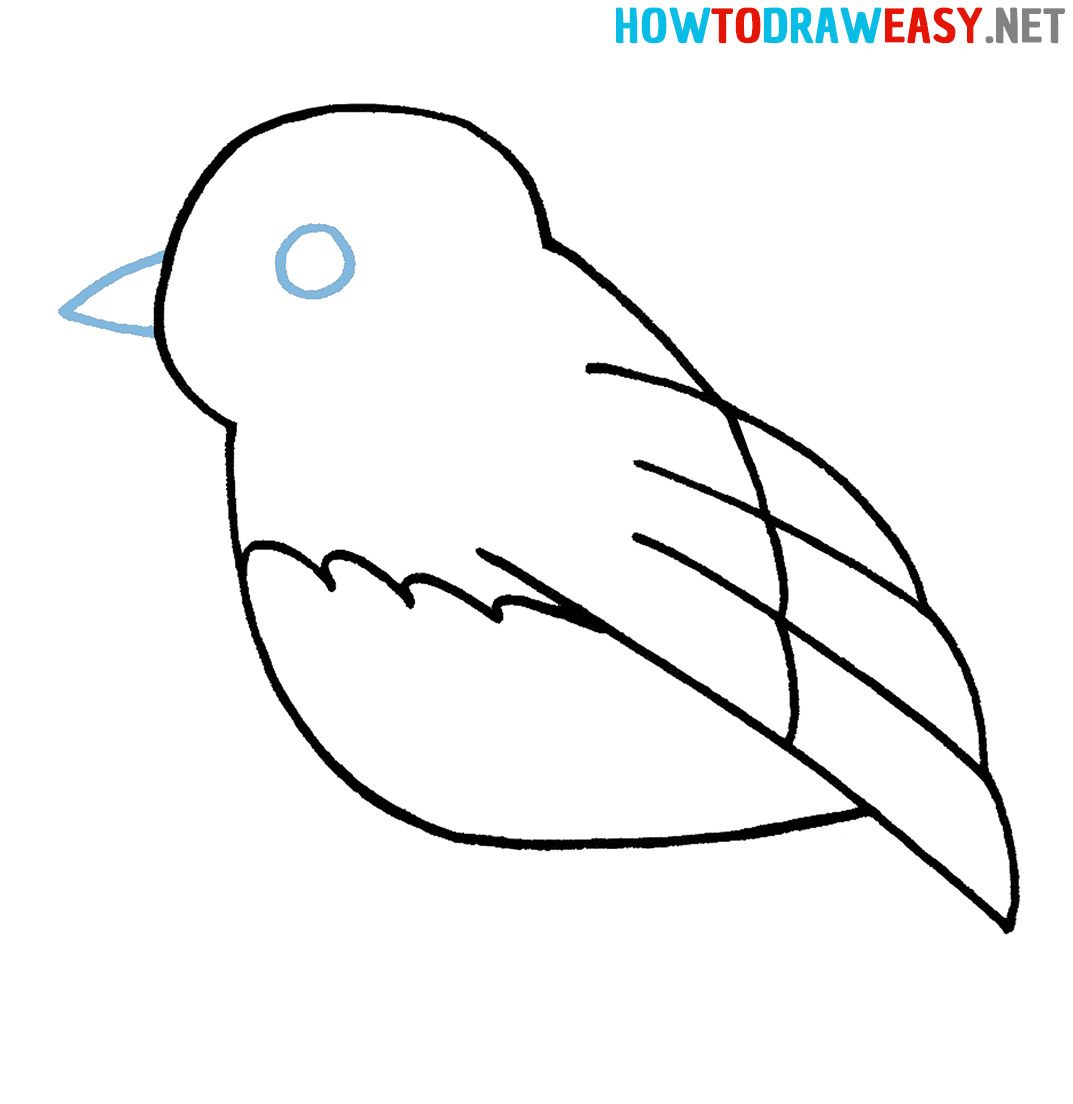
- Draw the eye and the beak.
In the middle of the head, draw a small circle for the eye. Then draw a beak on the left side of the head.
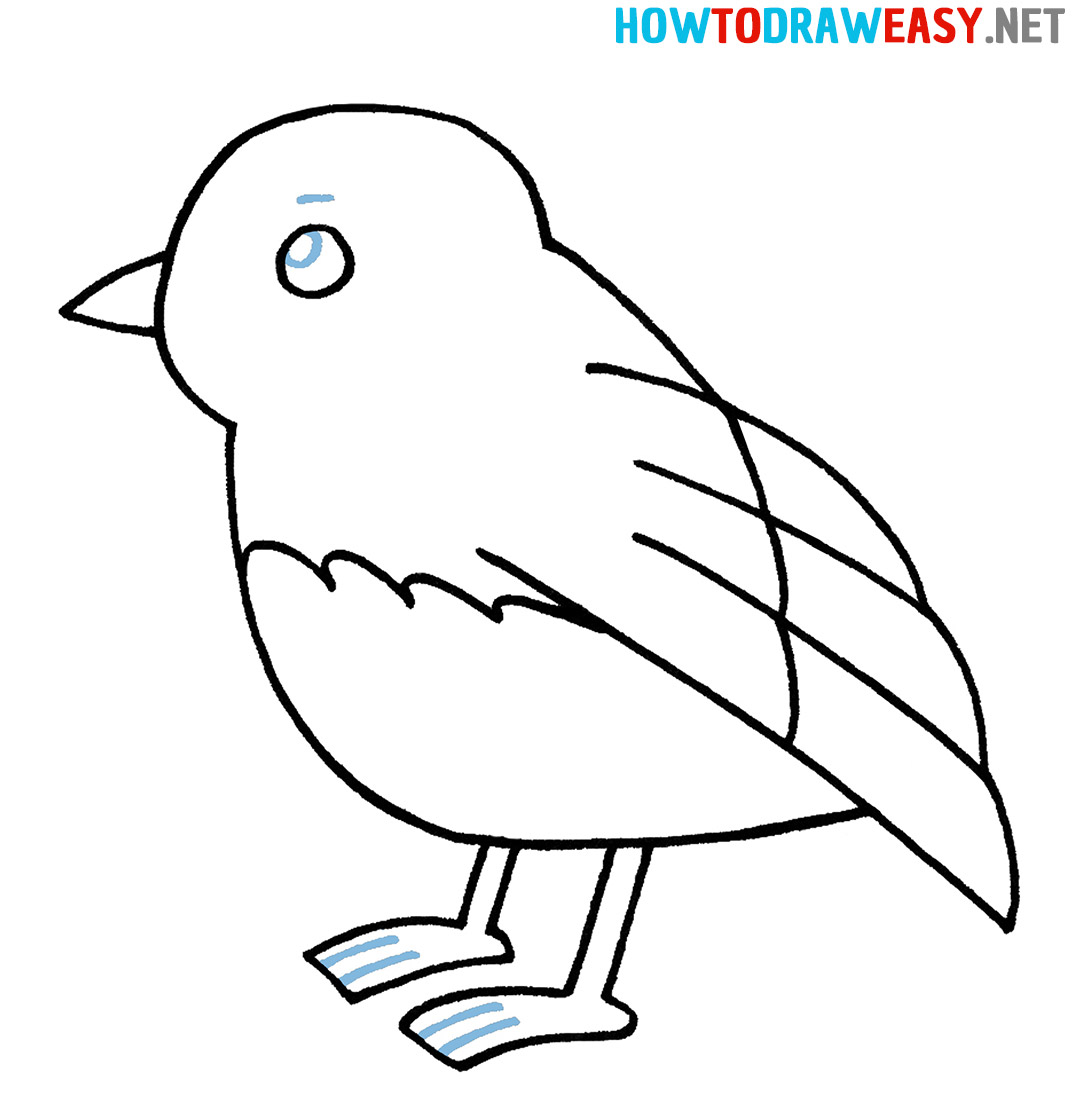
- Draw the legs.
In the lower part of the body, draw the legs as shown in the instructions.

- Detail the drawing of the bird.
At one of the final stages, it will be necessary to finish drawing the toes, pupils, and eyebrow.
- Color your drawing.
Birds come in all sorts of different colors, as you can see in the example how we shaded our small bird drawing. You can use the same colors or get creative and shade the bird in a different color.
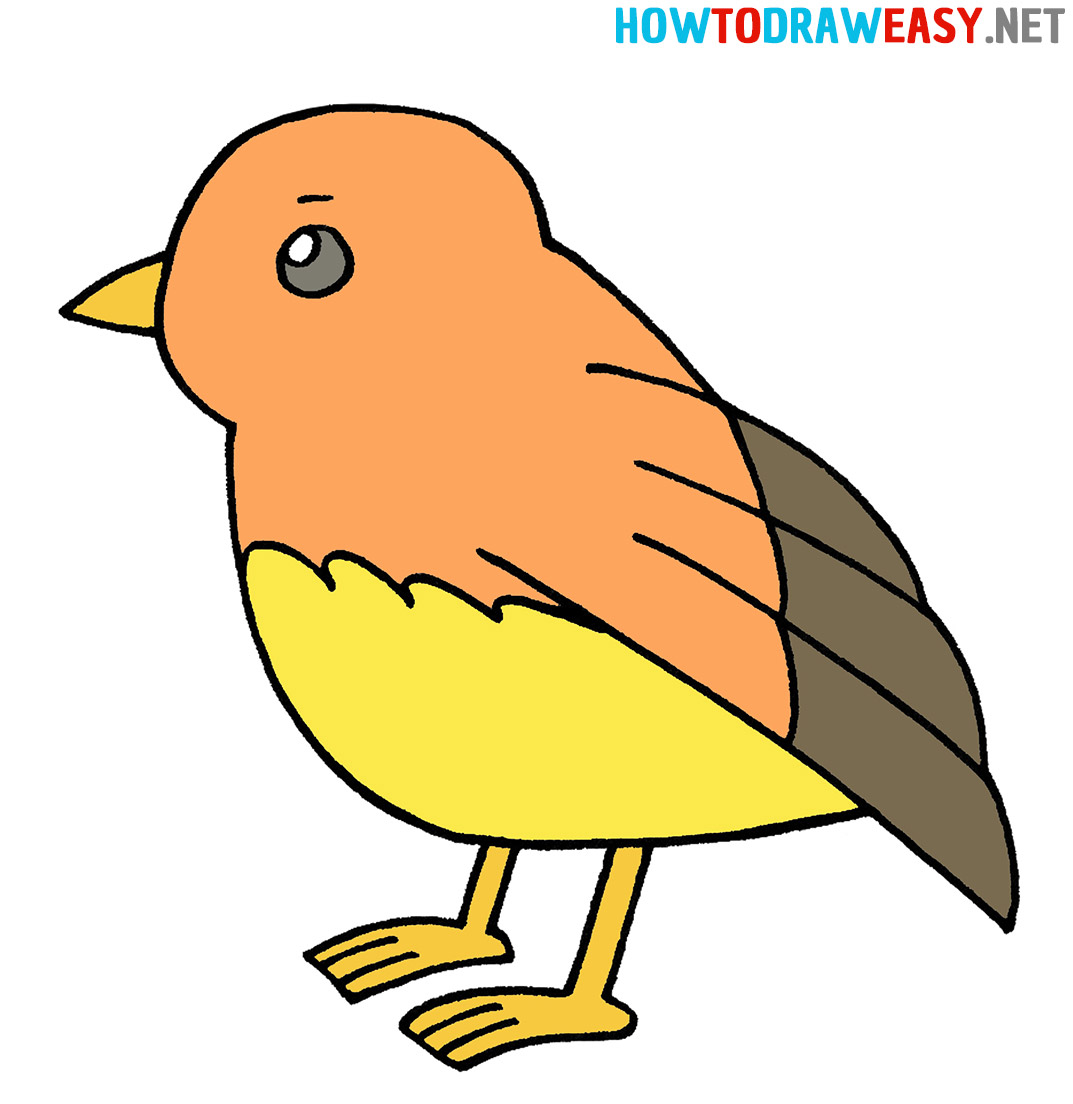


The drawing of a cute little bird is ready, and we hope that your drawing skills have only gotten better!