
How to Draw a Mummy for Kids
Want to draw a mummy and don’t know how? Here we will show you how to draw a mummy easily, even for kids. Find out by looking at our instructions below.


Hey! In this lesson, we will learn how to draw a mummy for kids. The mummy drawing tutorial is suitable for all fantasy and adventure young artists. At first glance, this may seem like a time-consuming task. But for the drawing to work, you need to follow 9 simple steps.
A mummy is the preserved body of a person or animal that has undergone chemical treatment to slow down the decomposition process. The most famous of those found in the mummy of Pharaoh Tutankhamun. The mummy is associated with a person wrapped in Beatles or scraps of cloth, so we will take this into account when drawing a mummy.
Time needed: 30 minutes
How to Draw a Mummy for Kids
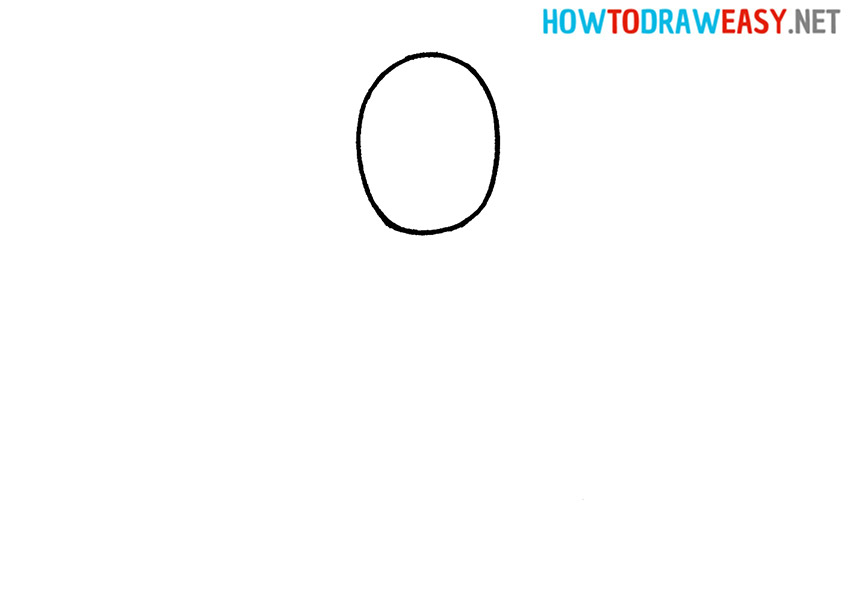
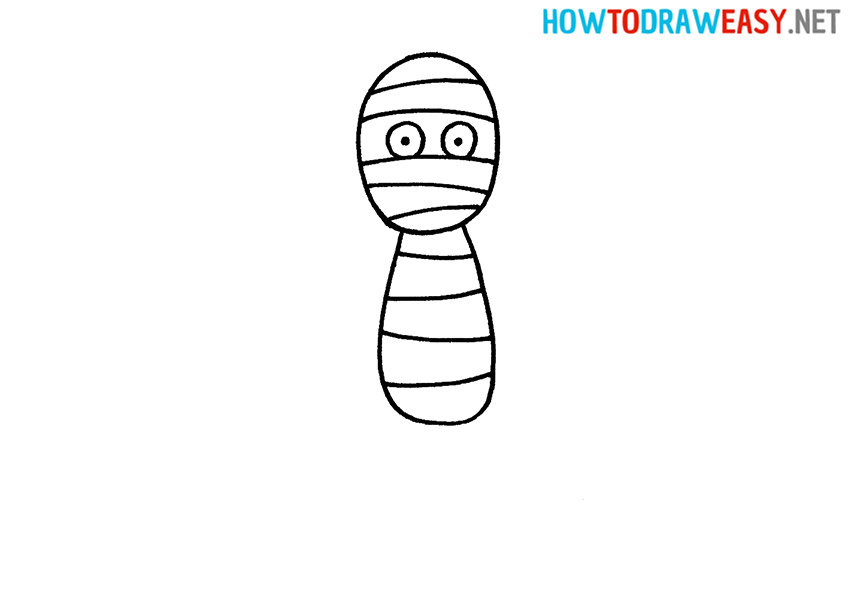
- Draw the head.
The head must be drawn in an oval shape.
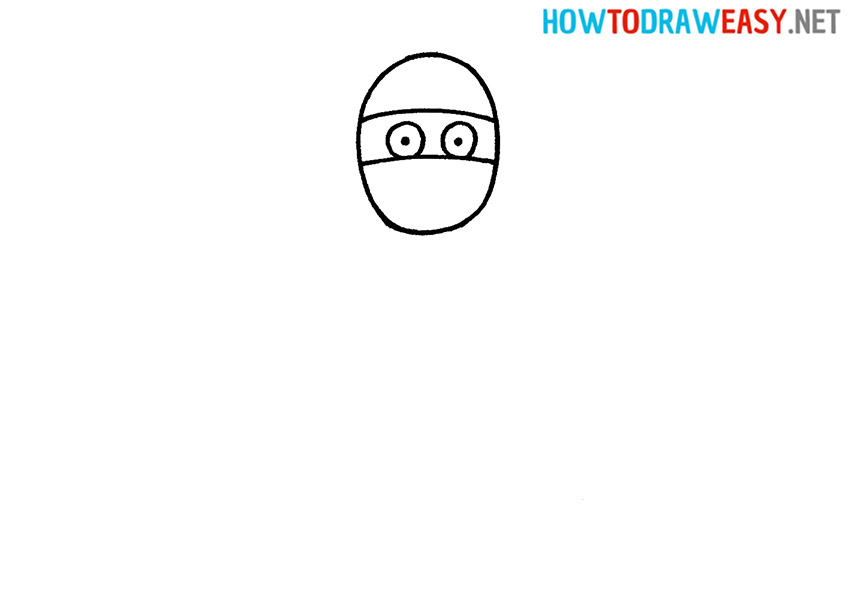
- Add eyes.
Next, you need to draw an open area for the eyes. To do this, draw 2 parallel lines in the middle of the head. Now we need to draw round eyes with black pupils.
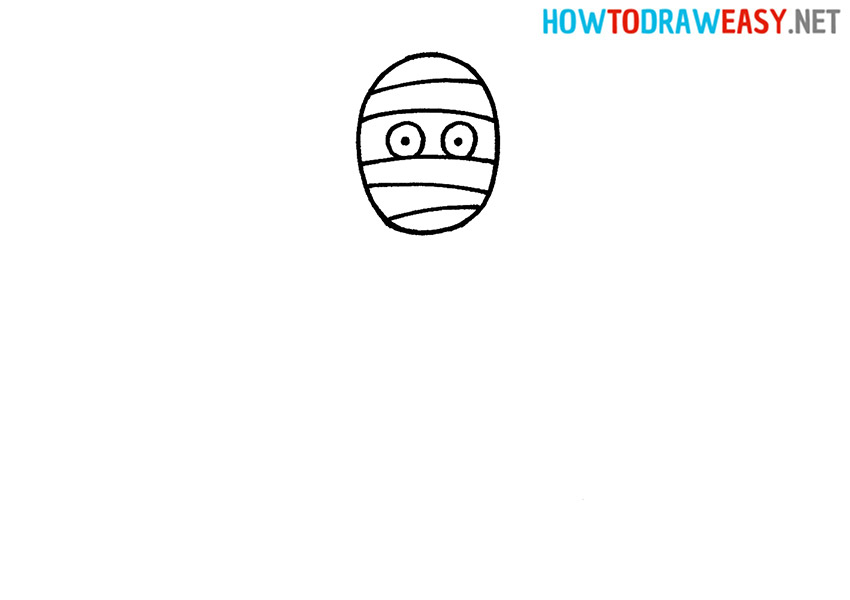
- Draw the wrappings on the head.
Draw curved lines across the face that point in different directions.
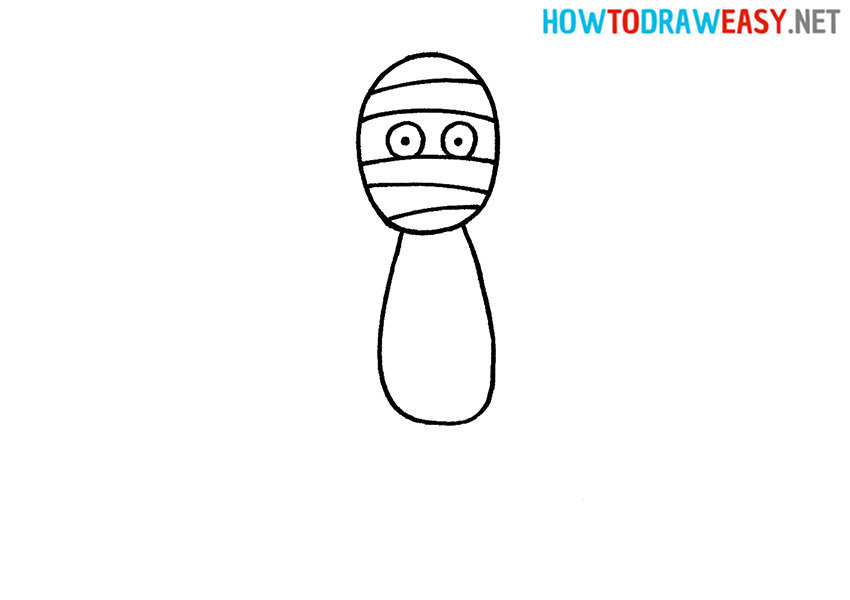
- Draw the body.
Draw an elongated outline of the body.
- Detail the body.
Continue drawing the wrappers on the mummy’s body using curved lines.
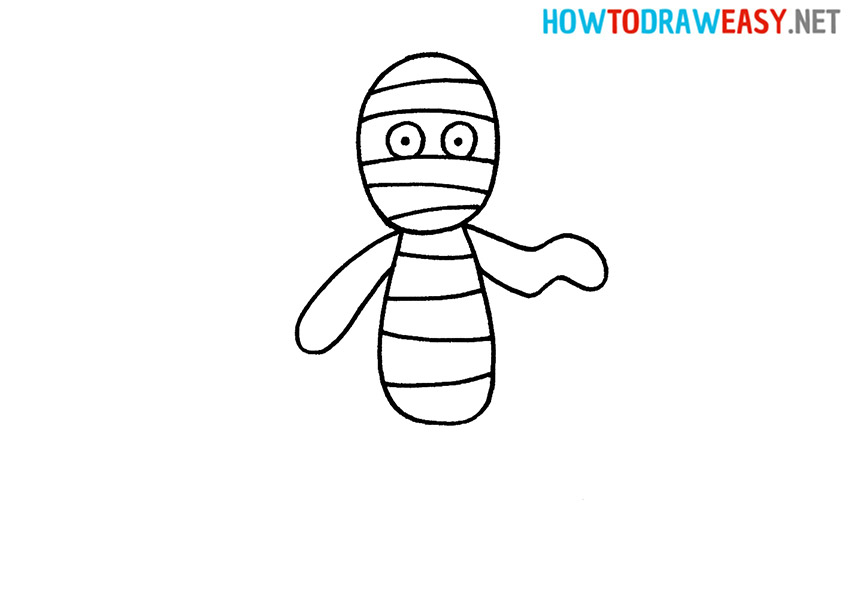
- Draw the arms.
Draw the arms as shown in the example instruction. Note that one arm is slightly bent.
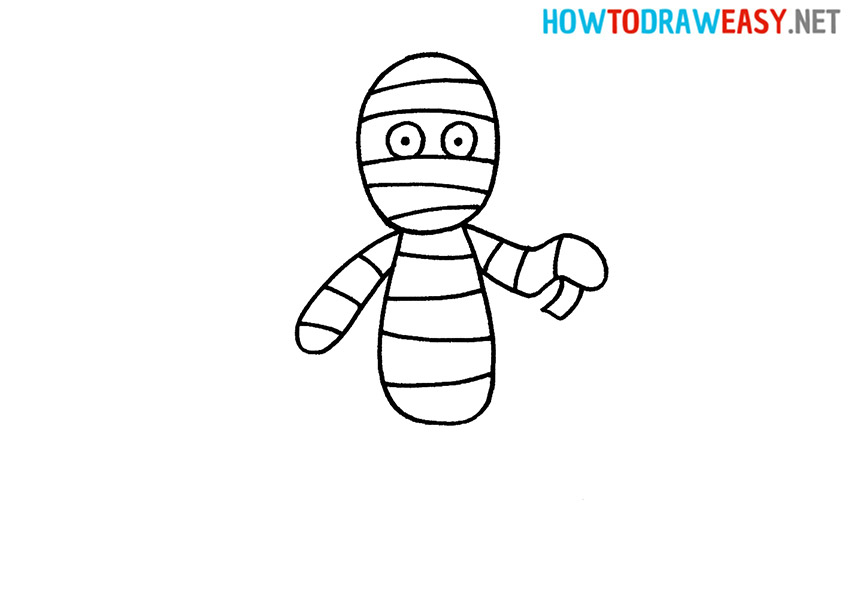
- Detail the arms with a wrappings.
On the surface of the arms, we also rewind with simple lines.
- Draw the legs.
Draw the legs in the form of narrow, elongated ovals, to which you need to add wrappers.
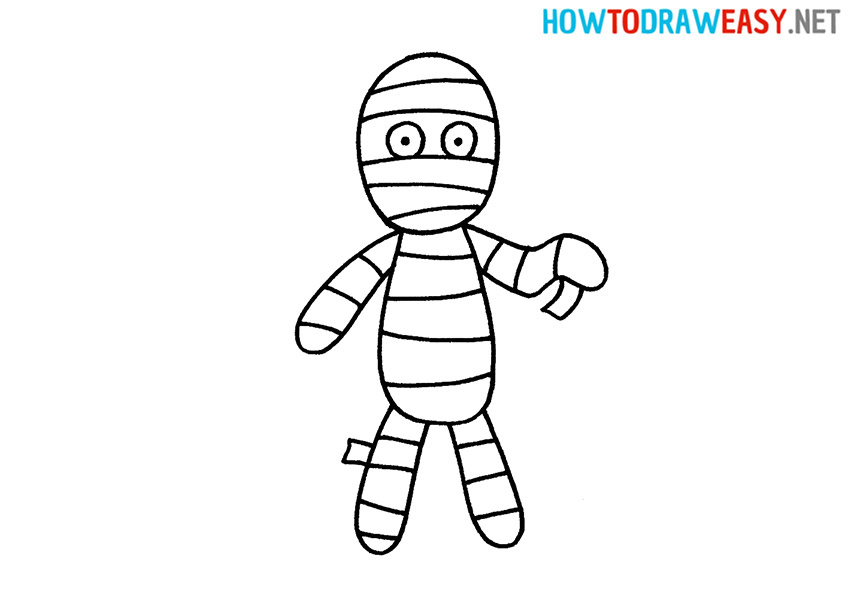
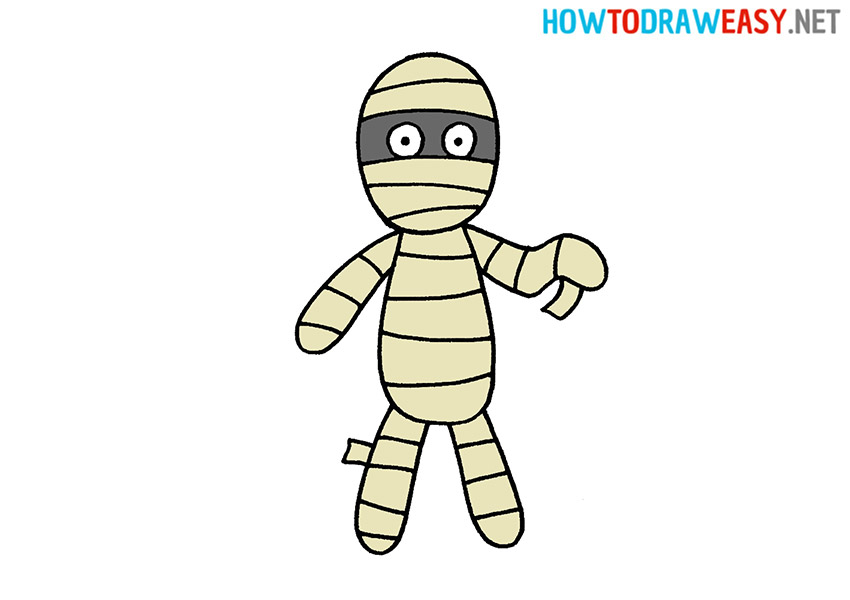
- Color your drawing.
Trace the sketch using a black marker, then add color using crayons or other coloring tools.


Did you draw a mummy? Now try to draw a zombie! Practice and draw more often to improve your artist skills.