
How to Draw a Computer
Want to learn how to draw a laptop computer easily? This step-by-step tutorial will guide you through simple shapes, clean lines, and final coloring. Perfect for beginners, kids, and anyone looking to improve their drawing skills.


How to Draw a Computer
Drawing a laptop might look a little tricky at first, but if you break it down into simple steps, it becomes much easier. In this tutorial, we’ll show you how to draw a computer step by step, starting from basic shapes and finishing with clean lines and colors. Whether you’re a beginner or already have some drawing experience, this guide will help you create a clear and realistic drawing of a laptop.
Why Draw a Computer?
Technology is a huge part of our everyday lives, and laptops are something most of us use daily. Drawing a laptop can be a fun way to practice working with straight lines, proportions, and perspective. It’s also a great subject if you want to add technology-themed objects into your sketches, illustrations, or school projects.
What You Will Learn in This Lesson
By following this step-by-step guide, you’ll learn how to:
- Build a drawing using simple geometric shapes.
- Create the basic structure of a laptop screen and keyboard.
- Add details like keys and a touchpad to make your drawing look complete.
- Use shading or coloring to give your laptop a more realistic look.
Tools You’ll Need to Draw Computer
Before you start drawing, make sure you have the right tools prepared. You don’t need anything fancy—just the basics will be enough:
- Paper – Any drawing paper will work, but choose a smooth sheet if you want clean lines.
- Pencil – A regular HB pencil is perfect for sketching the basic shapes.
- Eraser – To fix mistakes and remove extra construction lines.
- Ruler – Optional, but very helpful for drawing the straight edges of the laptop.
- Black pen or marker – To outline your final drawing.
- Colored pencils or markers – If you want to color in the laptop at the end.
A Few Tips Before You Begin
- Work lightly with your pencil in the beginning so it’s easy to erase and adjust.
- Pay attention to symmetry—both sides of the laptop should look even.
- Don’t worry if your lines aren’t perfect. The main goal is to practice and have fun.
- Feel free to customize your laptop! You can add stickers, logos, or even draw a favorite desktop wallpaper on the screen.
Who This Lesson Is For
This tutorial is designed for beginners, but it can also be useful for anyone practicing drawing objects from everyday life. Kids, teens, and adults can all enjoy this lesson. Teachers and parents can even use it as a simple classroom activity to combine art with discussions about technology.
Time needed: 20 minutes
How to Draw a Cumputer
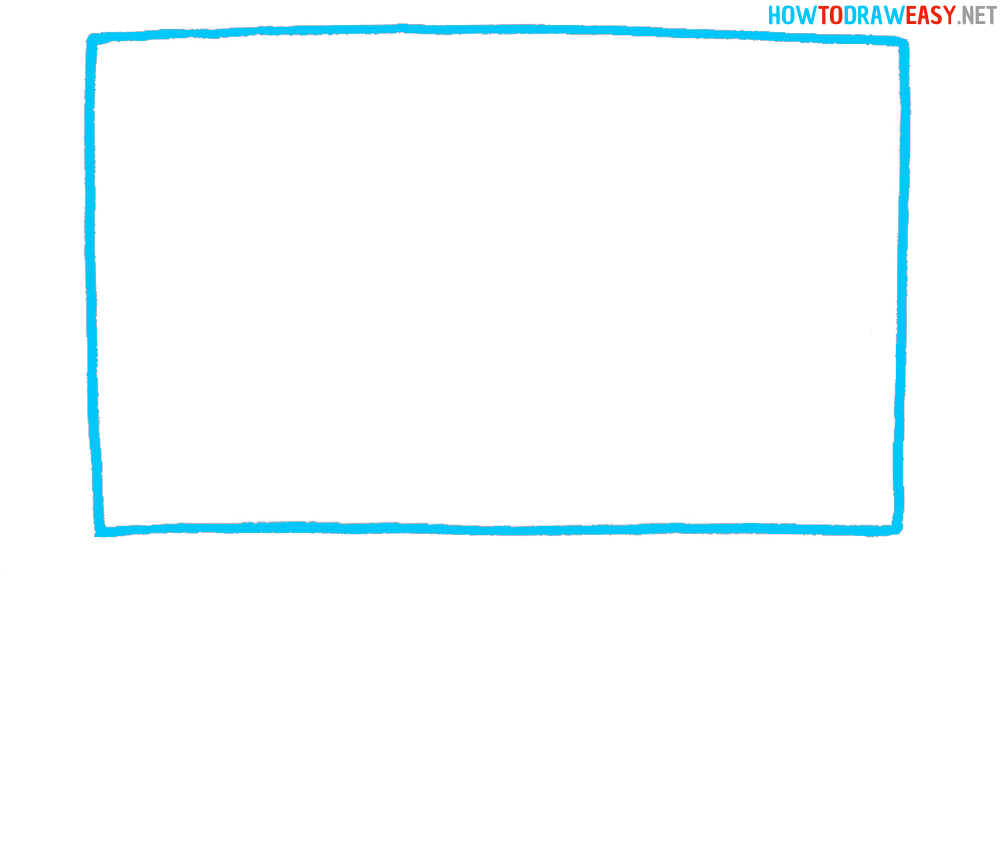
- Draw the Screen Shape
Begin by sketching a wide rectangle. This will be the outer frame of the laptop screen. Keep the proportions balanced—it should look wider than it is tall, just like a real laptop display.
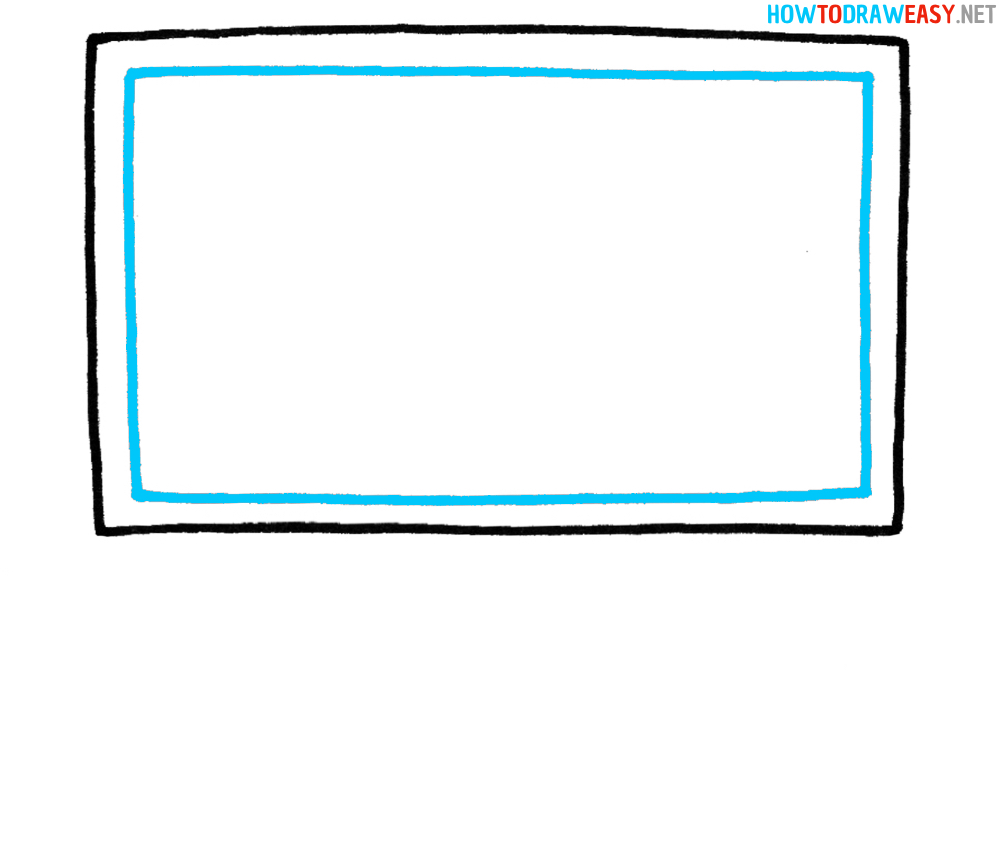
- Add the Inner Screen Frame
Inside the rectangle, draw another smaller rectangle. Leave even spacing around all sides to create the bezel, the border around the screen.
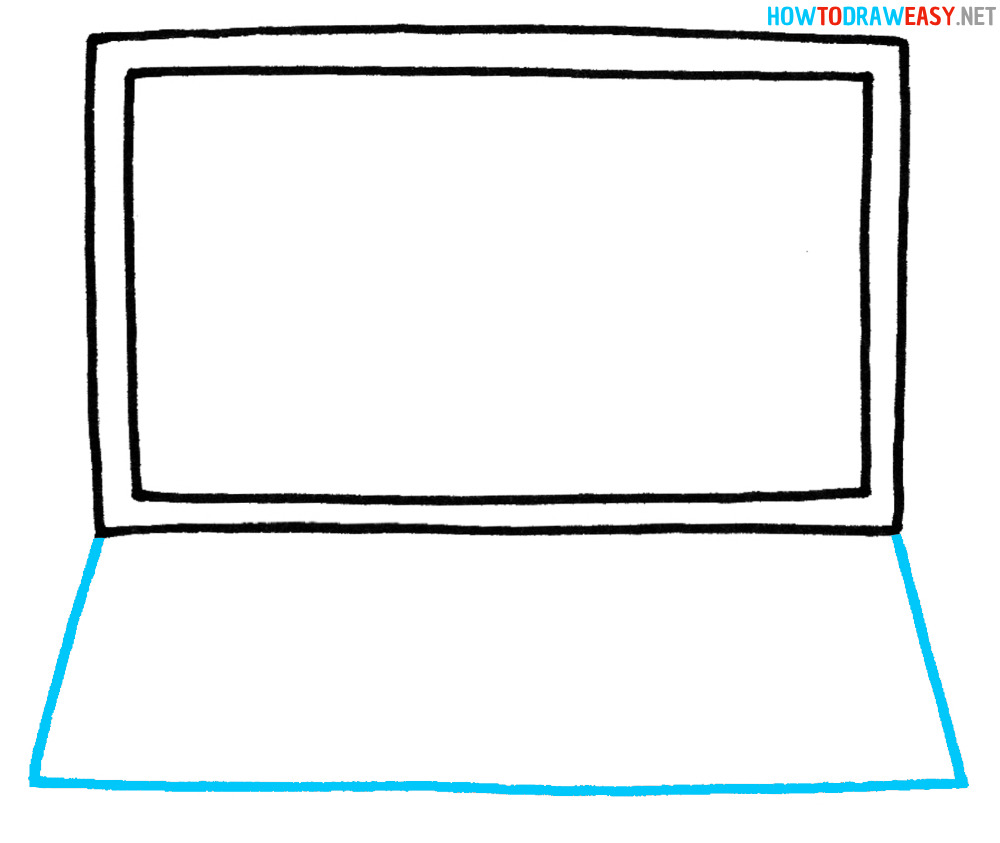
- Draw the Base of the Laptop
From the bottom corners of the screen, draw two diagonal lines that angle outward. Connect these lines with a horizontal line across the bottom. This trapezoid shape forms the laptop’s base.
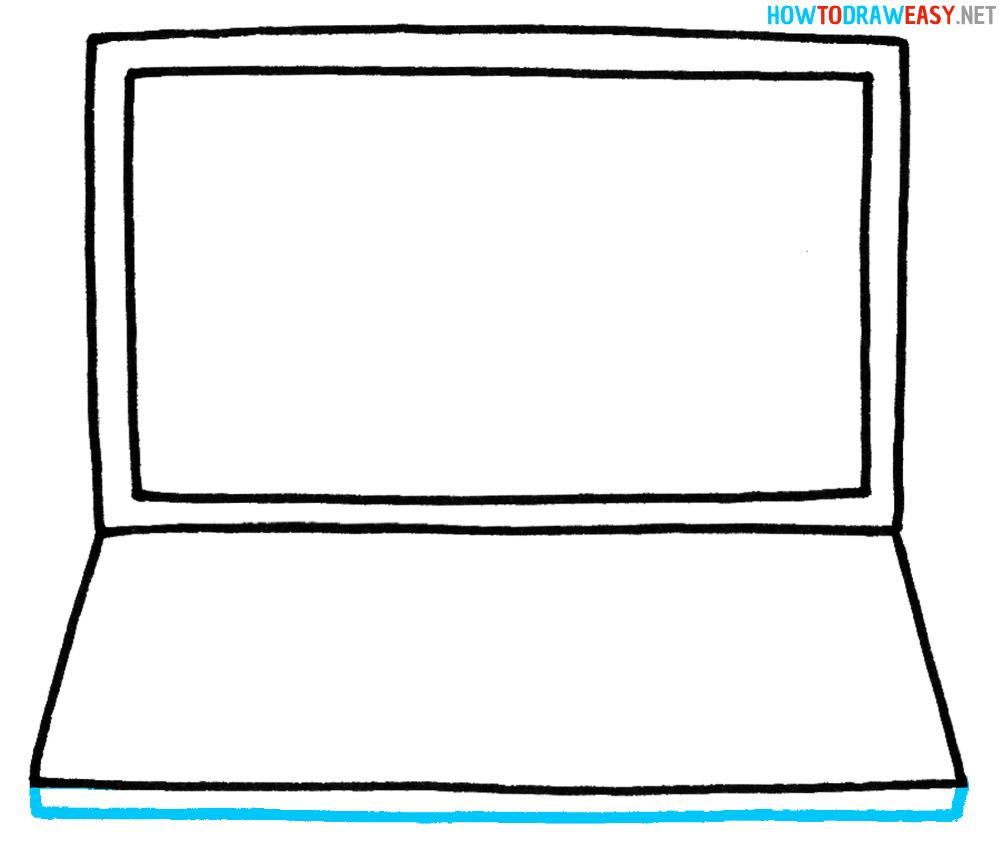
- Define the Bottom Edge
Add a thin horizontal line at the very bottom of the base. This makes the laptop look thicker and more realistic, like it has a solid foundation.
- Sketch the Keyboard Area
Inside the base, near the top, draw a large rectangle. This will be the flat surface where the keyboard sits. Make sure it’s centered and leaves enough room at the bottom for the touchpad later.

- Draw the Keys
Fill the keyboard area with rows of small rectangles or squares to represent the keys. Keep your lines neat and evenly spaced. You don’t have to draw every single key perfectly—just suggest the layout to make it look authentic.

- Add the Touchpad
Now draw a smaller rectangle in the lower center of the base, beneath the keyboard. This is the touchpad, the main control area for the cursor. Position it so that it looks balanced and aligned.

- Trace and Add Color
Finally, go over your lines with a darker pen or marker to clean up the drawing. Erase any extra sketch lines. Add shading or color: gray, silver, or black for the laptop body, and a light gray or blue for the screen. This will make your laptop look polished and realistic.


Great job! Now you’ve completed your laptop drawing step by step and turned simple shapes into a finished piece of art. As you can see, drawing a computer isn’t as hard as it looks—once you break it down into smaller parts, the whole process becomes fun and manageable.
Remember, your drawing doesn’t have to be perfect. What matters most is practice. The more you draw, the better your lines will become, and the easier it will be to sketch everyday objects like this laptop.
If you enjoyed this tutorial, don’t stop here! On HowToDrawEasy.net, you’ll find many other step-by-step drawing lessons that will help you practice and grow as an artist. You can try drawing other technology items, everyday objects, animals, vehicles, and even your favorite characters.
Keep exploring, keep practicing, and most importantly—keep having fun with your drawings. Every sketch is a new step in your artistic journey!