
How to Draw Hello Kitty
Learn how to draw Hello Kitty step-by-step with this easy tutorial. Perfect for beginners, includes tips, and simple guide to create the cutest Hello Kitty drawing.


Meet Hello Kitty – The Global Icon of Cuteness
Hello Kitty is more than just a character — she’s a pop culture legend. Created by Sanrio in 1974, this adorable white kitten with a bow or flower has captured hearts worldwide. Her charm lies in her simple design, friendly face, and the warm, comforting feeling she brings to fans of all ages.
Why Draw Hello Kitty?
Drawing Hello Kitty is not just fun — it’s also a great way to practice clean, minimalistic design. Her shapes are simple, yet her personality shines through in every line.
Tools You’ll Need for This Drawing
- Pencil (for sketching)
- Eraser (for corrections)
- Black pen or marker (for outlining)
- Colored pencils, markers, or crayons (for coloring)
- Smooth drawing paper
Time needed: 20 minutes
How to Draw Hello Kitty
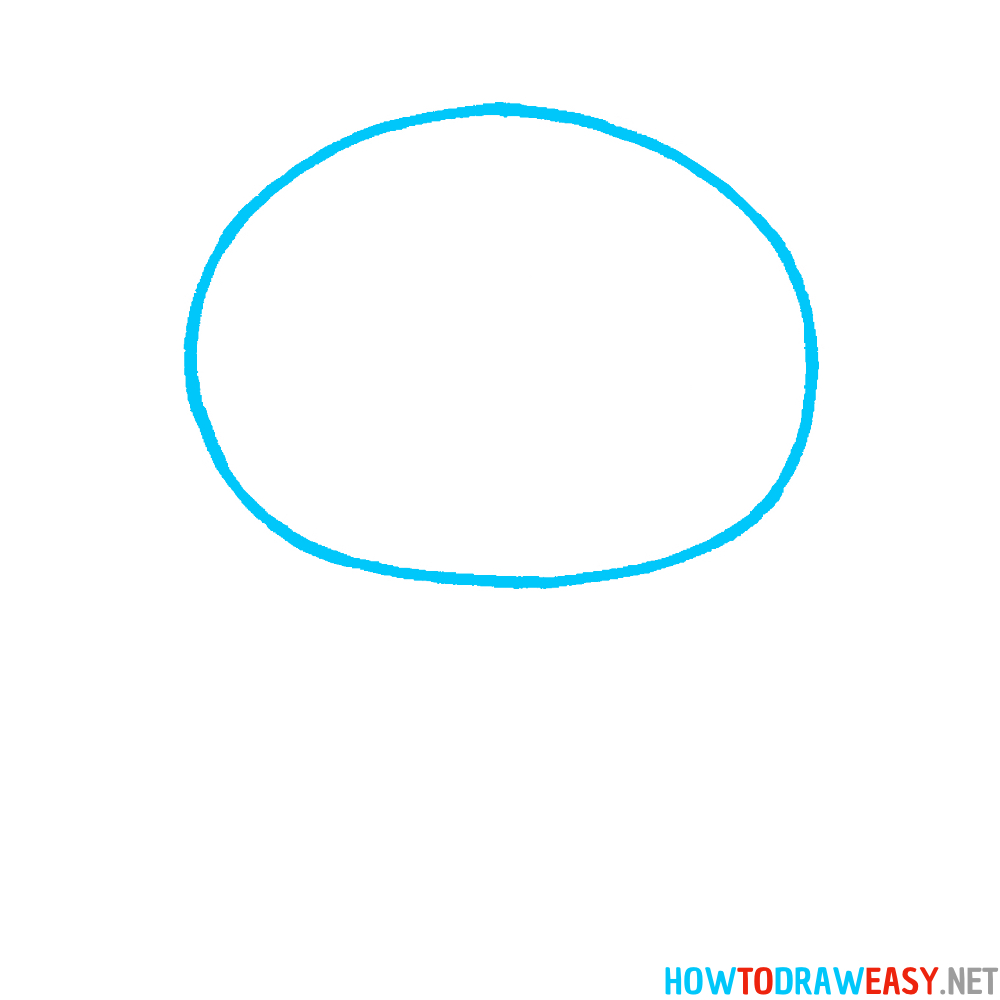
- Draw the Head
Start with a large, rounded oval. This will be Hello Kitty’s head. Keep the shape soft and slightly wide to match her cute appearance.
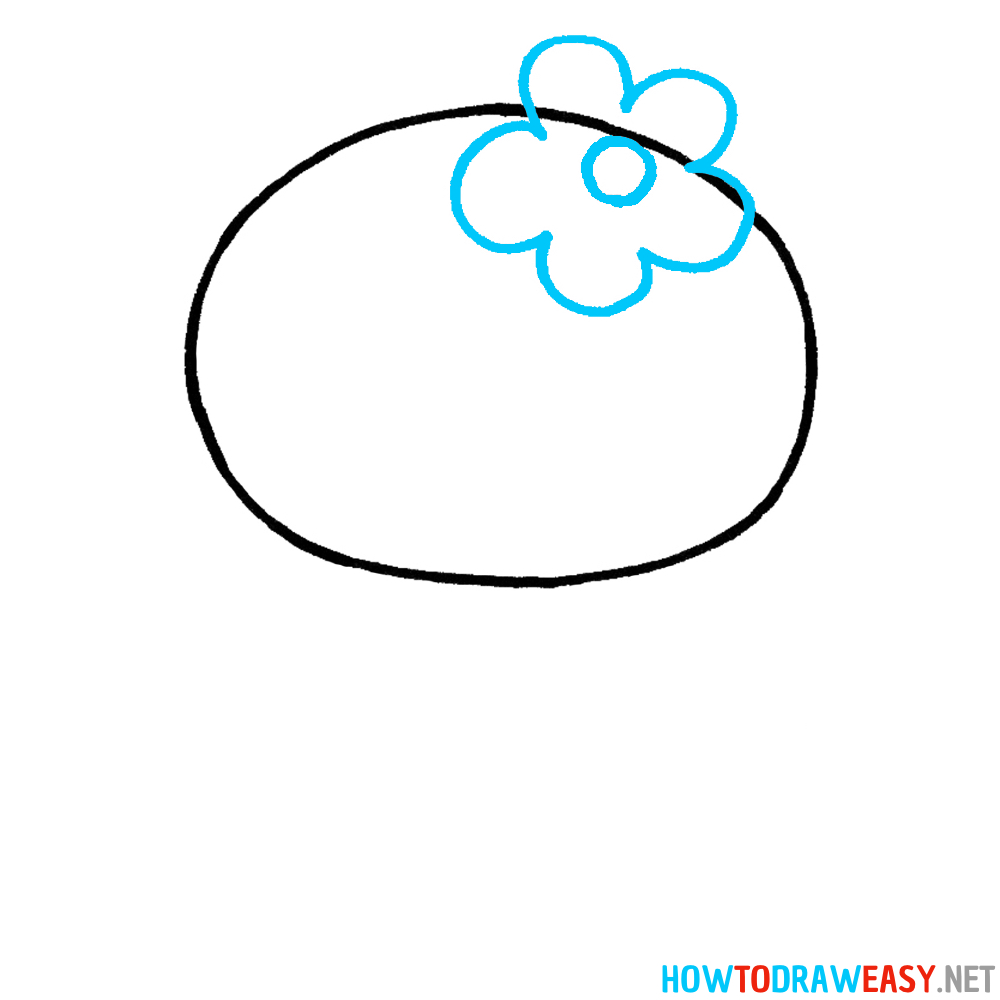
- Add the Flower
On the upper right side of her head, draw a five-petal flower. Inside the flower, add a small circle for the center. This accessory is one of Hello Kitty’s signature styles.
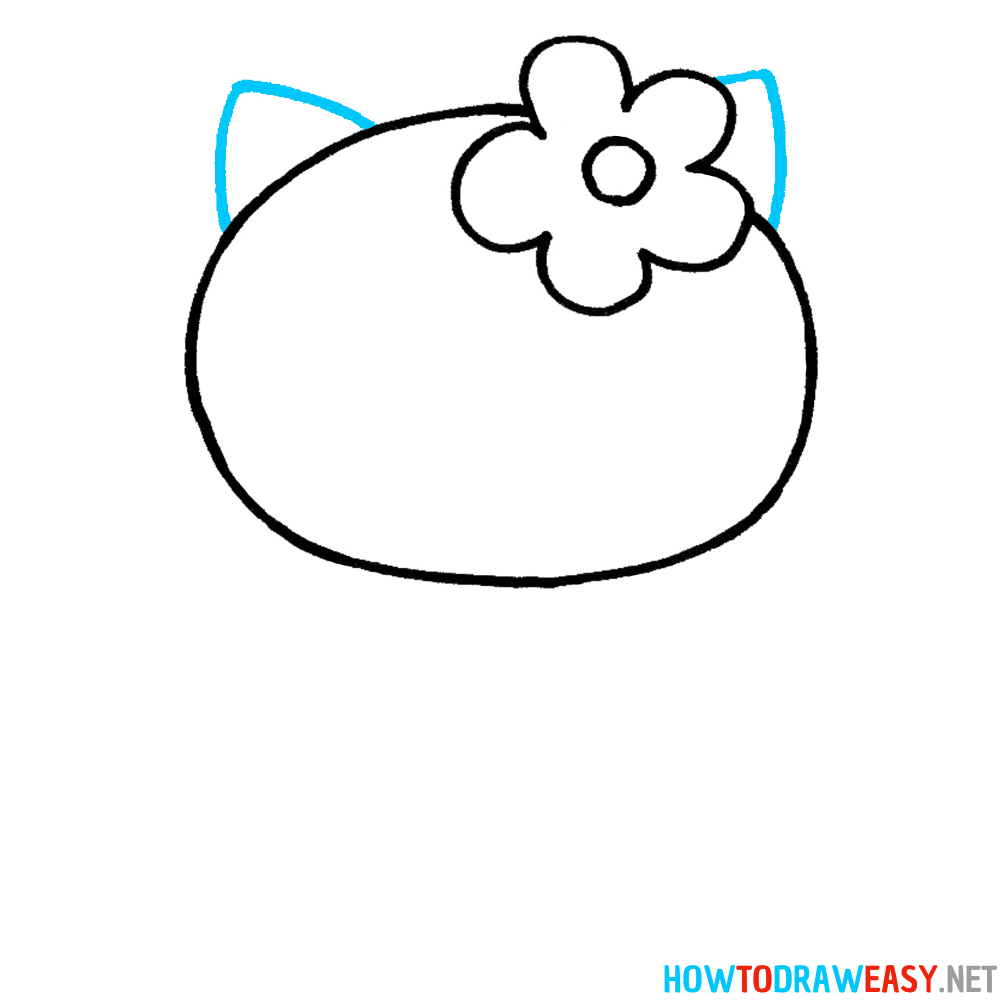
- Draw the Ears
Add two small, triangular ears on top of the head, one on each side. The edges should be slightly curved, not sharp, to keep the look friendly.
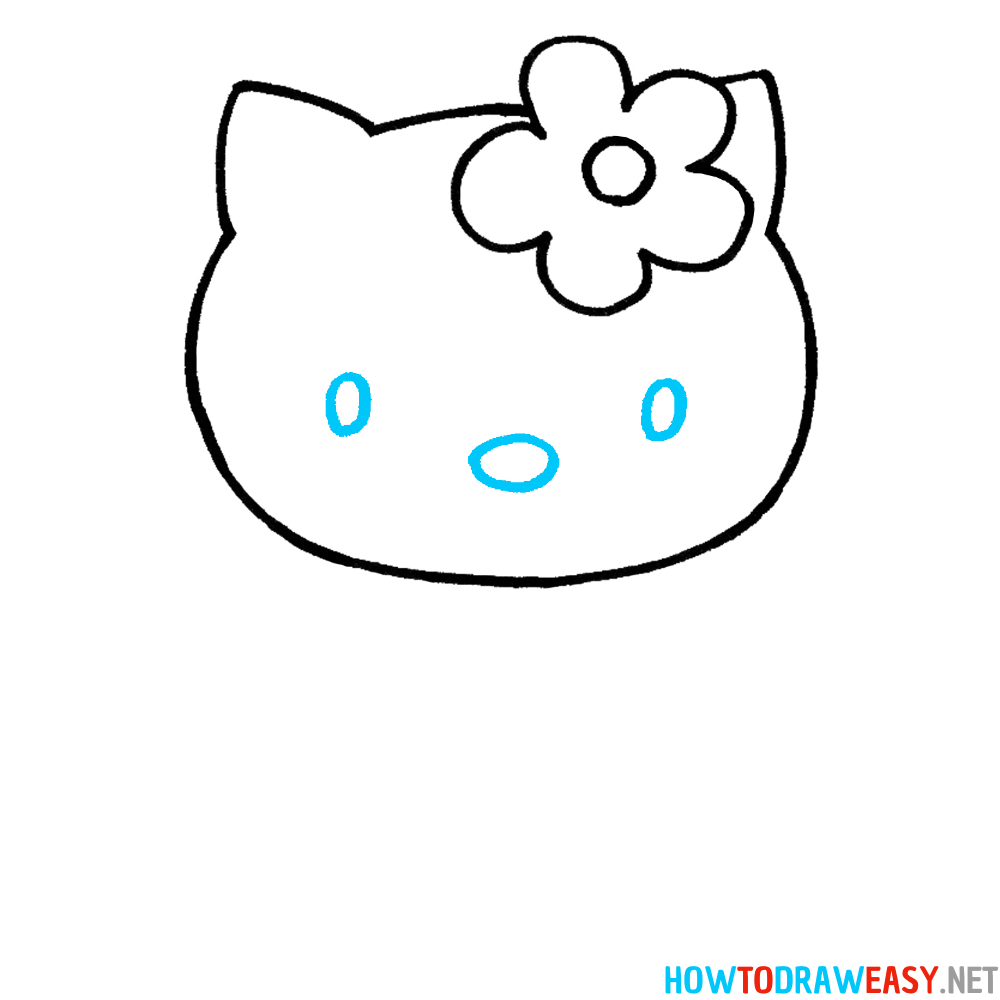
- Detail the Face
Draw two small vertical ovals for the eyes and place a slightly larger oval in the center for the nose. Position them evenly for that balanced Hello Kitty charm.
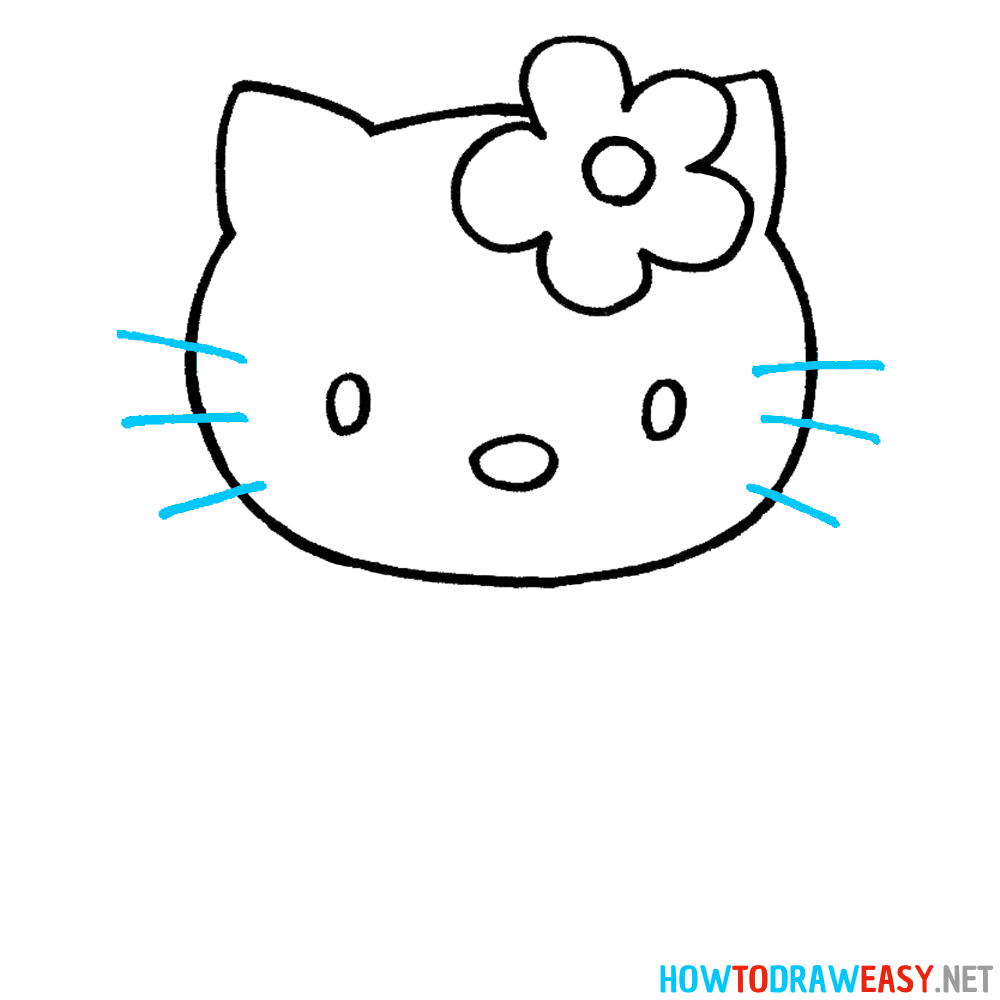
- Add the Whiskers
On each side of Hello Kitty’s face, draw three straight whiskers. They should spread out slightly, like short lines pointing sideways.
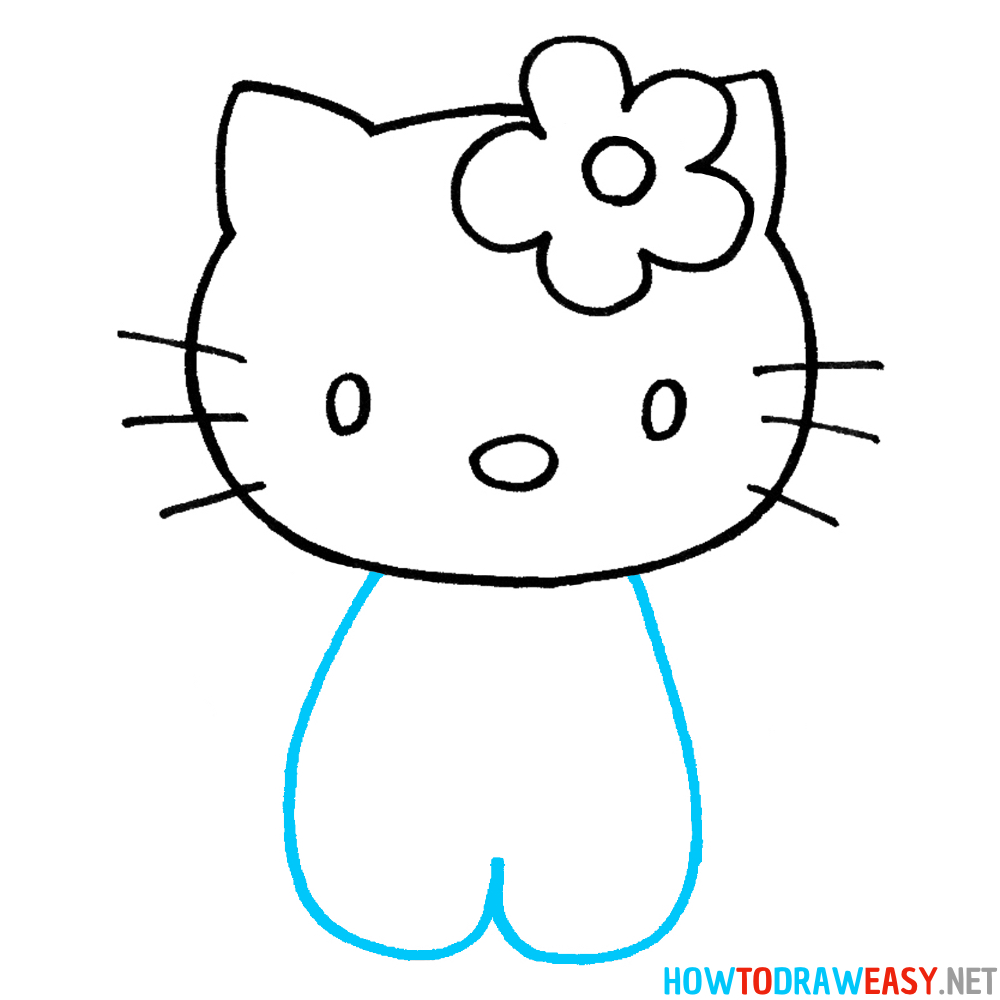
- Draw the Body
Sketch a rounded, wide “U” shape under the head to form Hello Kitty’s body. At the bottom, add a small vertical line to separate her legs.
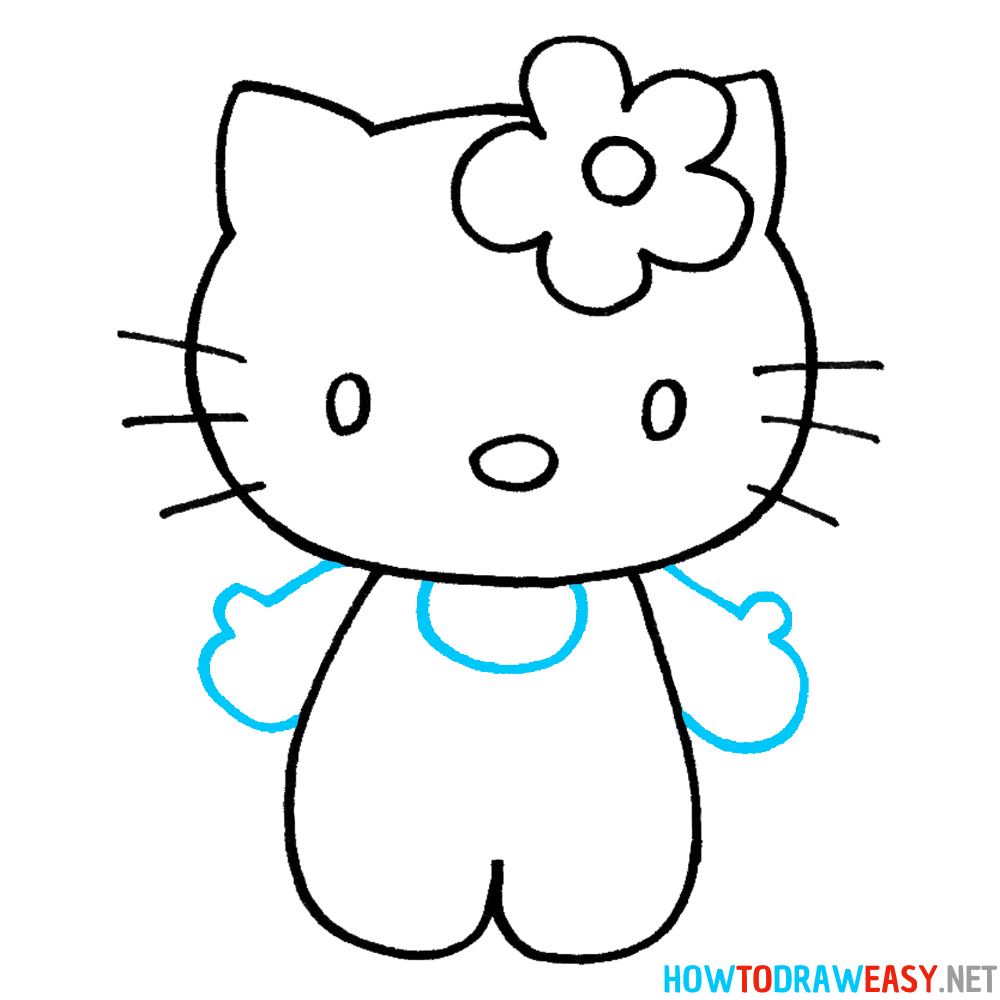
- Add the Arms and Collar
Draw two mitten-shaped arms, one on each side of the body. Then, add a small curved oval at the top center of her body to create the neckline of her outfit.
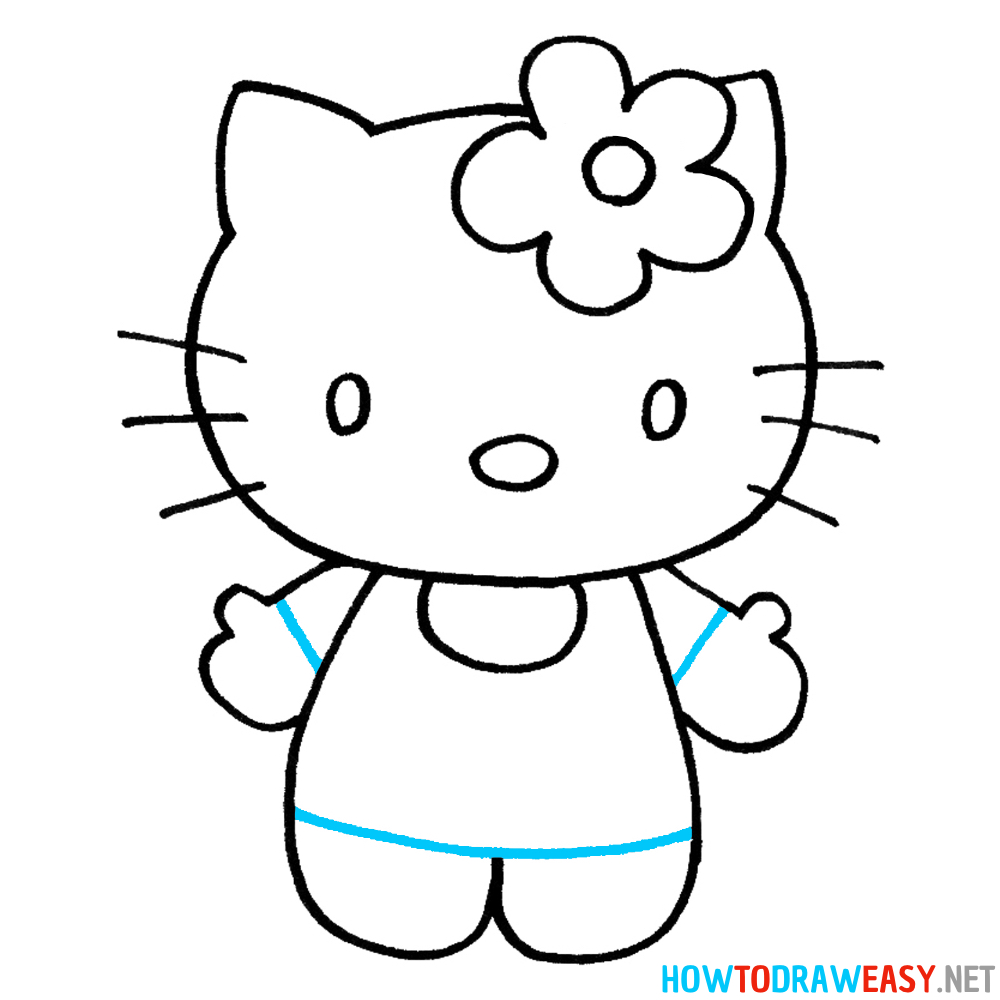
- Add Clothing Details
Draw two short horizontal lines near the bottom of her body to define her shorts or the bottom edge of her outfit. Add short curved lines for her sleeves, connecting the arms to the body.
- Trace the Sketch and Color
Trace over your lines with a black pen or marker to clean up the drawing. Then color Hello Kitty:
— White for her fur
— Pink or red for the dress
— Yellow for the flower center
— Red, pink, or other color for the flower petals
— Black for whiskers and outlines.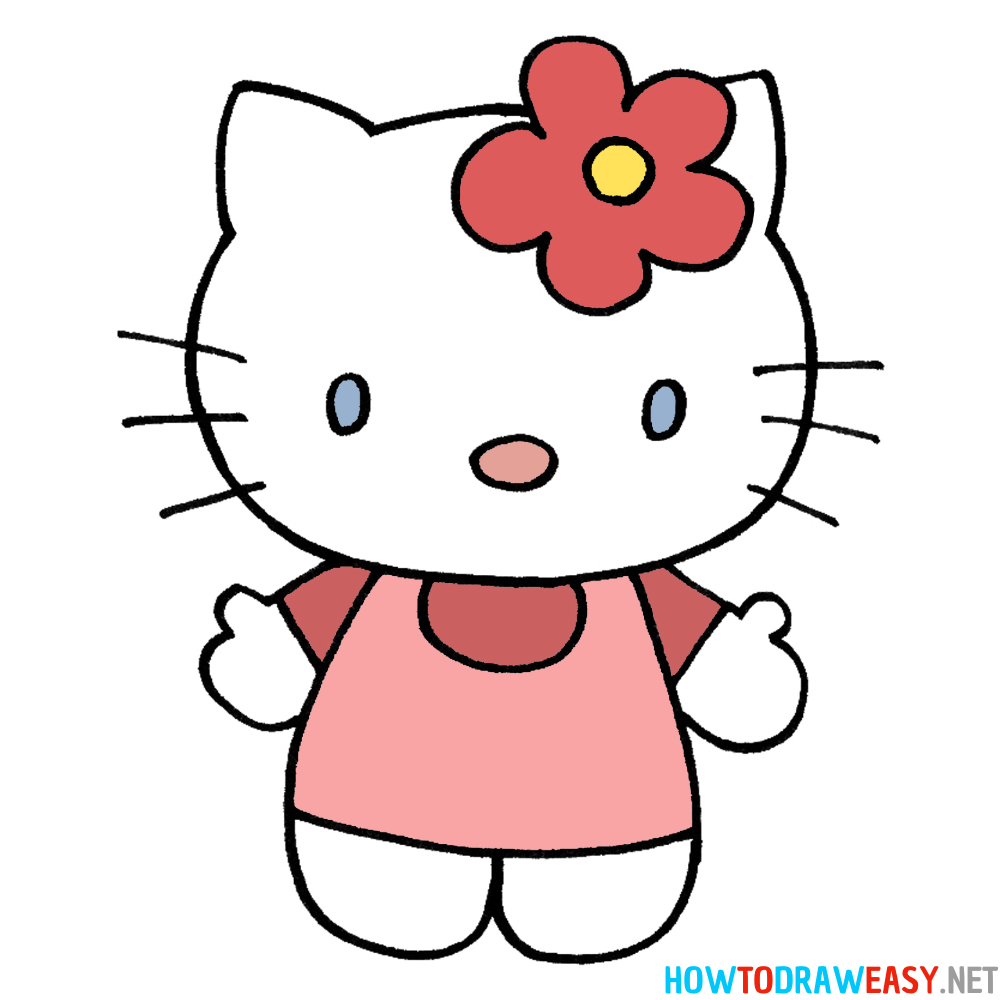


Congratulations – You’ve Brought Hello Kitty to Life!
If you’ve followed all the steps, you now have your very own Hello Kitty drawing staring back at you with that iconic sweet smile. This isn’t just a simple sketch — it’s a piece of art that carries the charm and nostalgia of one of the world’s most beloved characters.
Adding Your Personal Touch
One of the most wonderful things about drawing Hello Kitty is how easy it is to customize her. You can:
- Change the flower to her classic bow or a seasonal accessory.
- Give her different outfits — from cozy sweaters to party dresses.
- Place her in different scenes: a picnic in the park, a trip to the city, or even a magical fantasy world.
These changes allow you to tell your own story through your art.
From Sketch to Masterpiece – What’s Next?
Don’t stop at just one Hello Kitty drawing. Repetition builds skill and confidence. Try drawing her in different poses — waving, sitting, or holding a favorite object. You can also experiment with various art tools like watercolor paints, digital drawing tablets, or pastels to give each version a unique feel.
Show Off Your Creation
Your Hello Kitty deserves to be seen! Share your drawing with friends and family, or post it online to inspire others to pick up a pencil. You’ll be surprised how many people smile when they see her friendly face.
Keep the Fun Going – Explore More Drawing Lessons
If you enjoyed this Hello Kitty tutorial, you’re going to love the other step-by-step lessons we have on our site. From popular cartoon characters and animals to fantasy creatures and everyday objects, each tutorial is designed to be fun, beginner-friendly, and confidence-boosting.
Take your pick:
- Draw other Sanrio characters like My Melody or Cinnamoroll.
- Learn to sketch popular animated characters from movies and TV.
- Try your hand at more detailed, realistic art to level up your skills.
Every drawing you complete is another step in your creative journey — and we’re here to guide you all the way.