
How to Draw a Glove for Kids
Want to draw a glove but don’t know how? You are in the drawing lesson on how to draw a glove for kids in a step-by-step guide.


In this step-by-step guide, you will learn how to draw a glove for kids. While working, people ruined their hands with splinters, calluses, injuries, etc. For all this, a splinter could introduce an infection that could spread throughout the body. A glove came to the rescue at some time. Gloves are distinguished by their type and purpose. For example, the popular cotton gloves are mainly used by builders. Because of this, the term “construction gloves” was coined.
In this lesson, one of the methods will be understood to draw a simple glove that even a kindergartner can draw.
Below will be given instructions with a detailed description of each step. Therefore, please repeat everything that is shown. Enjoy the drawing process!
Time needed: 20 minutes
How to Draw a Glove for Kids
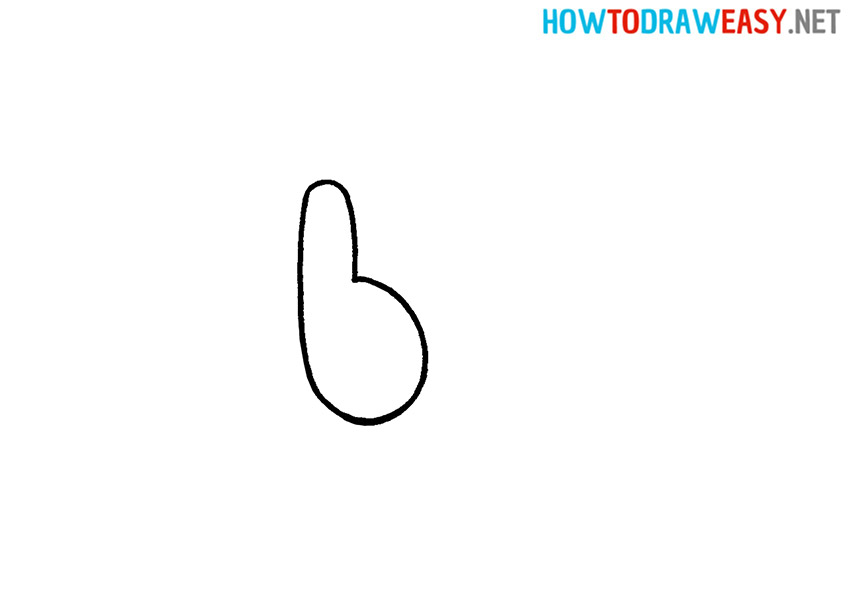
- Draw the thumb.
To do this, draw a circle in the middle of the sheet, to which draw a semi-oval on top. Make sure the left side of your finger is straight.
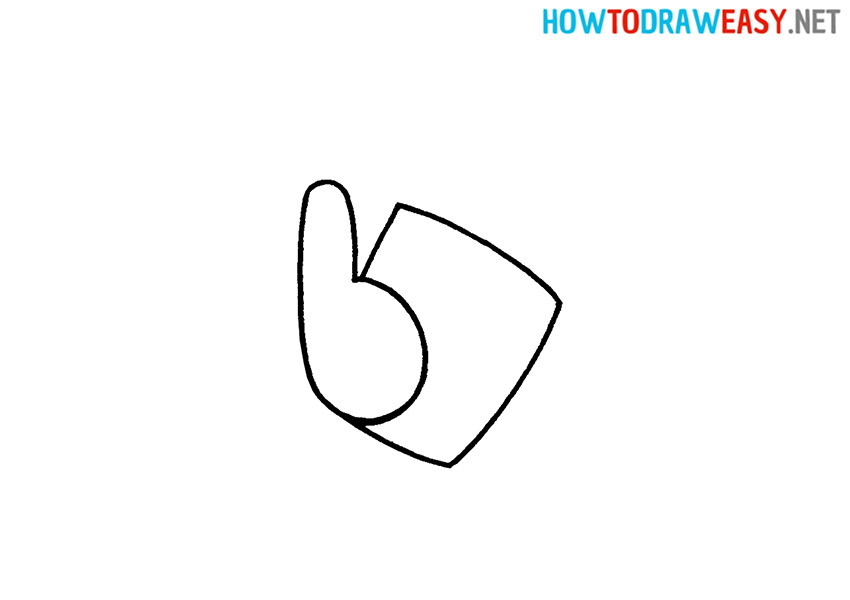
- Draw the base.
Now you need to draw the middle part of the glove, which is the palm.
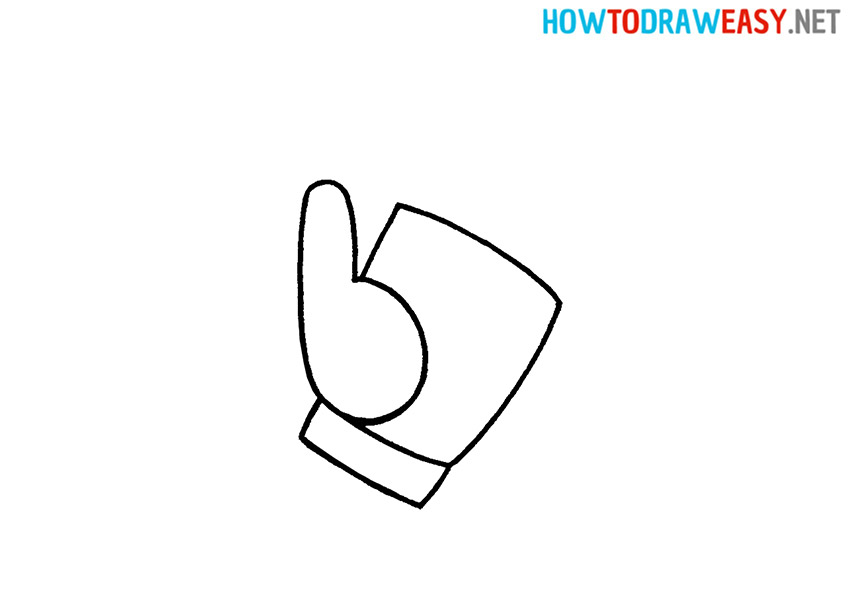
- Draw the cuff.
Now you need to draw the cuff of the glove. Begin by drawing the side short cuff lines, and then connect them with a long, slightly curved line.
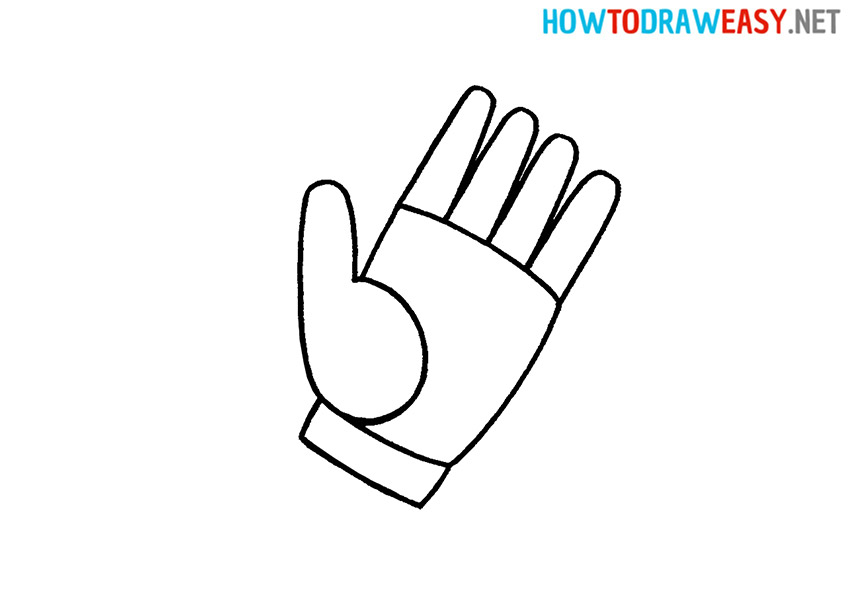
- Add four fingers.
Now you need to draw the next four fingers on the glove.
- Color your artwork.
Use your favorite coloring supplies to color your drawing. You can paint the glove any color you want, or you can paint it in the same sandy color as in the example.


It’s very easy and fast, your glove drawing is ready! We hope that you coped with this drawing and are ready for new adventures in drawing art. If you do not want to stop in the practice of drawing, then we suggest you draw a book, for example!